Moka Pot Brew Guide
Moka Pot is a household favorite among Europeans, also known as the 'Stovetop Espresso' maker. Although it doesn't deliver quite the same results as a true espresso machine, it's a convenient, simple, budget friendly alternative that brews a nice concentrated shot of coffee that you can drink straight, or enjoy as a base for many other espresso style drinks.
If you're just starting out, this Moka Pot brew guide is the perfect place to get started!

What you'll need
- 20-22g of freshly roasted whole coffee beans
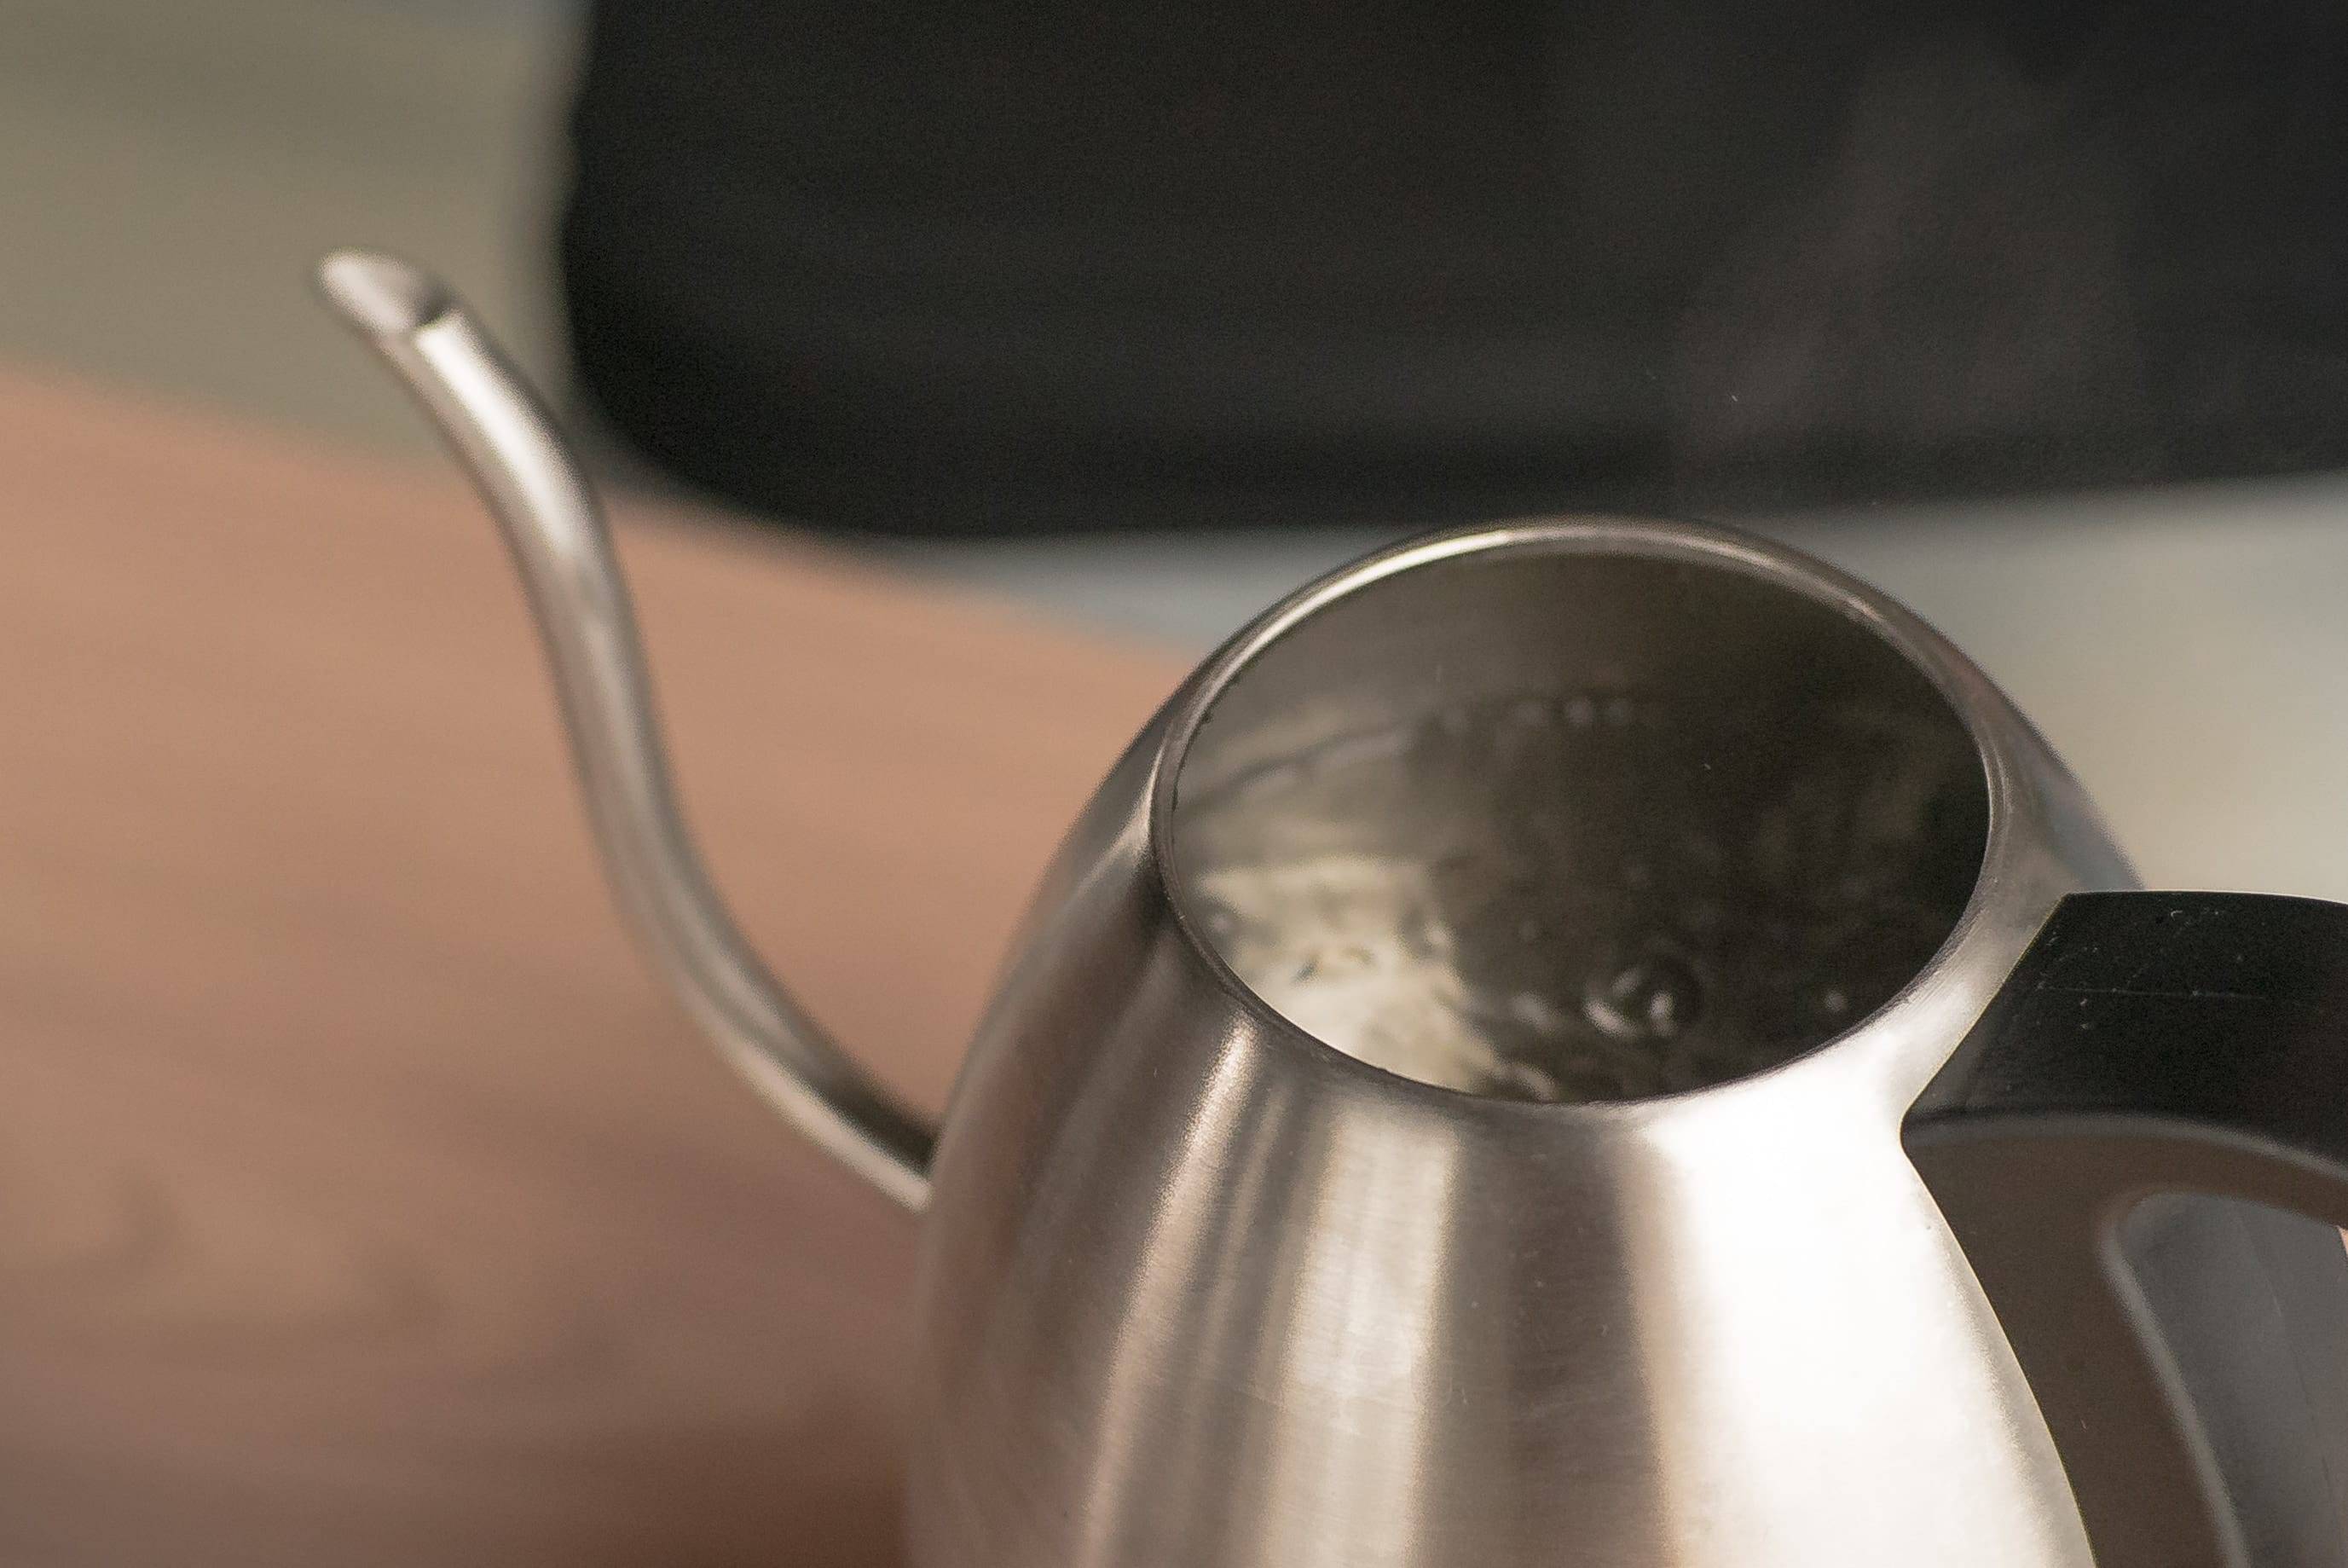
- Gooseneck kettle (electric/stove) to boil water
- Filtered water or mineral water
- Hand grinder or automatic grinder (with conical or round burrs for best results)
- Digital Scale
- Moka Pot
- Towel to hold the Moka Pot while it's hot
- Electric/gas Stove top
- Your favorite coffee cup
Step 1.
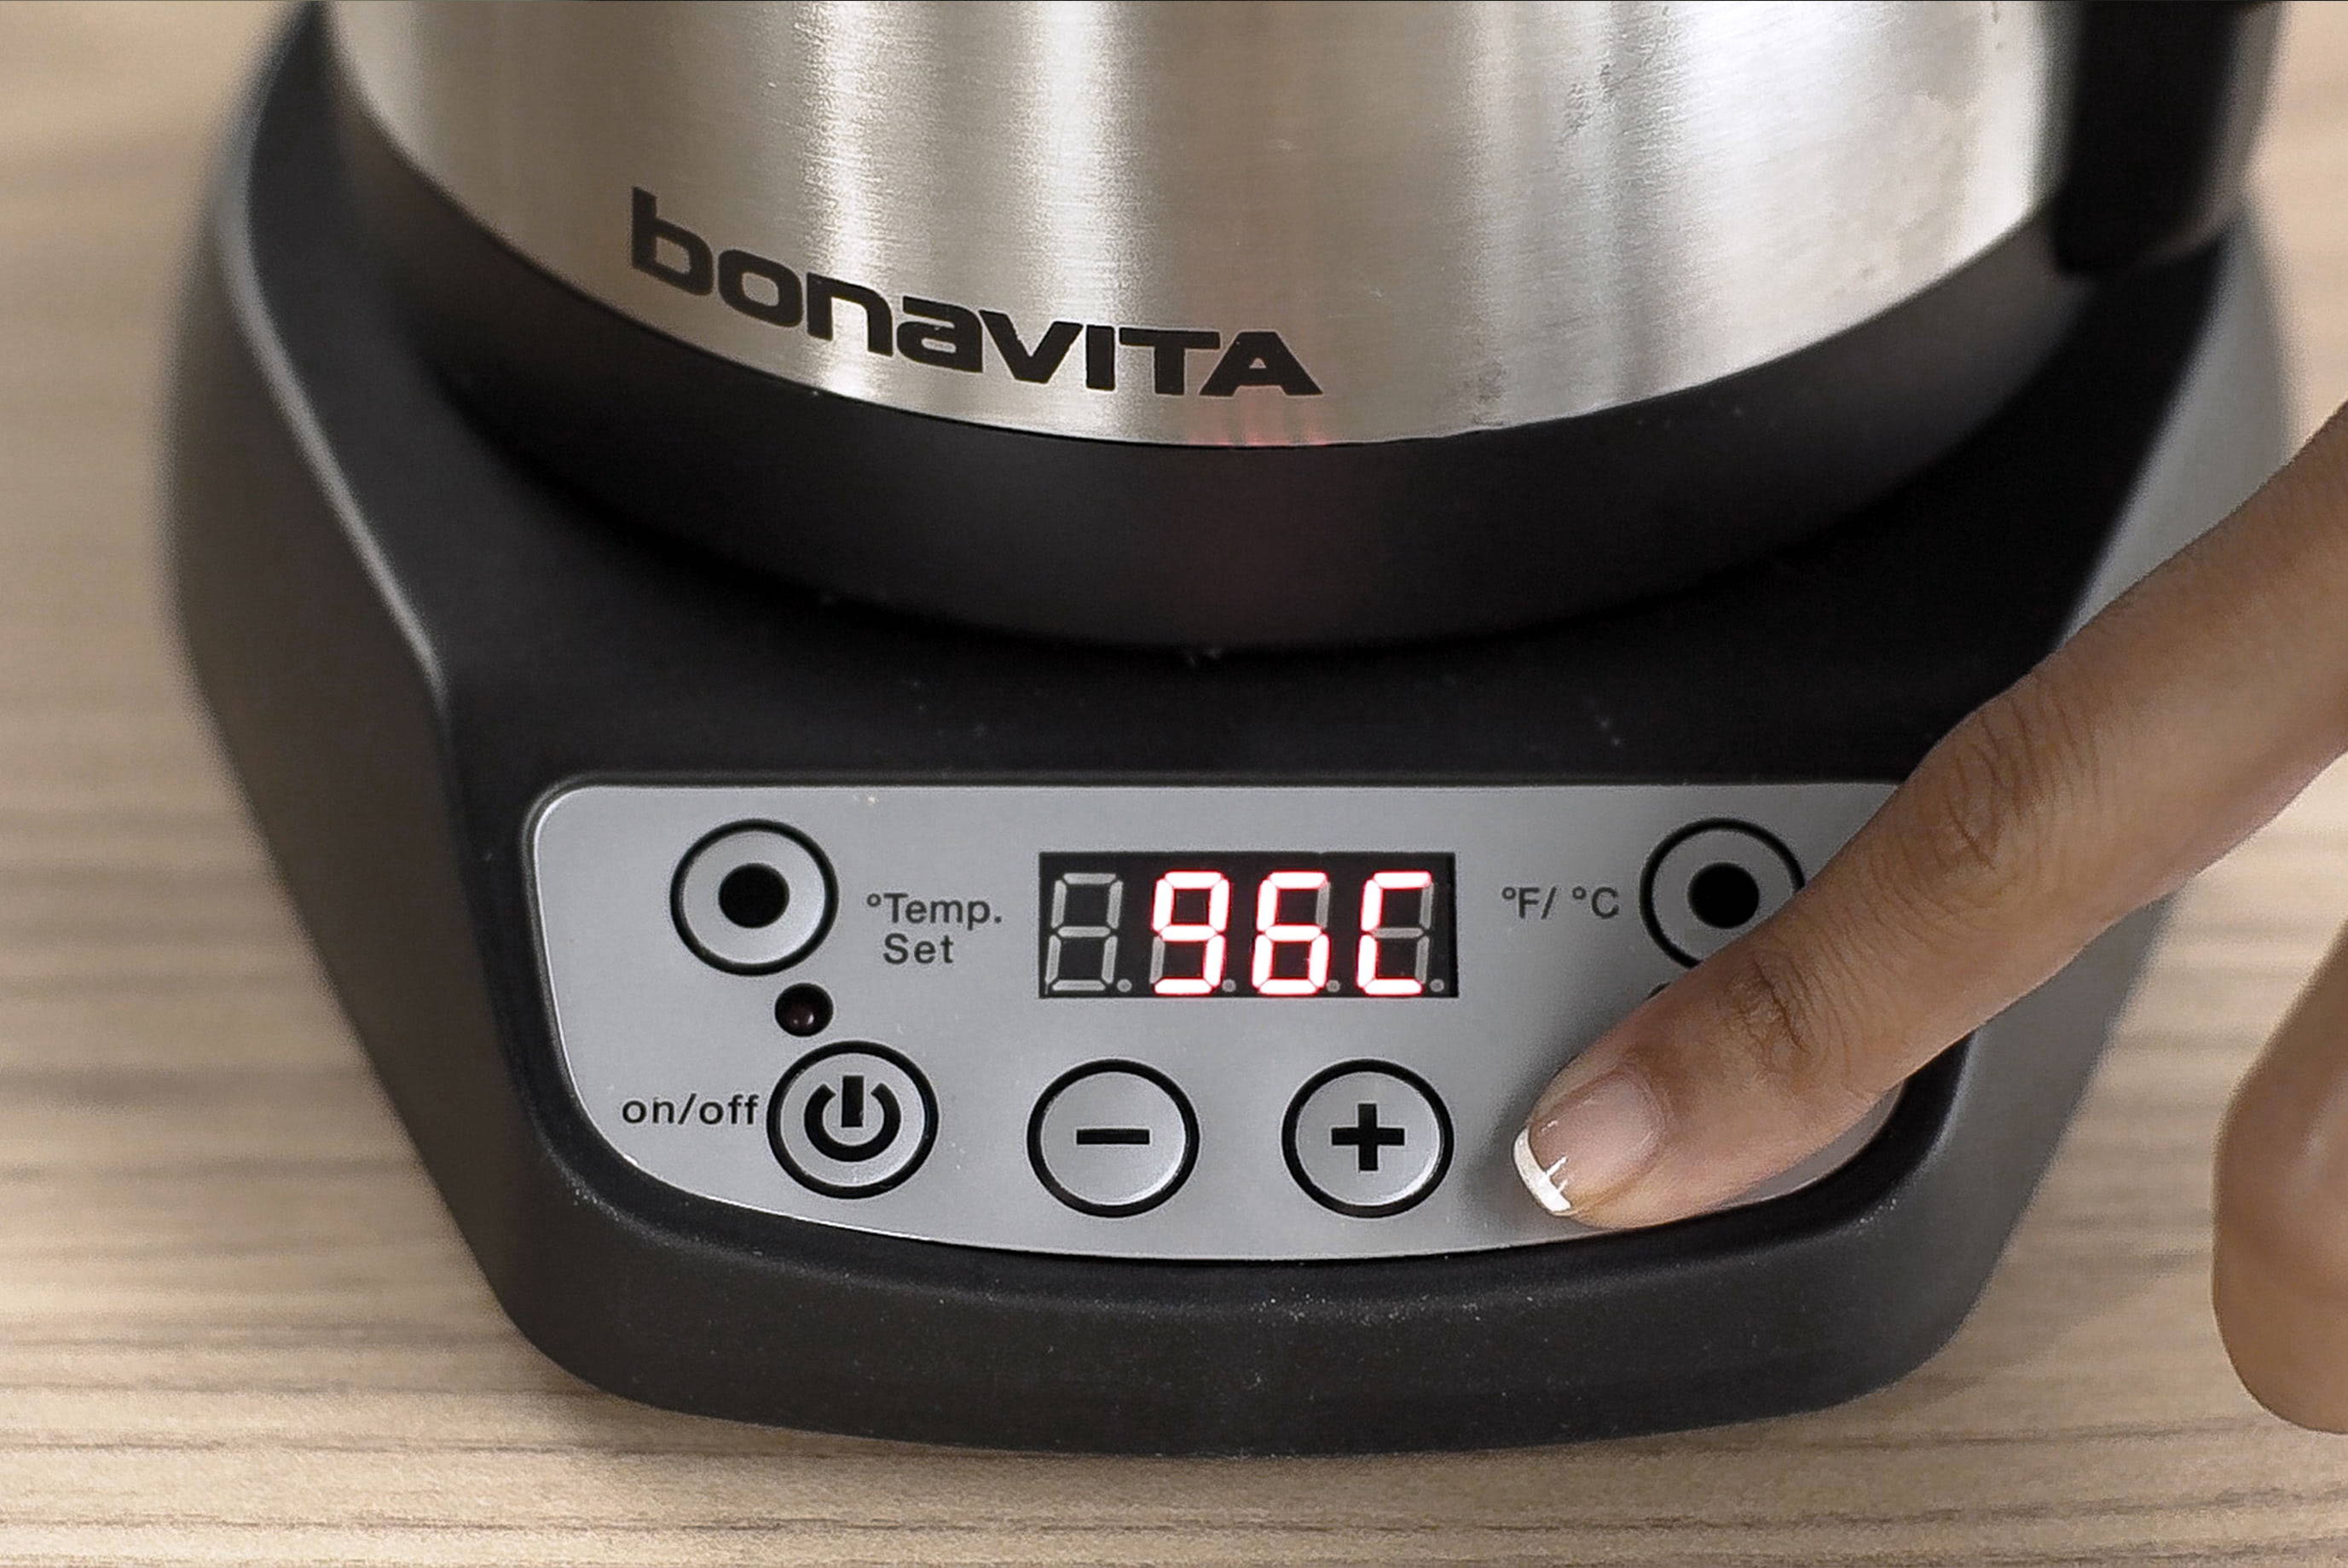
Prepare the water
- Boil to the desired temperature.
Step 2.
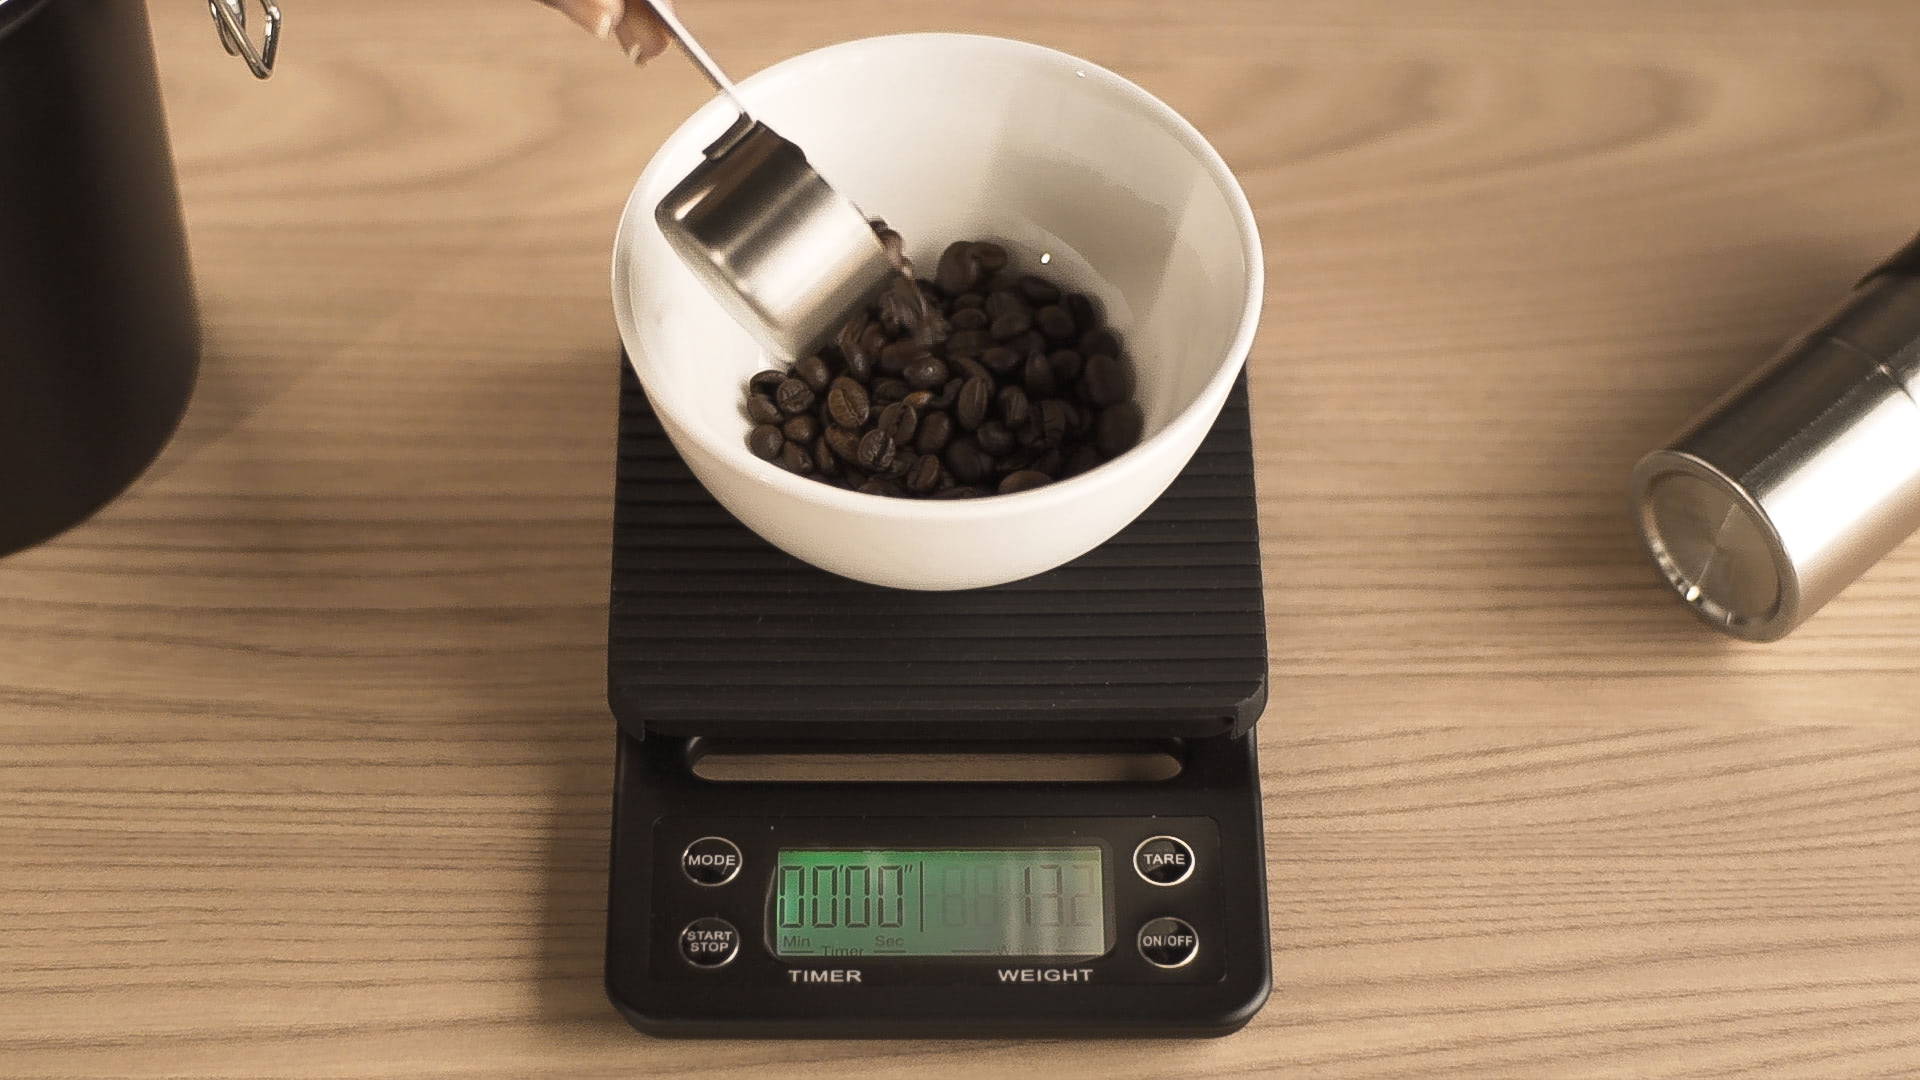
Weigh out the desired amount of coffee
- Use a digital scale to measure the whole bean weight before grinding. Typical Moka Pots normally brew using 20-22g of coffee.
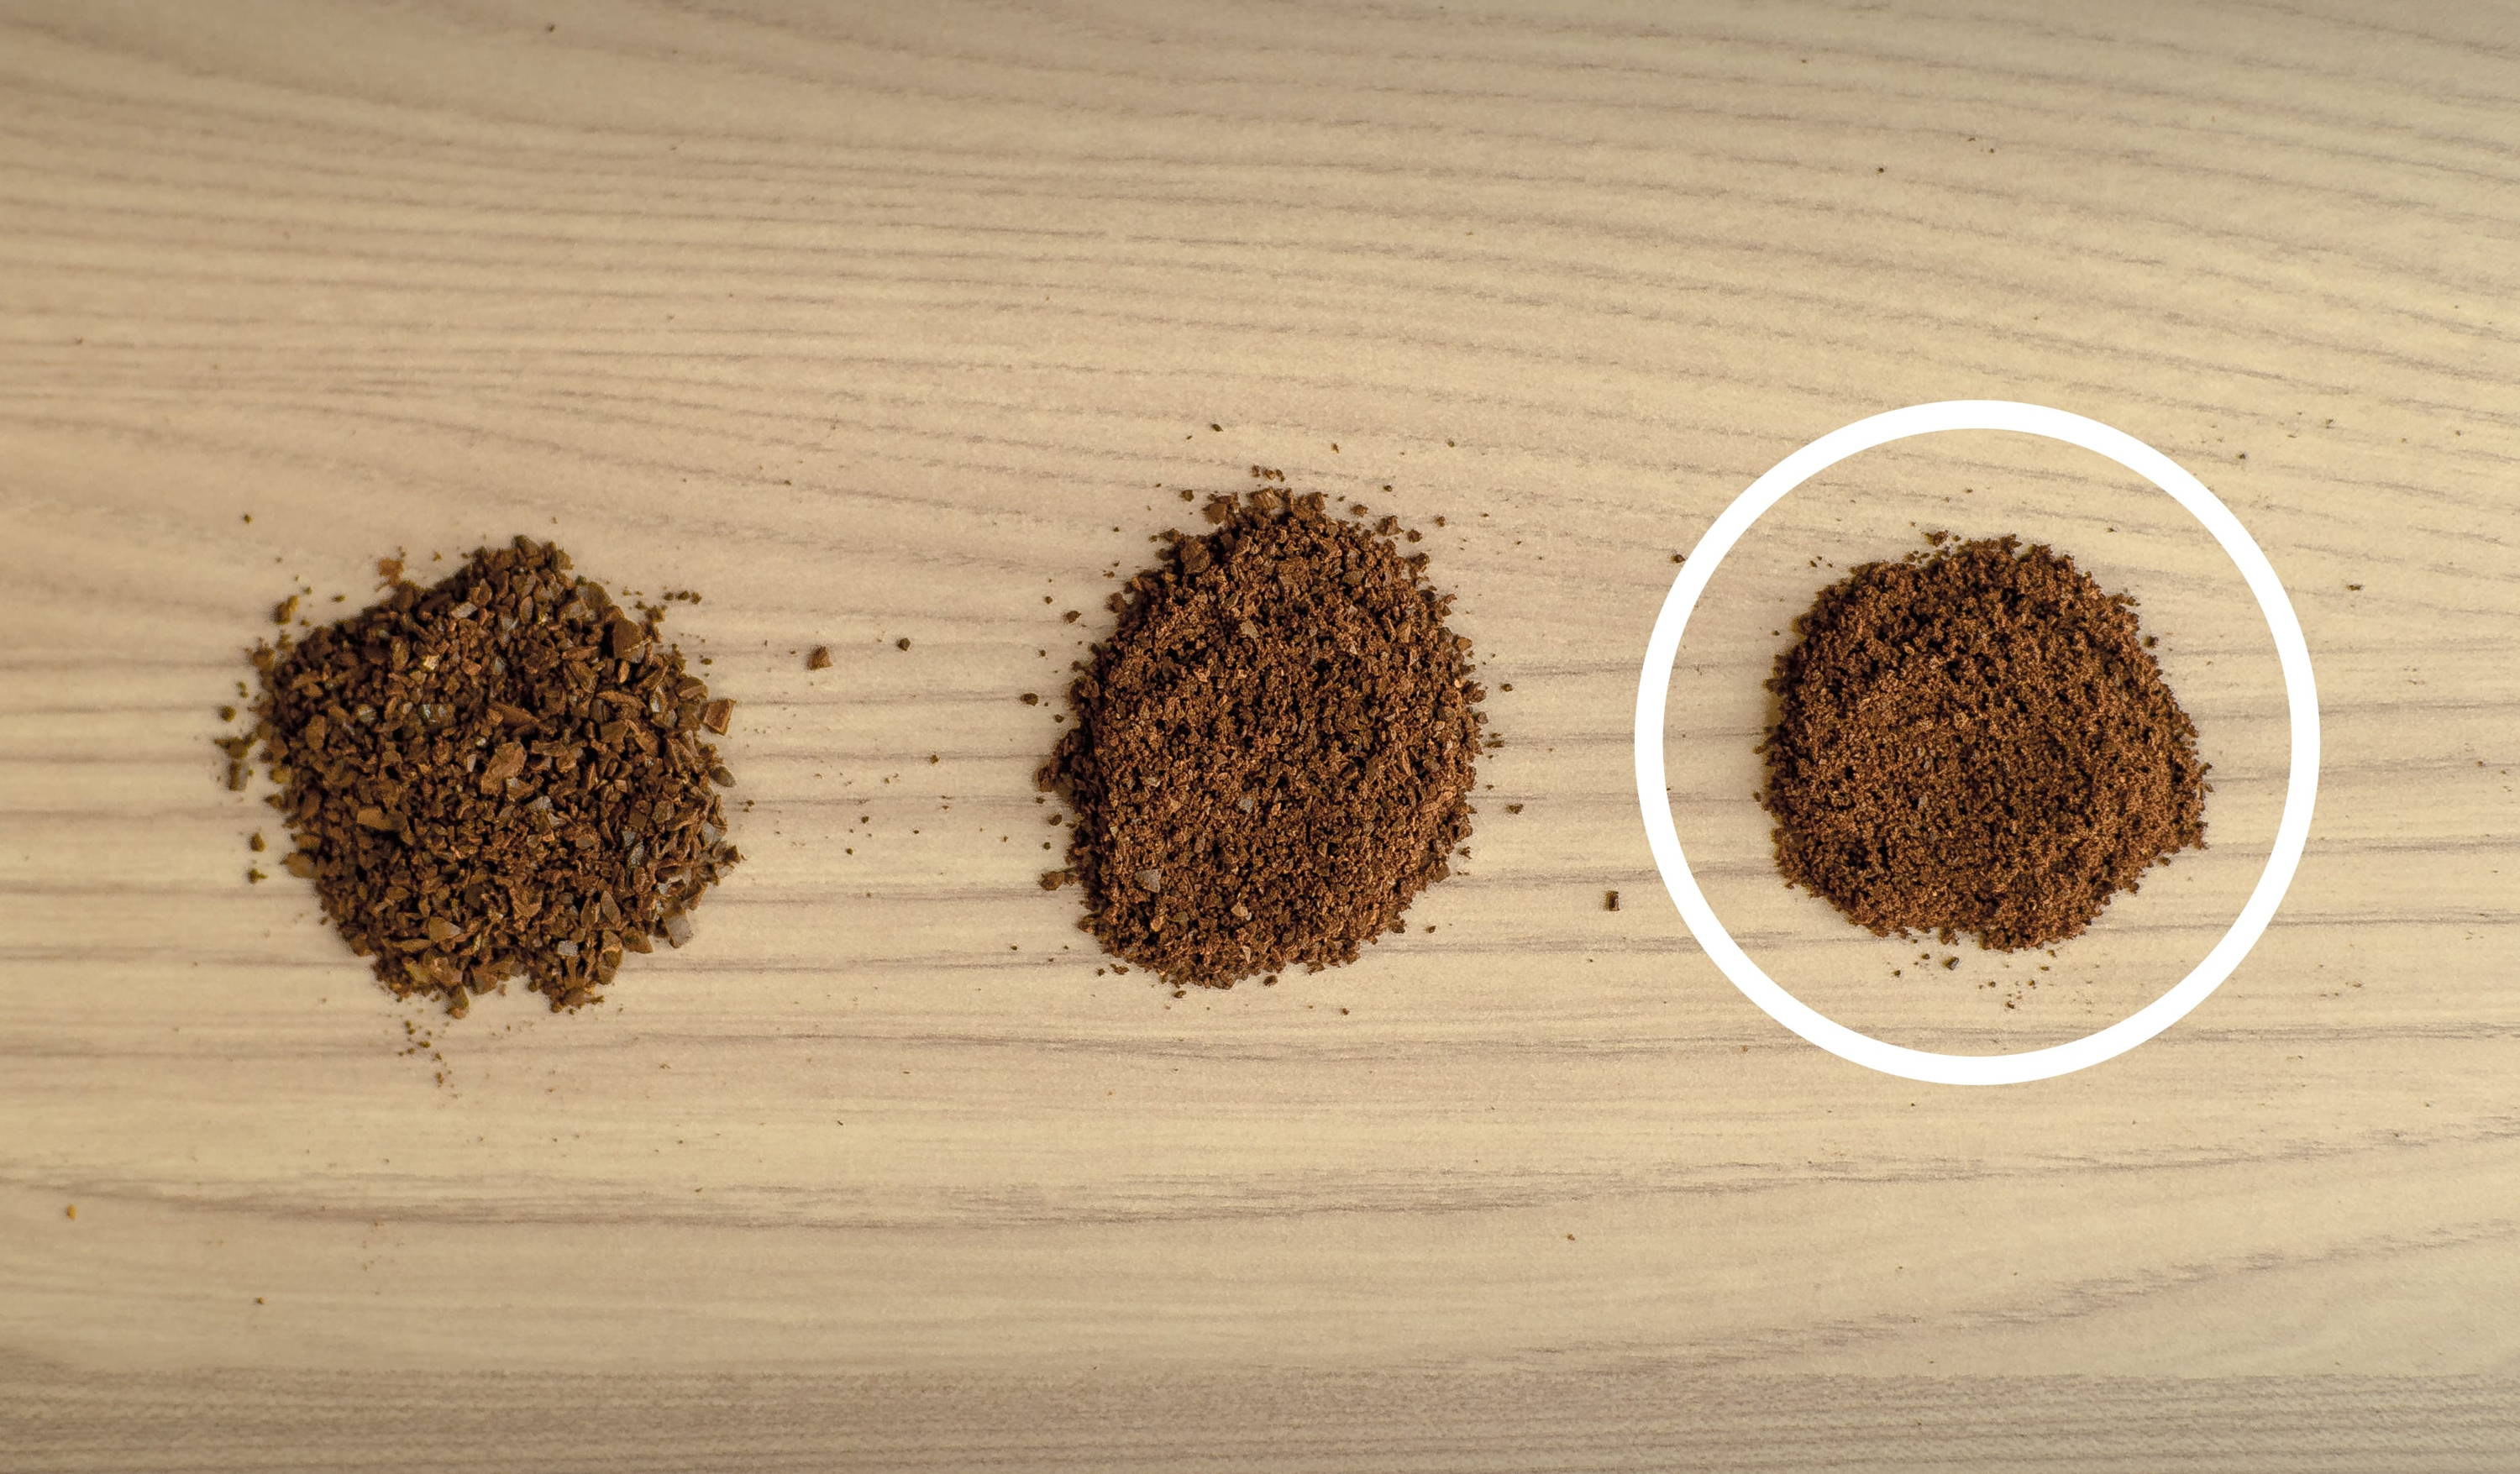
Step 3.
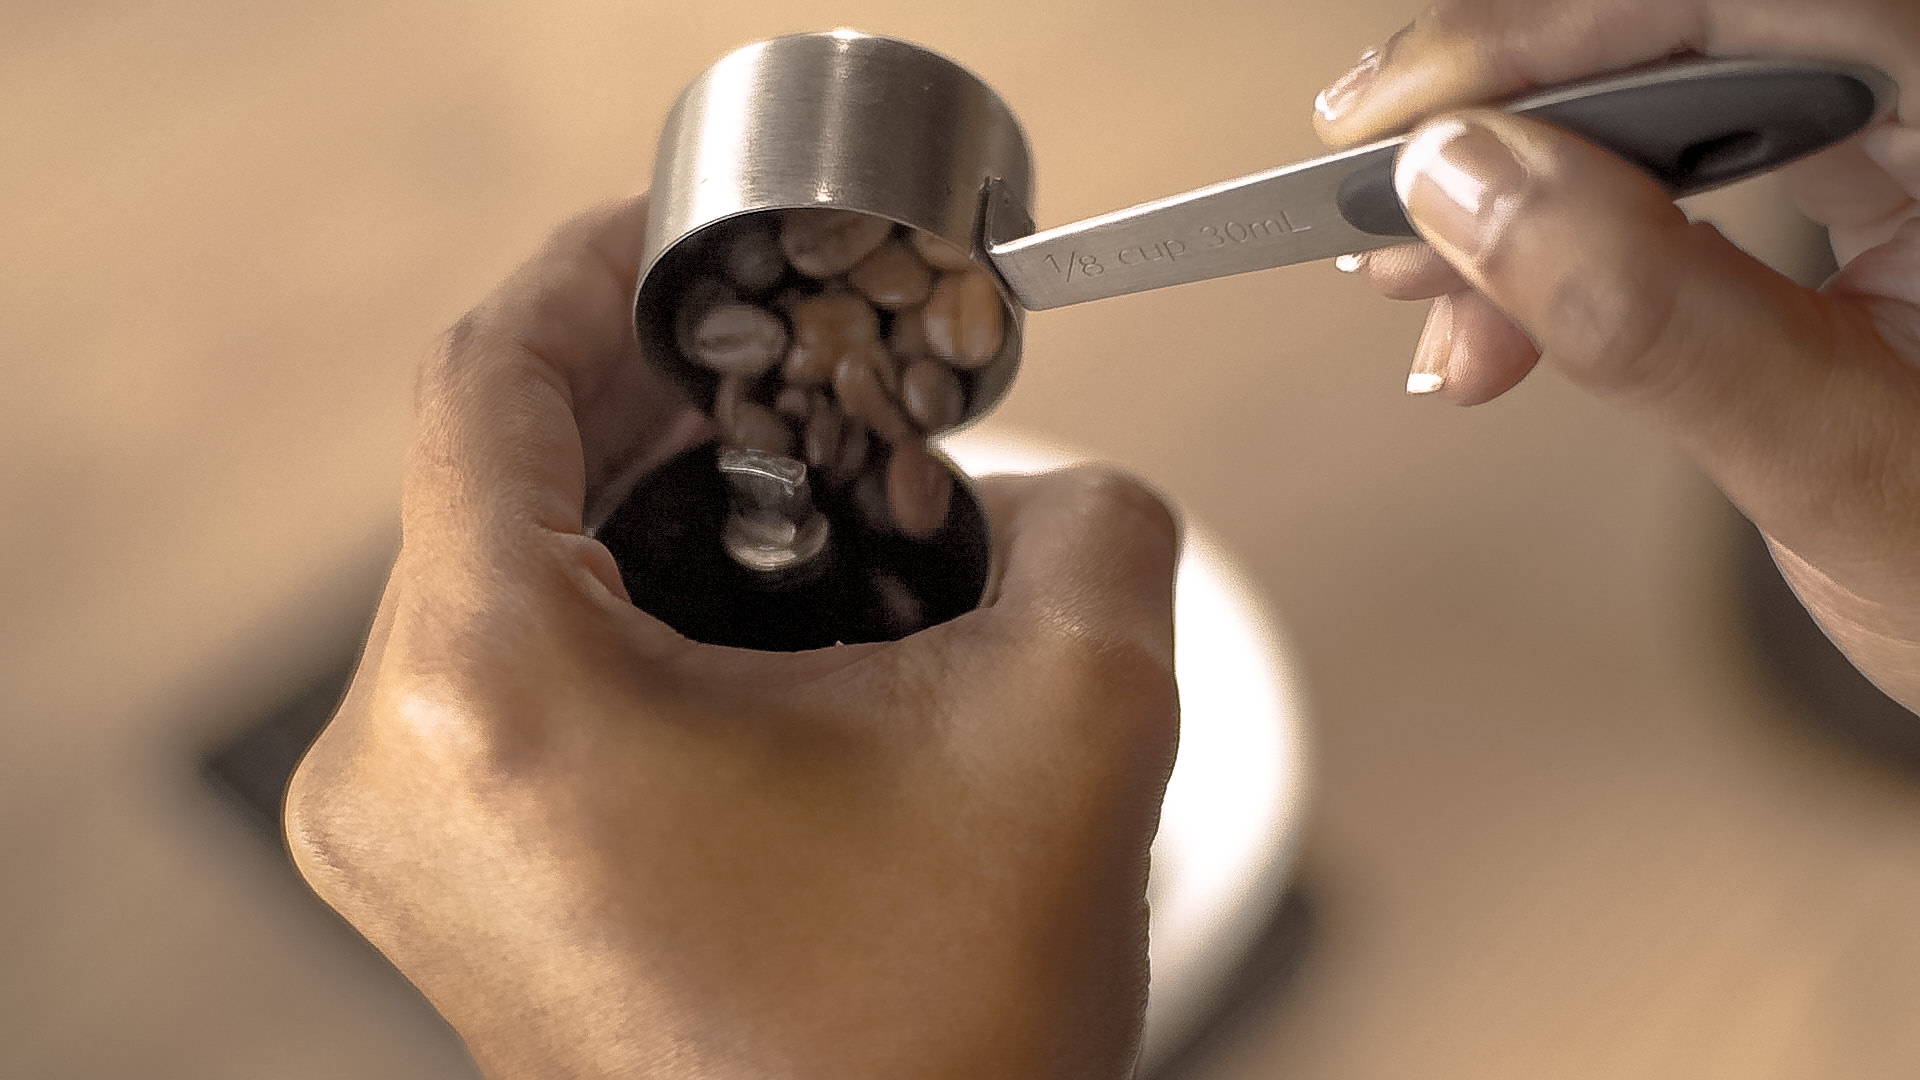
Grind your coffee beans
- Grind the coffee to a texture slightly coarser than espresso (i.e. coarser than table salt).
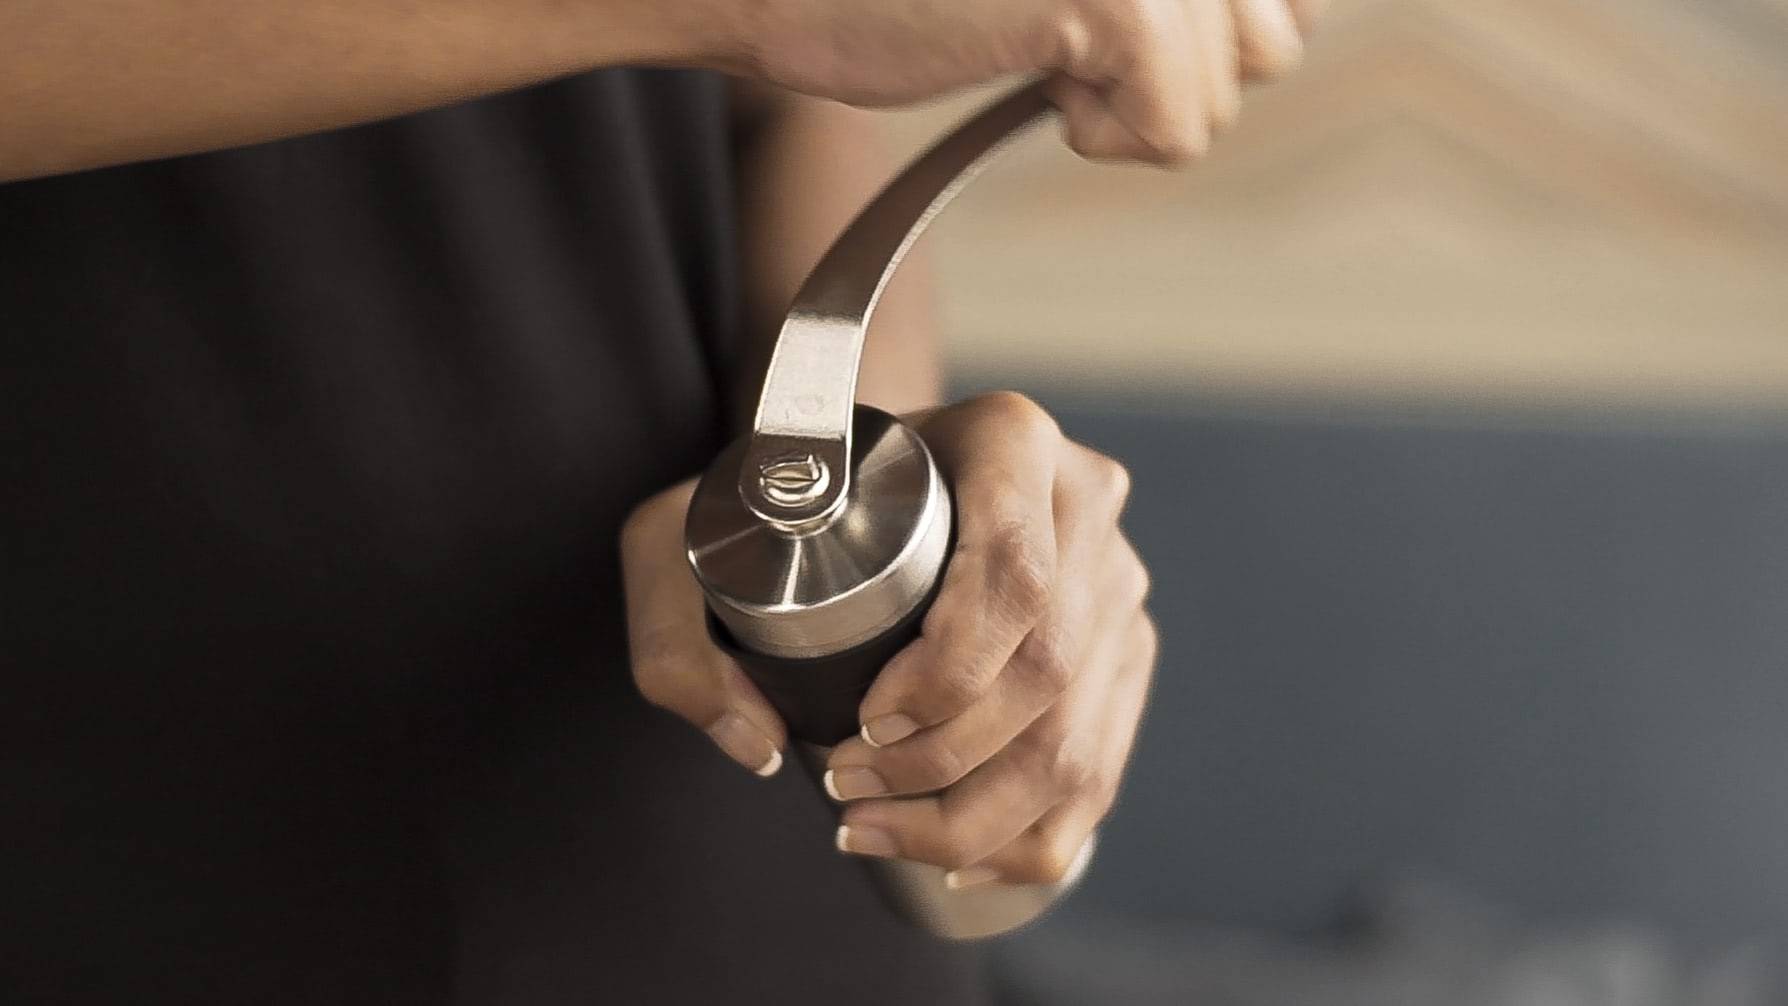
- Always experiment with your grind just like with the other aspects of your brewing process. You may try today’s brew with a fine grind and depending on how you like the taste, you may change the grind size to be larger or smaller. There is no one-size-suits-all grind; experiment to find out which grind size suits your coffee best for your taste.
Step 4.
Prepare the Moka Pot
- Unscrew the bottom half of the Moka pot and fill it with freshly boiled water. Pour the water just below the pressure valve.
- Pro tip: Avoid using cold water to fill the base as this will increase the brewing time for your coffee and cause your coffee to taste bitter.


Step 5.
Fill the filter basket with coffee
- Give the basket a gentle shake to ensure the coffee bed is level; no need to tamp the coffee.


- Place the basket into the Moka Pot base.

Step 6.
Screw on the Moka Pot top to the base.
- Use a towel to hold the base as it will be hot.

Step 7.
Place the Moka Pot on your stove at medium heat.
- You may leave the lid open to observe the brewing process.
- As the water heats and approaches the boiling temperature, the pressure from the water vapor will push the boiling water through the coffee grounds and up through the top chamber.

Step 8.
Wait as the coffee starts to boil up.
- You’ll know when your coffee is done brewing when you hear a hissing, bubbling sound.
- Pro tip: When you remove the Moka Pot from the stove top, rinse the base with cool water to stop the brewing process and avoid over extraction.

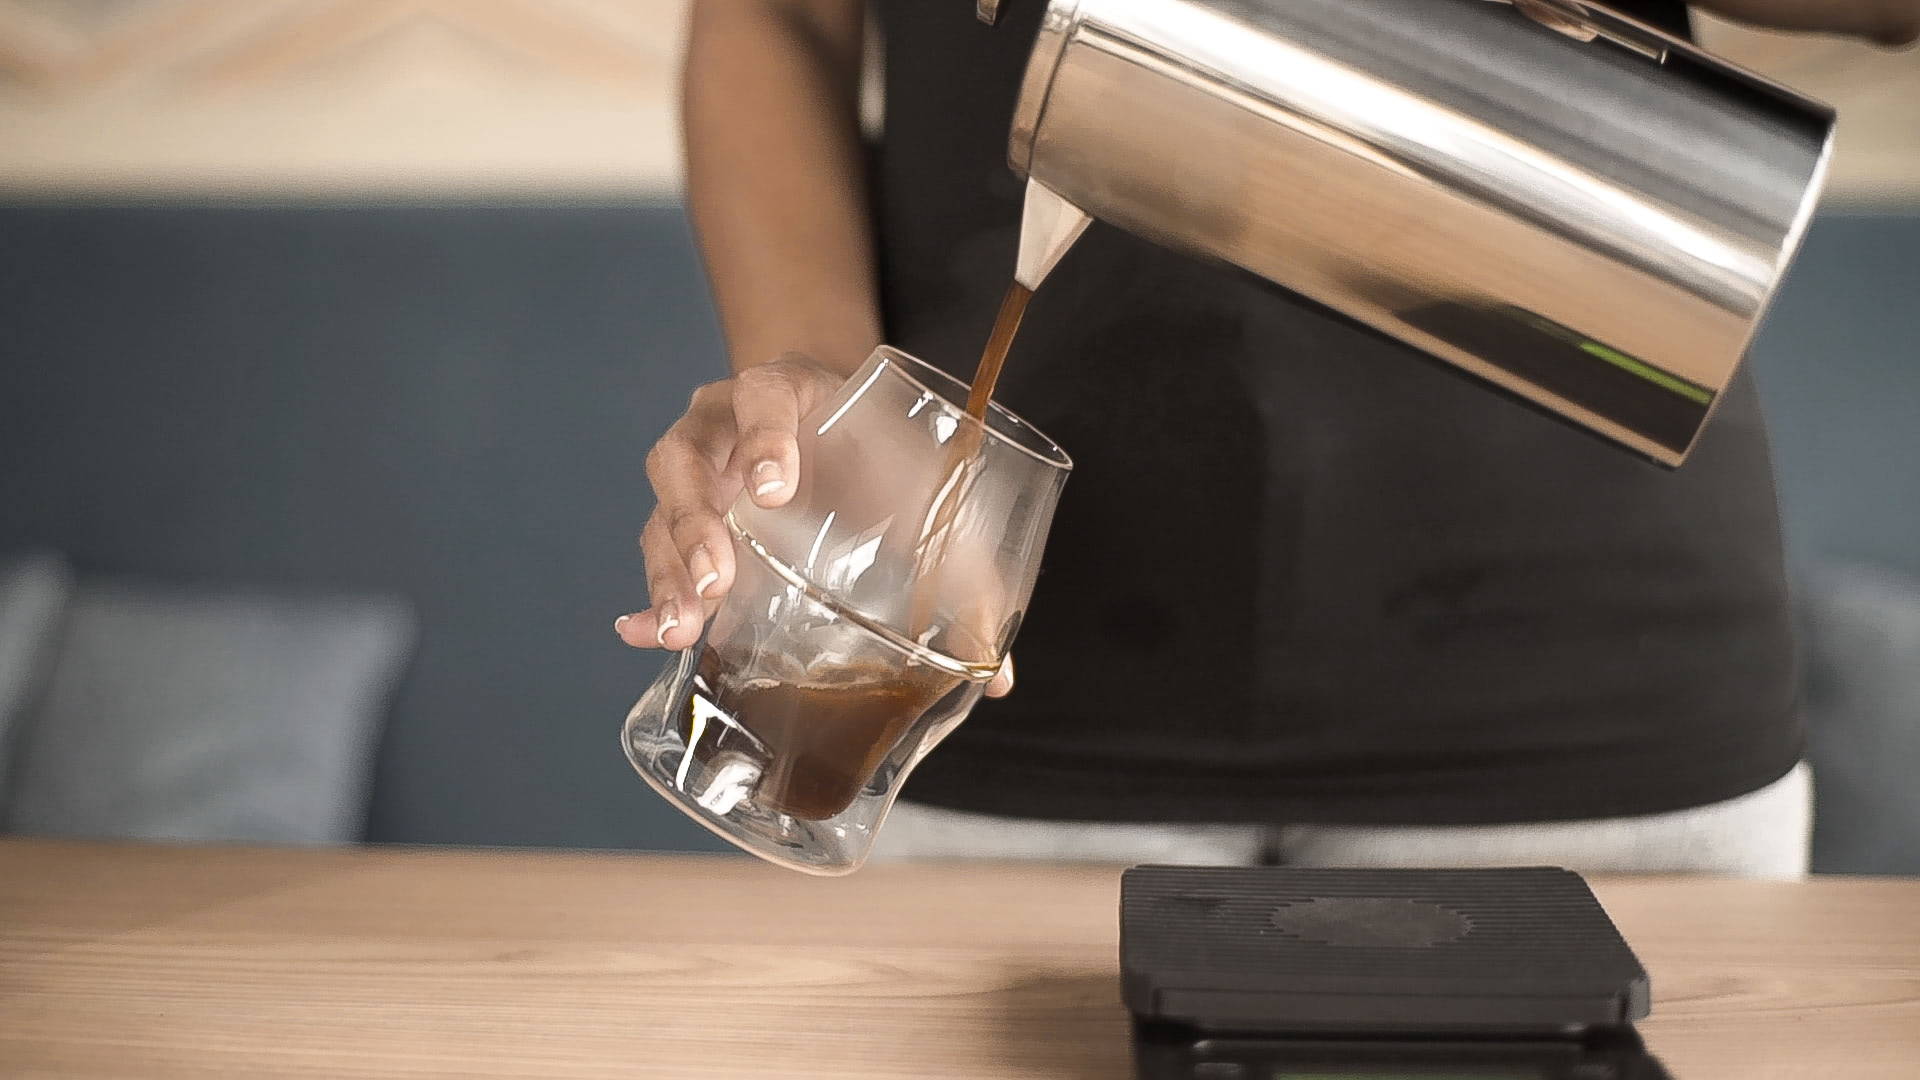
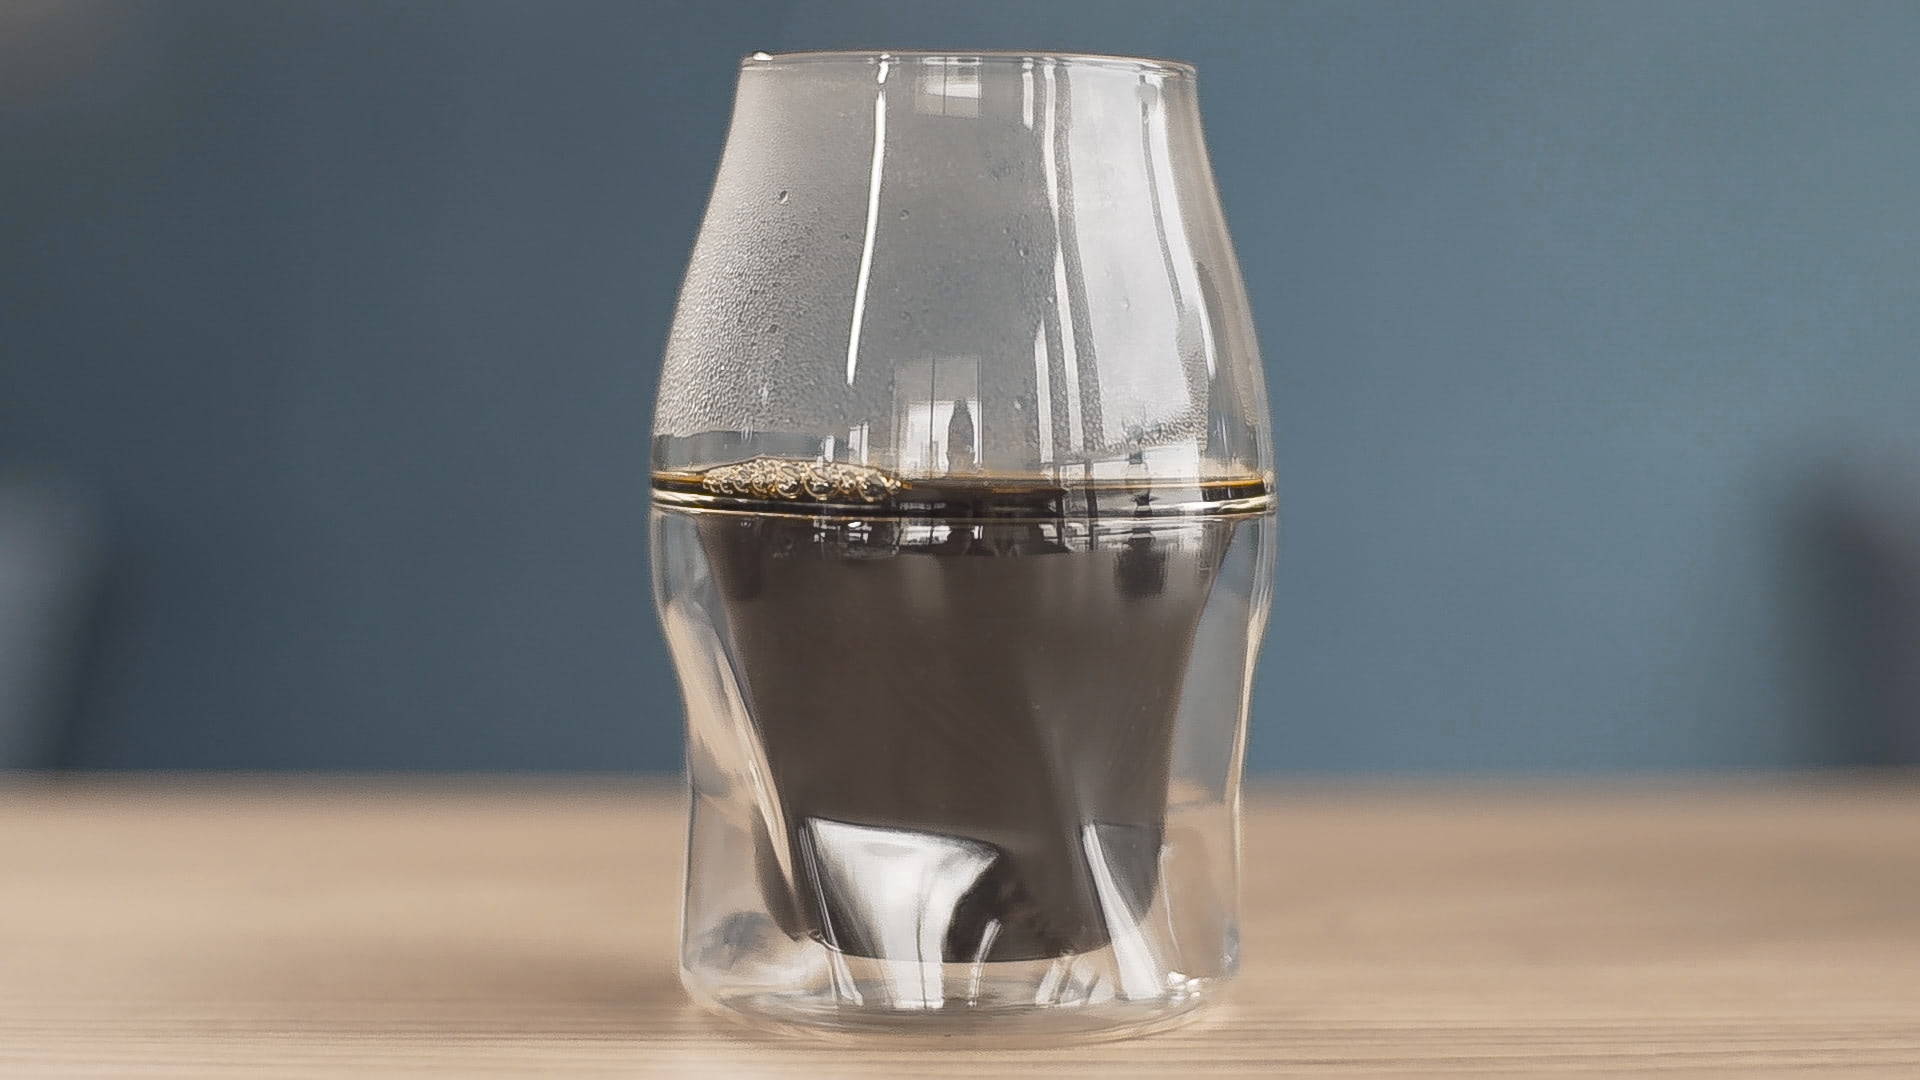
Step 9.
Serve and enjoy!
Pro Tips
- Keep your coffee tasting best by keeping your Moka Pot clean; you can remove the rubber gaskets and filter baskets from the top and bottom chambers; clean these regularly to remove stale residual coffee oils.
- To maintain the integrity of the rubber gaskets, don’t screw the Moka Pot top and base tightly during storage, this can cause unwanted pressure on the gaskets and wear them out faster.