Aeropress is a unique brewer that marries characteristics of immersion brewing (like french press) with drip & filter coffee (like pour over). Although pressure is involved, it doesn't get quite close to the 9 bars of pressure required to produce espresso. Thanks to it's more controlled brewing technique (with fewer room for errors), you can expect more consistent results compared to pour over or french press. The ingenious design makes it a great starter kit for coffee lovers who are keen to get into manual brewing at home, with many options for creative brewing methods.
Aeropress has a huge following, with a global championship competition featuring Aeropress brewing competitors around the world. If you ever feel adventurous enough, you can easily look up brewing techniques and recipes from past champions and recreate their recipes in the comfort of your home!
If you're just starting out, this Aeropress brew guide is the perfect place to get started!
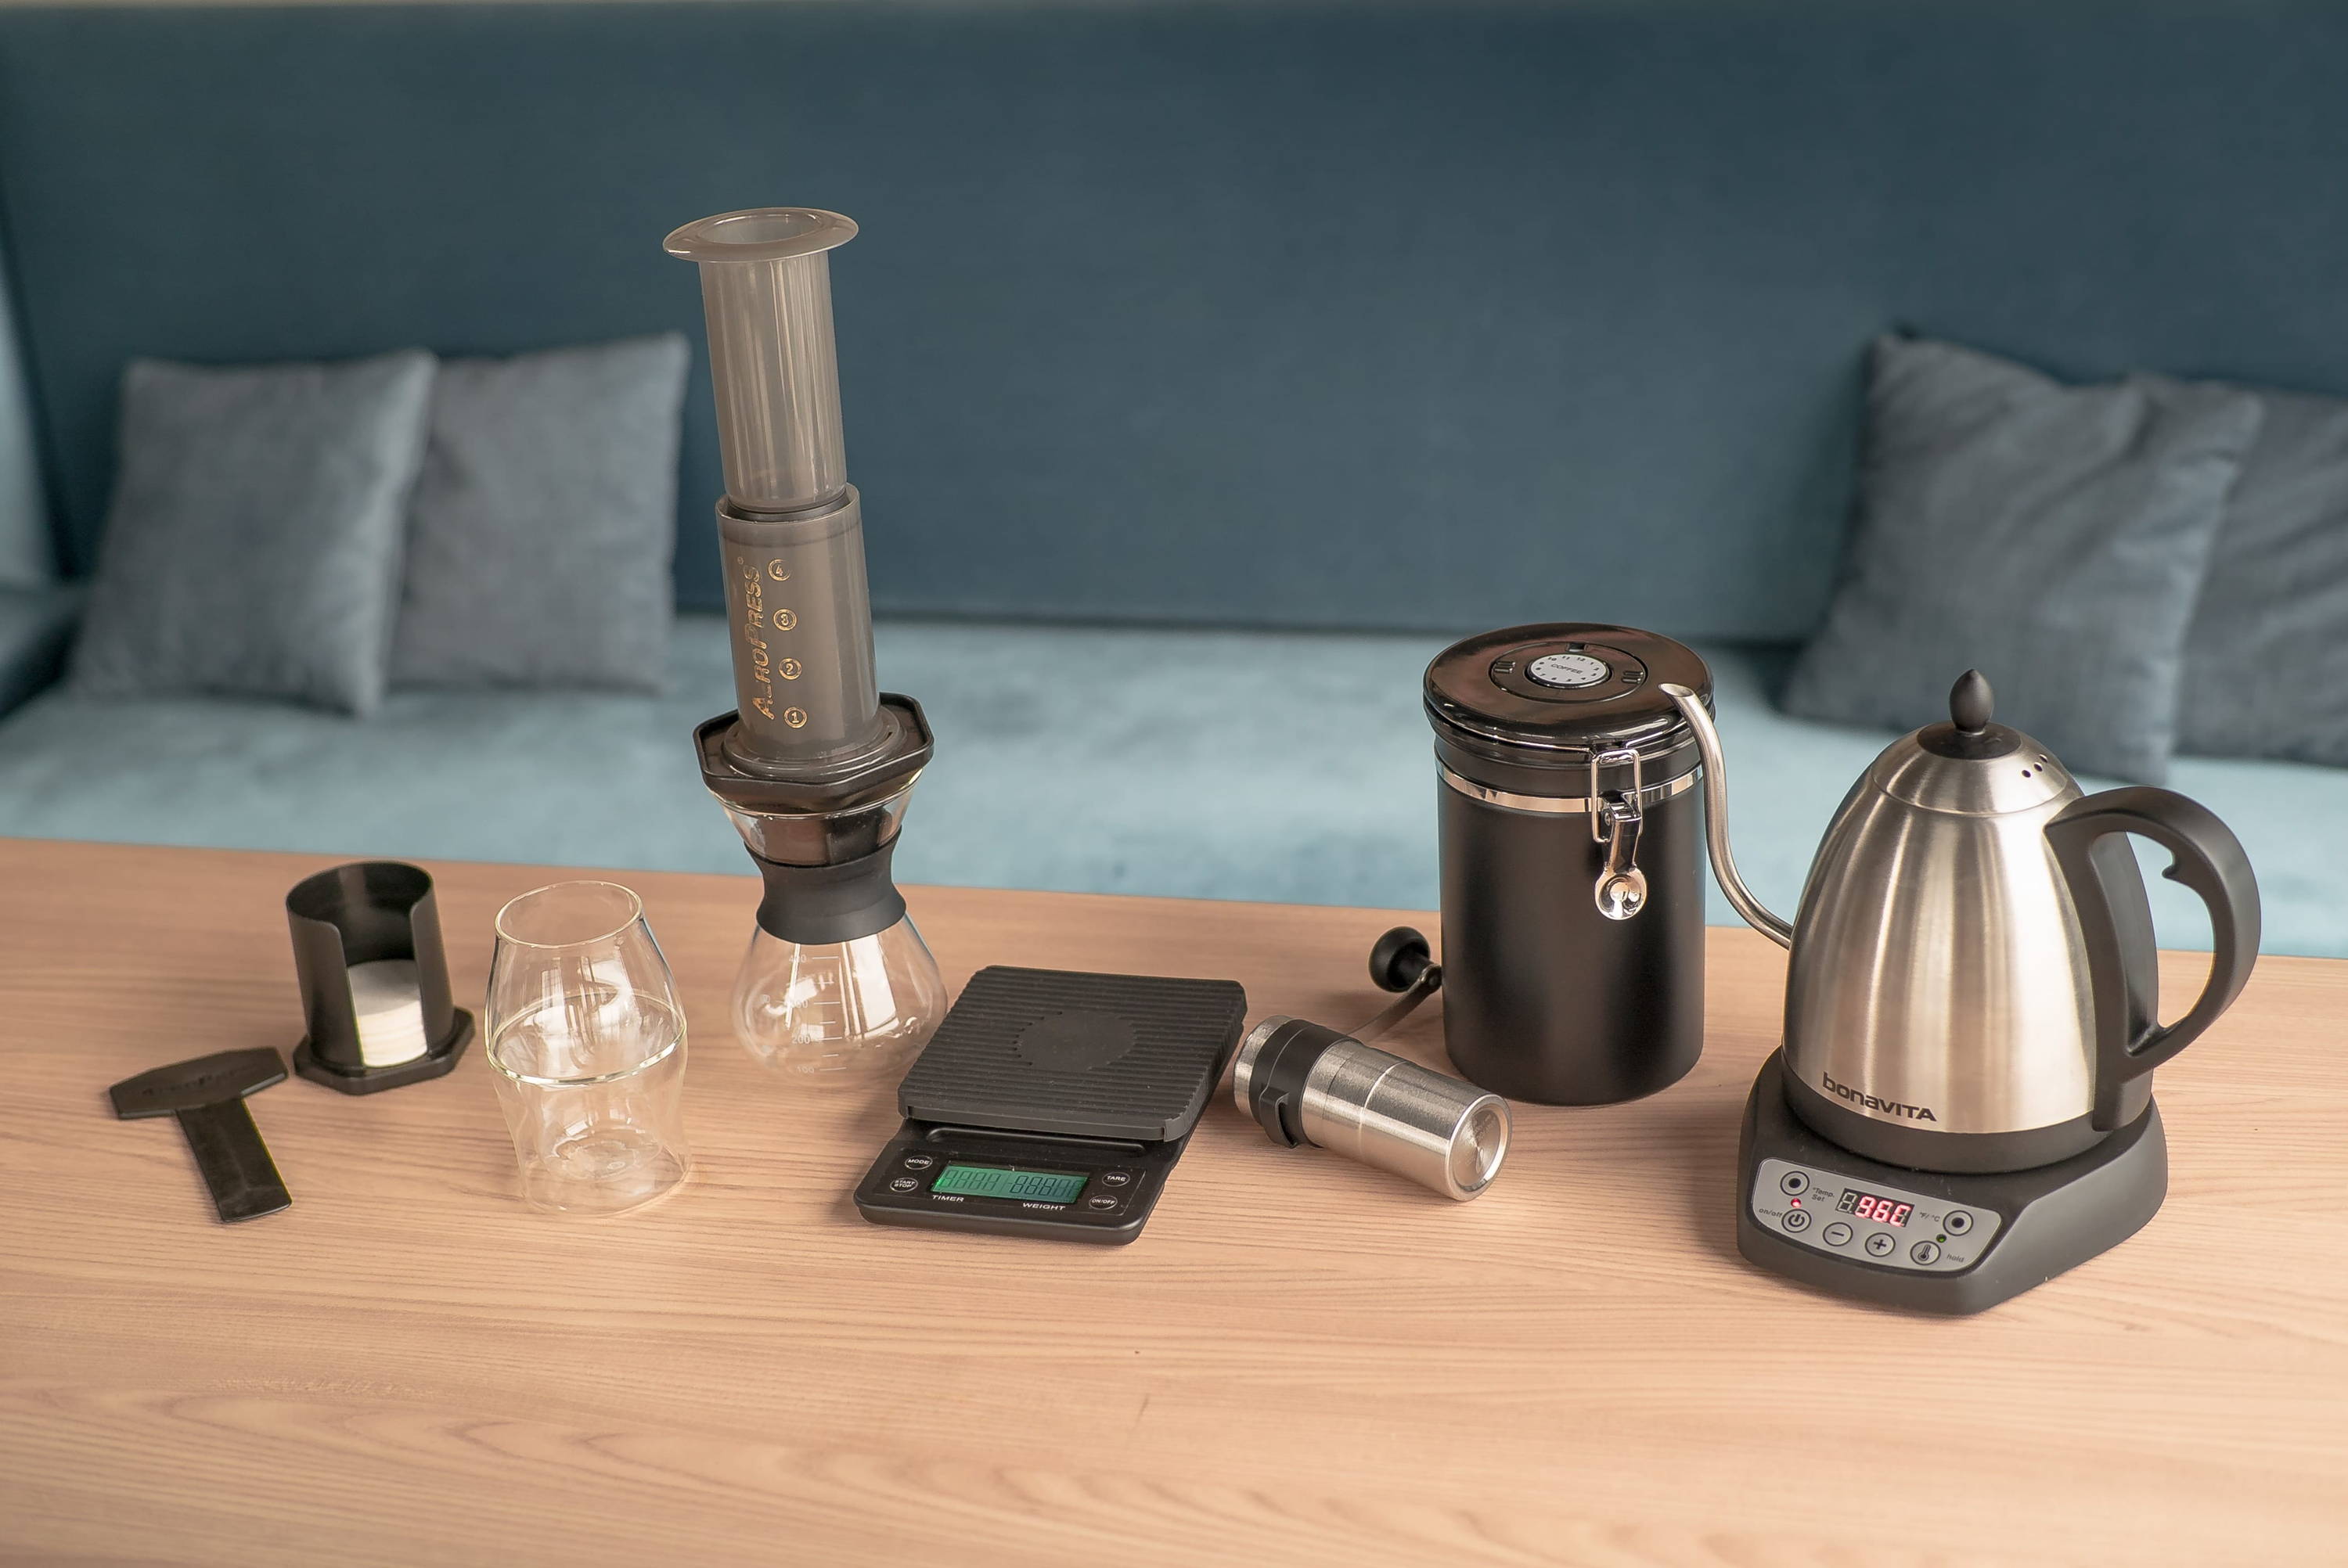
What you'll need
- 18g of freshly roasted whole coffee beans
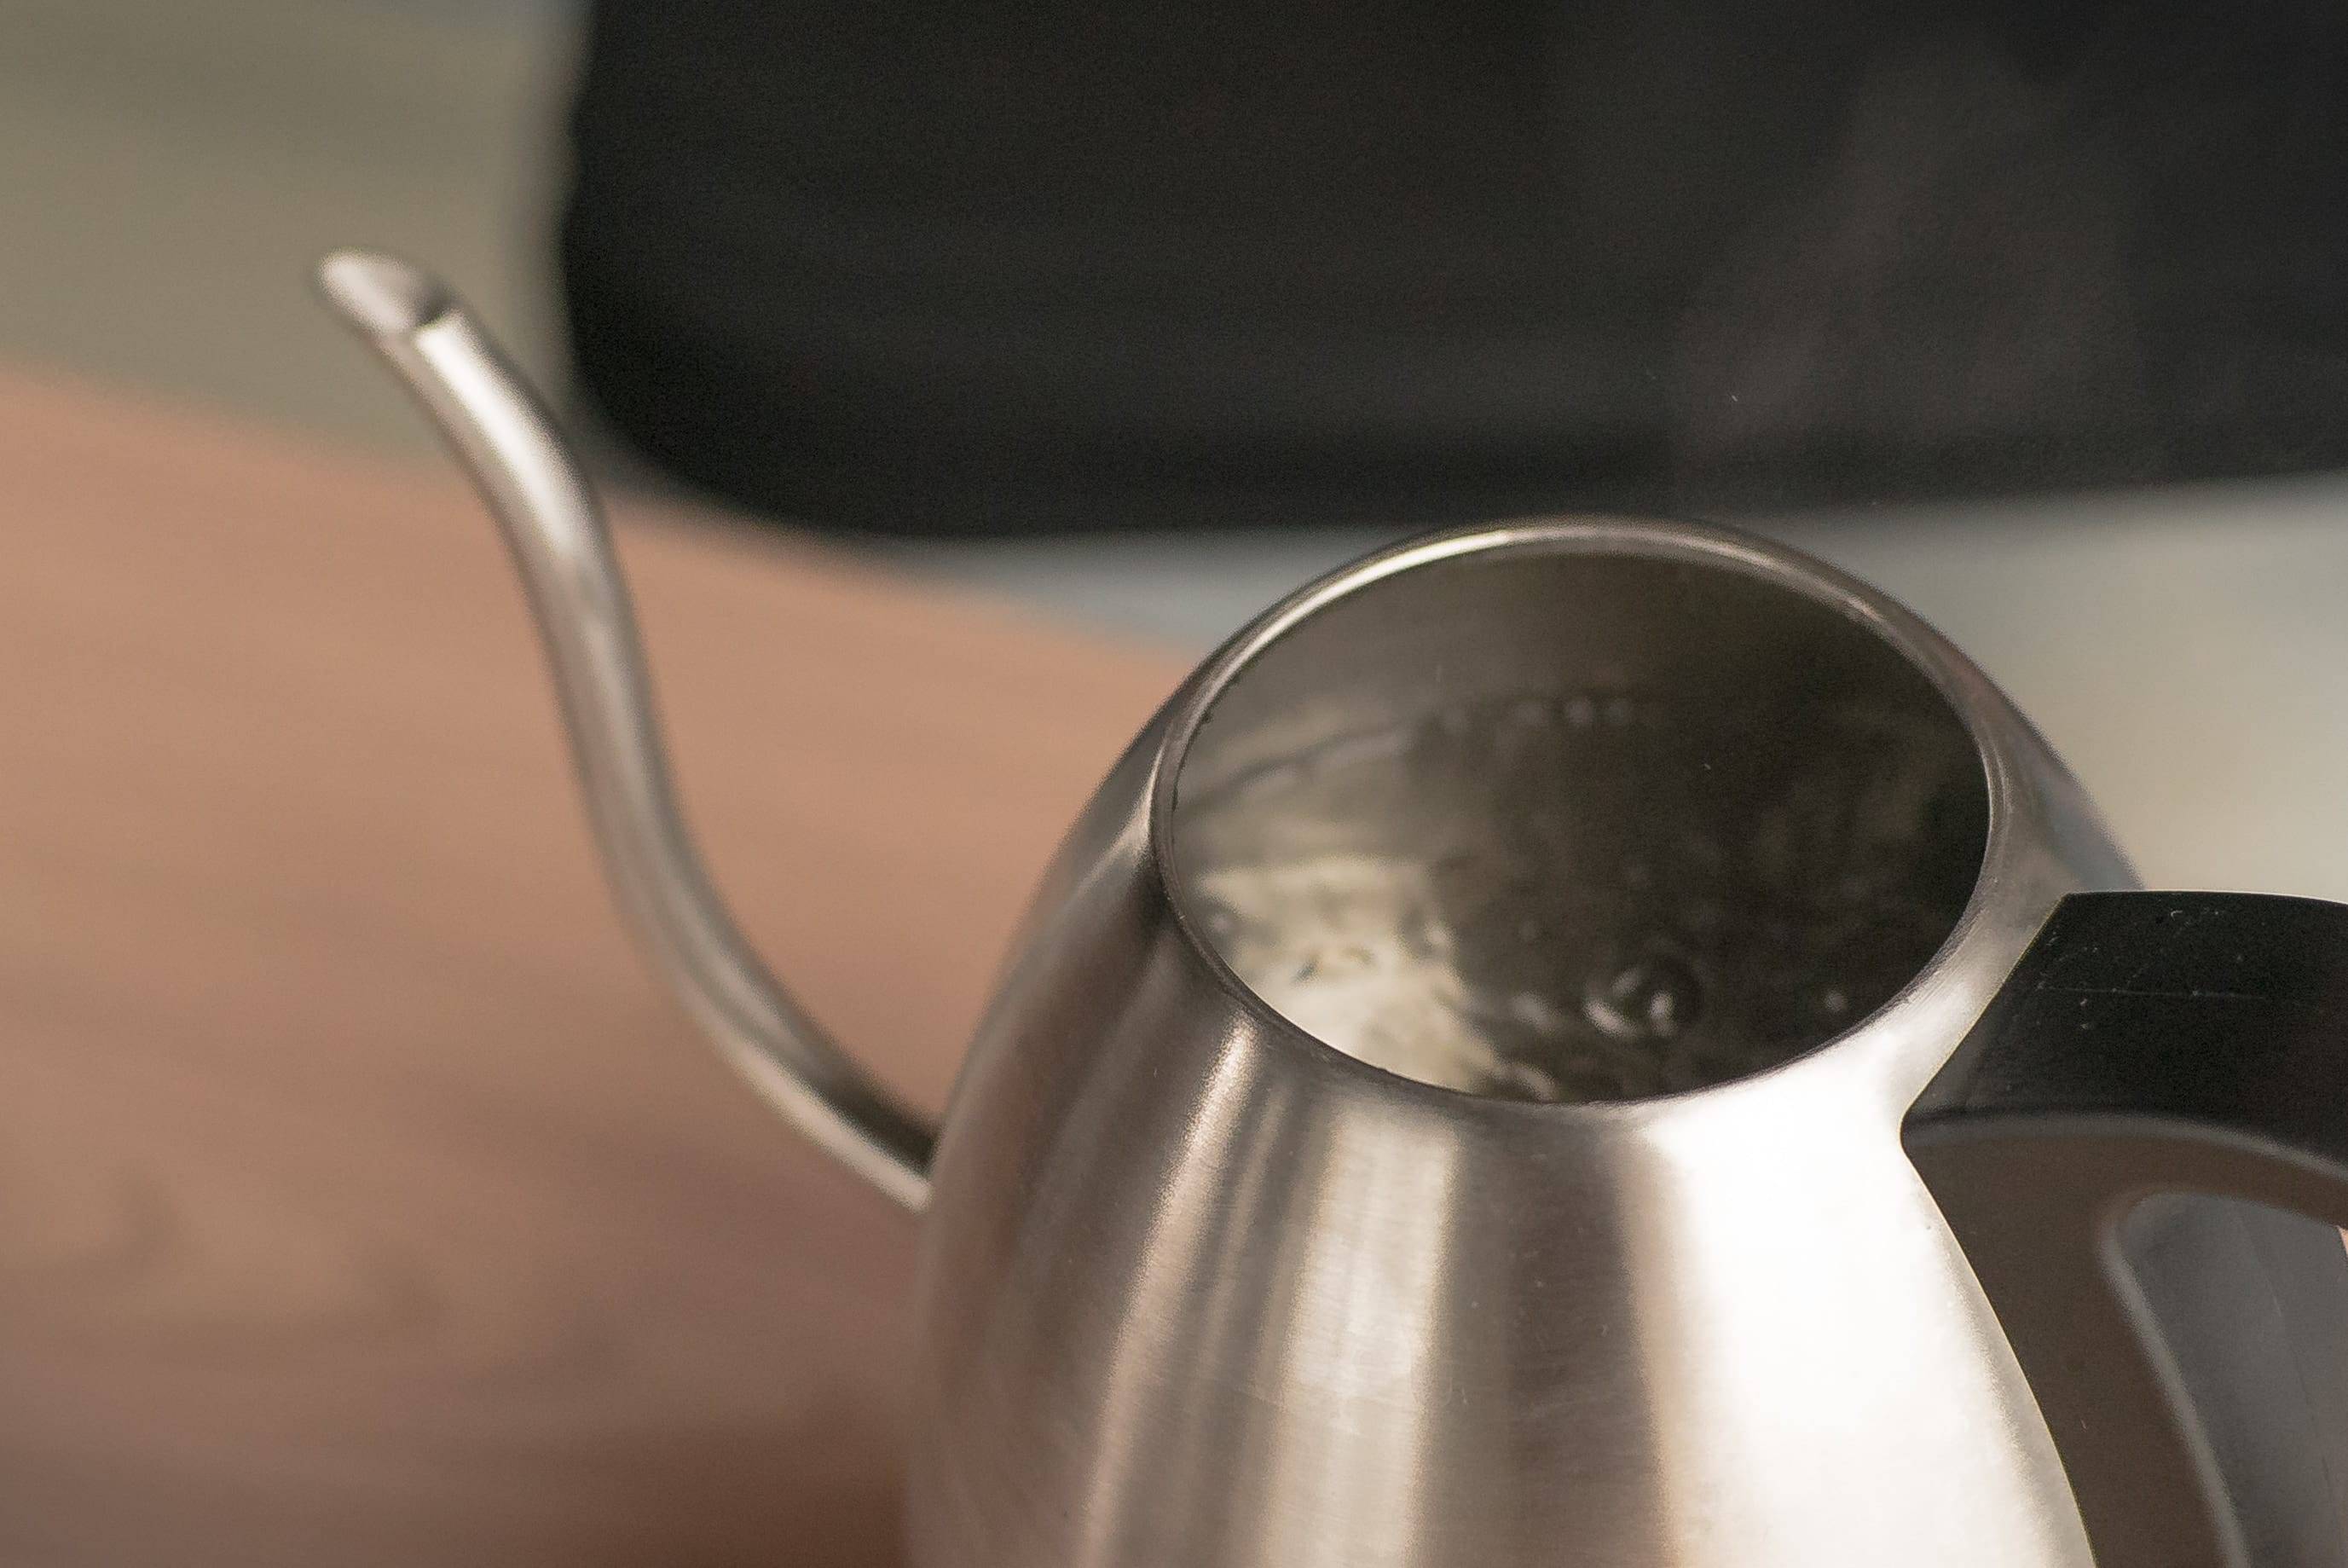
- Gooseneck kettle (electric/stove) to boil water
- Filtered water or mineral water
- Hand grinder or automatic grinder (with conical or round burrs for best results)
- Digital Scale
- Timer
- Aeropress & 2x Aeropress filters
- Stirring stick
- Your favorite coffee cup
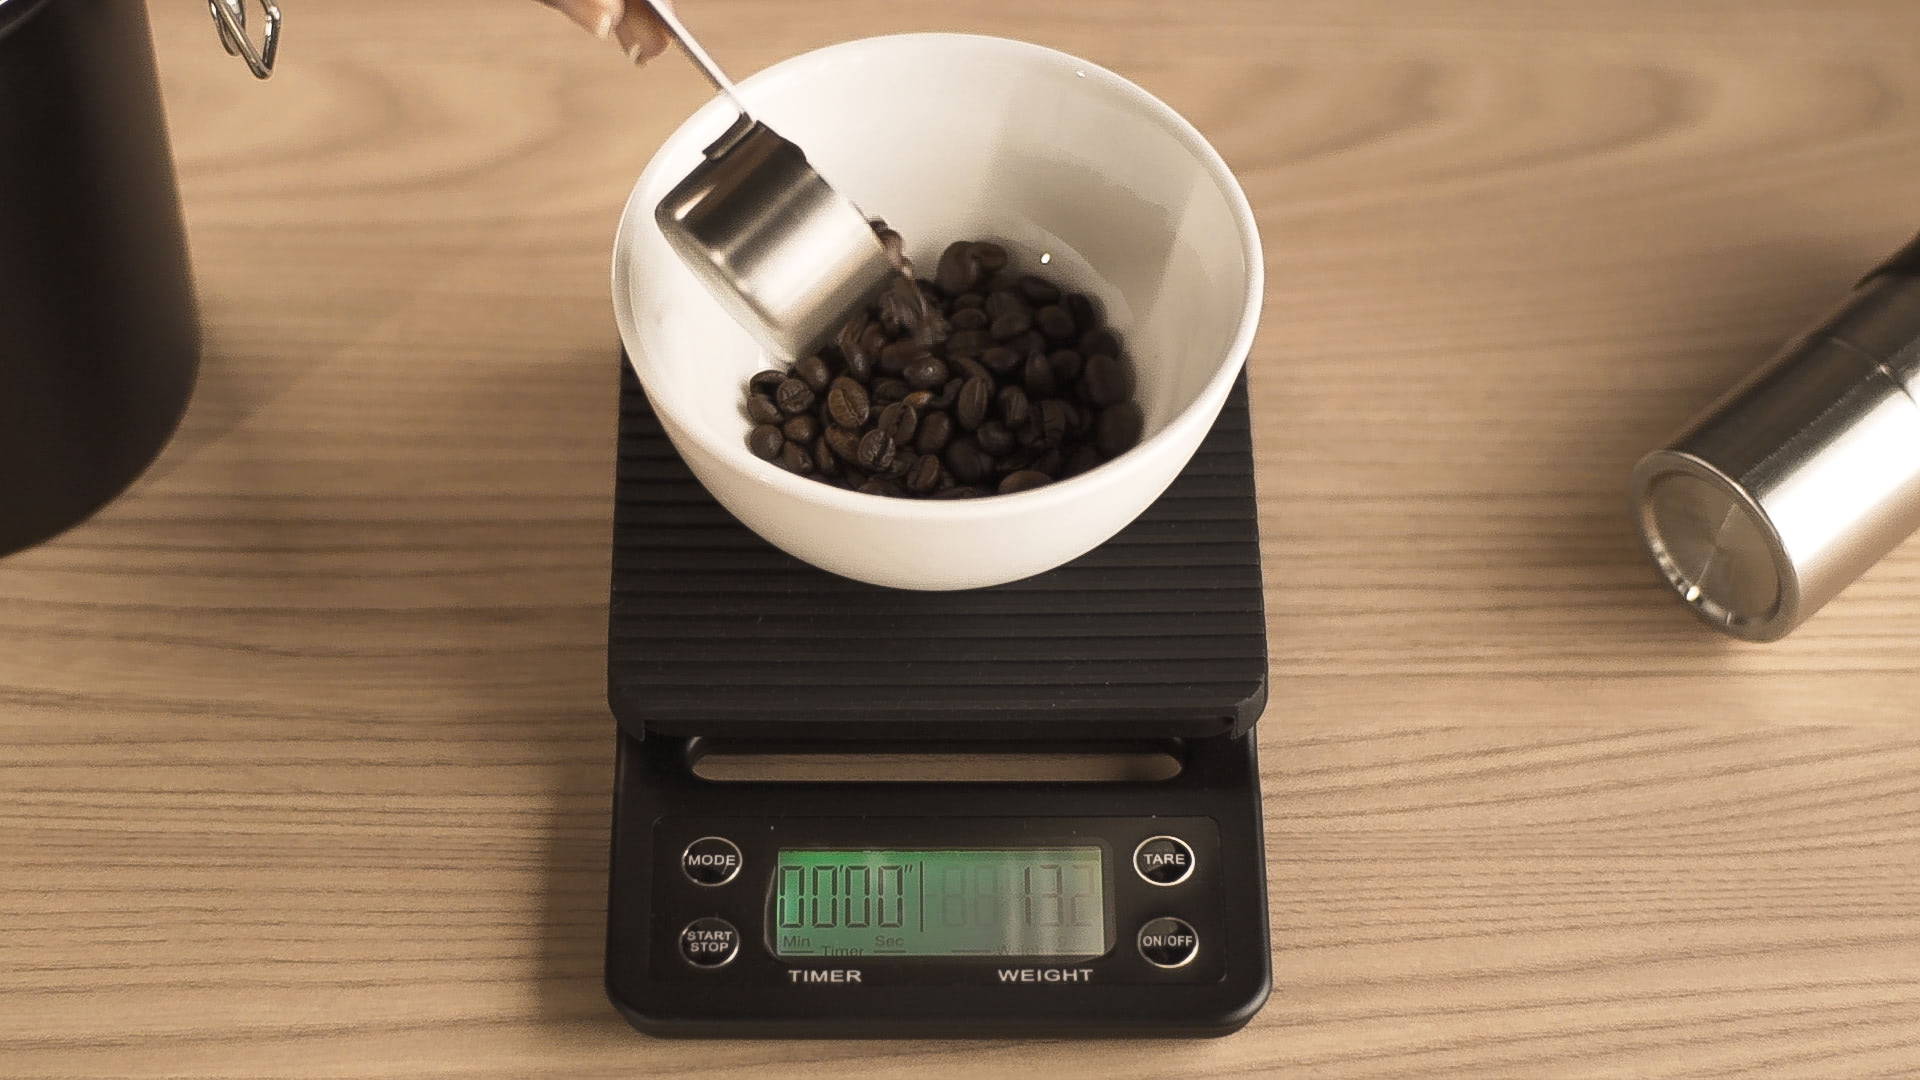
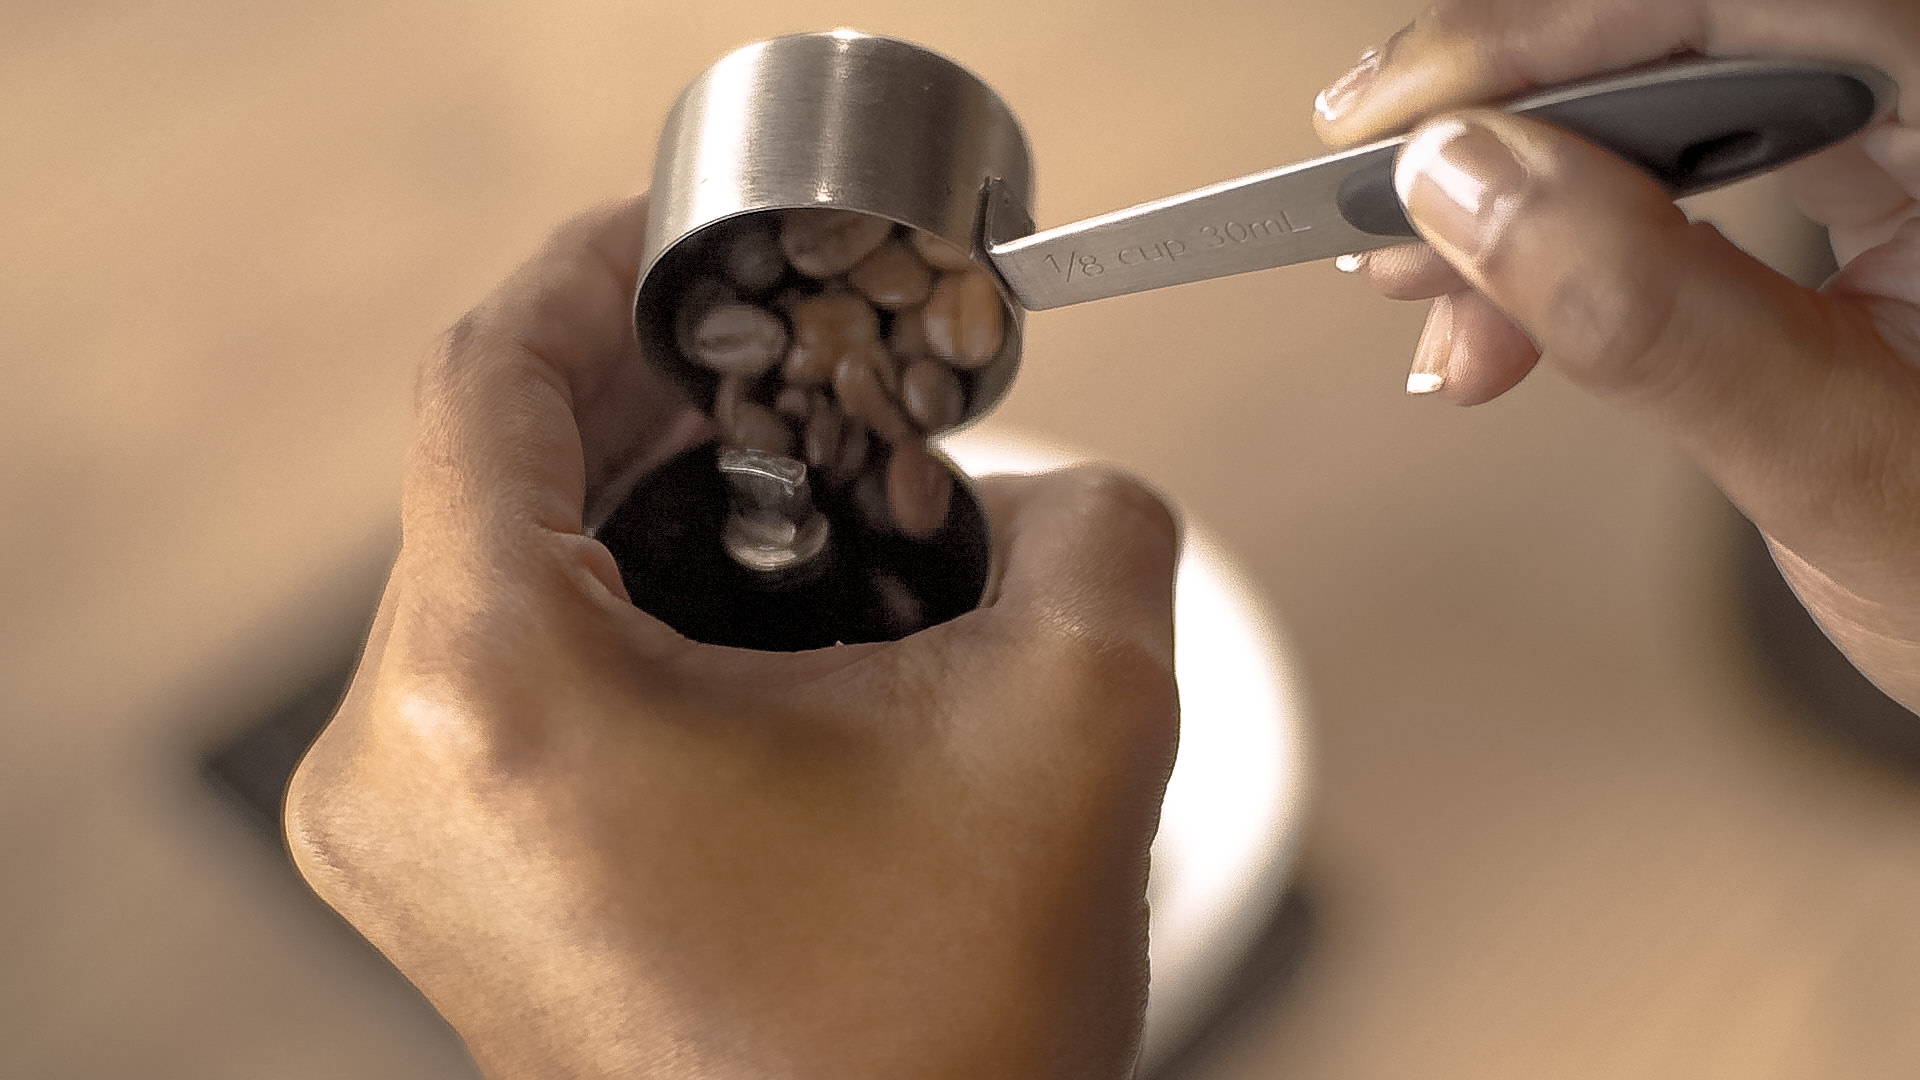
Step 1.
Weigh out the desired amount of coffee
- Use a digital scale to measure the whole bean weight before grinding.
- The ratio of coffee to water varies depending on the type of coffee you are brewing and your preferred strength. For this recipe we recommend starting with 18g of coffee with 200g of water (1:11 coffee to water ratio), then adjusting the ratio according to your taste.
- For stronger coffee, brew with 1:11 coffee to water ratio
- For weaker coffee, brew with 1:14 coffee to water ratio
Step 2.
Grind your coffee beans
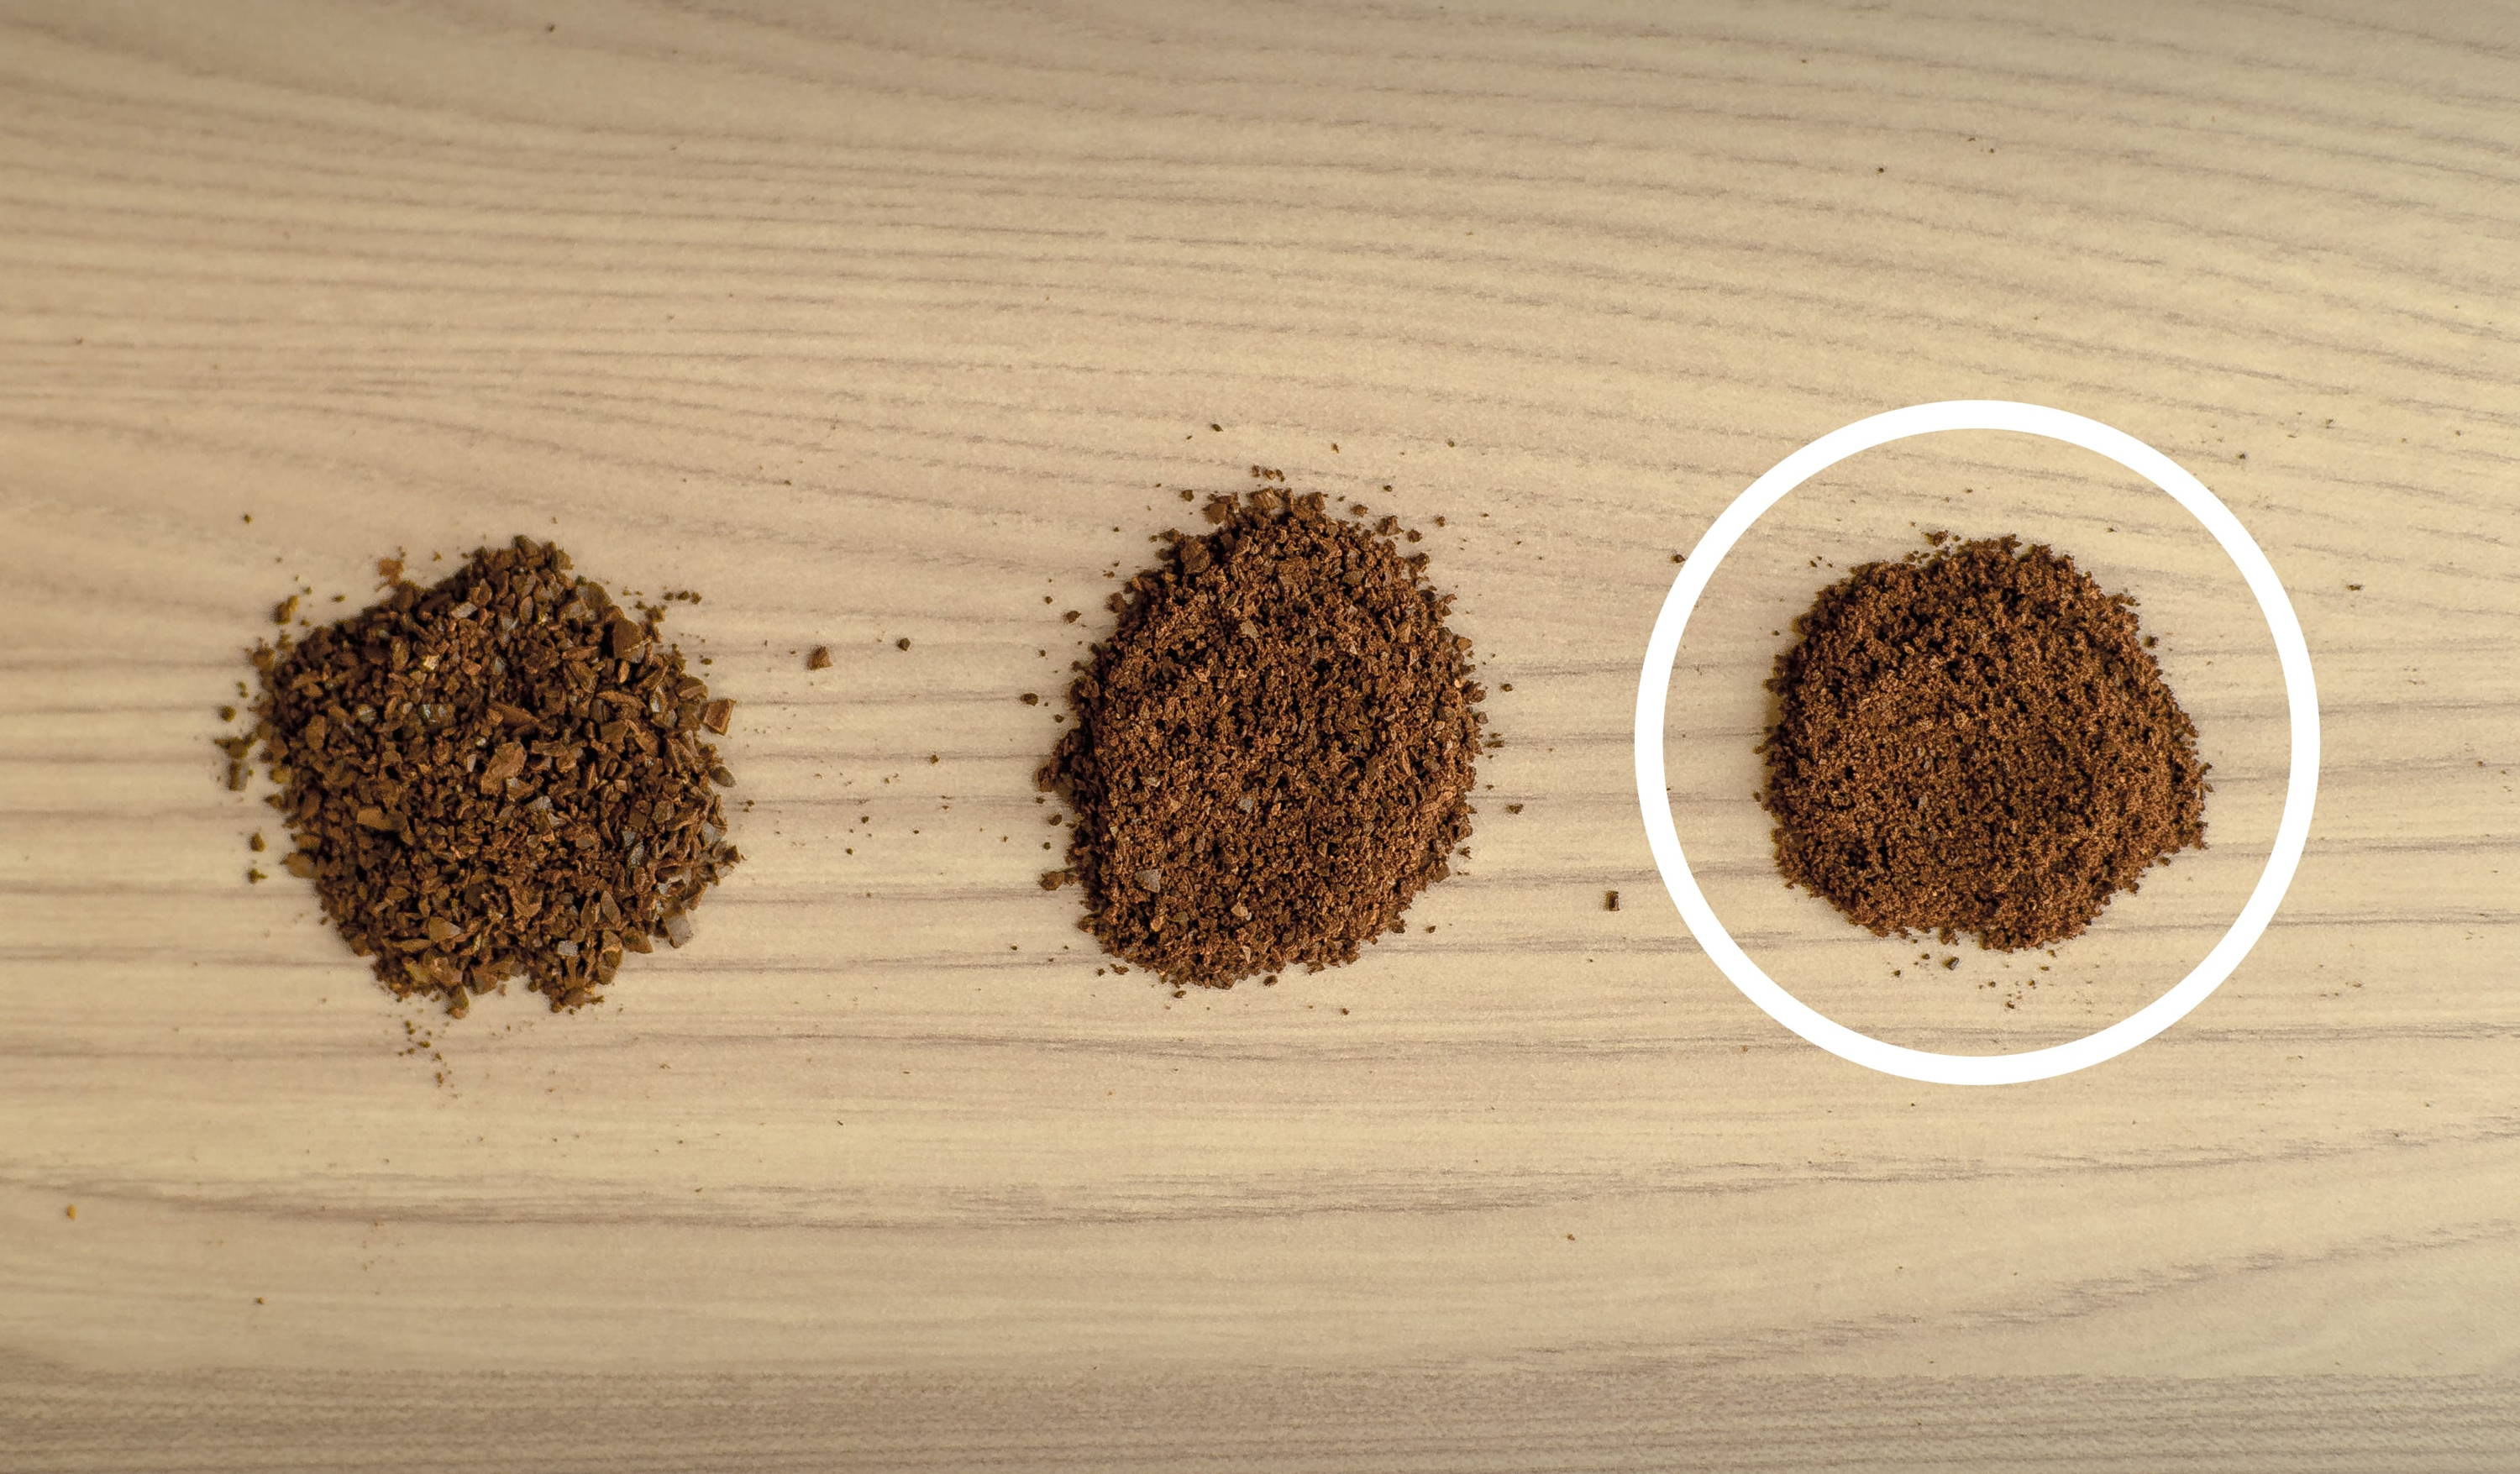
- Aim for a fine grind size with texture slightly finer than sea salt.
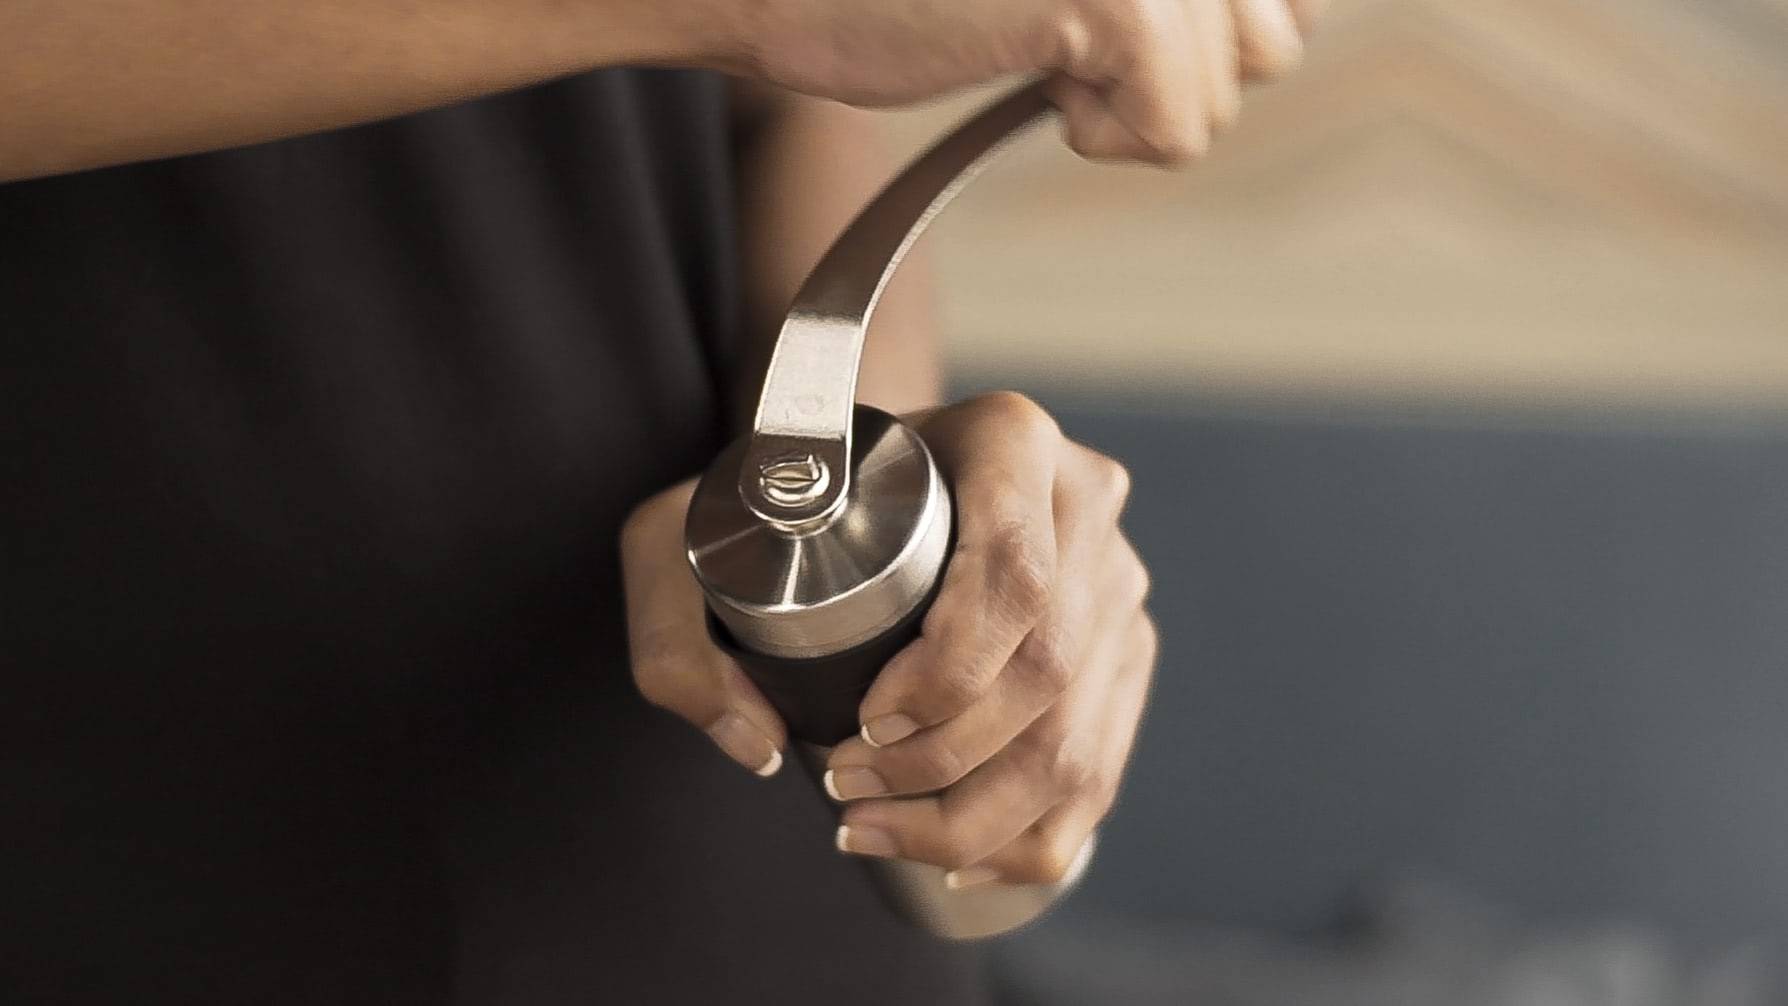
- Always experiment with your grind just like with the other aspects of your brewing process. You may try today’s brew with a fine grind and depending on how you like the taste, you may change the grind size to be larger or smaller. There is no one-size-suits-all grind; experiment to find out which grind size suits your coffee best for your taste.
Step 3.
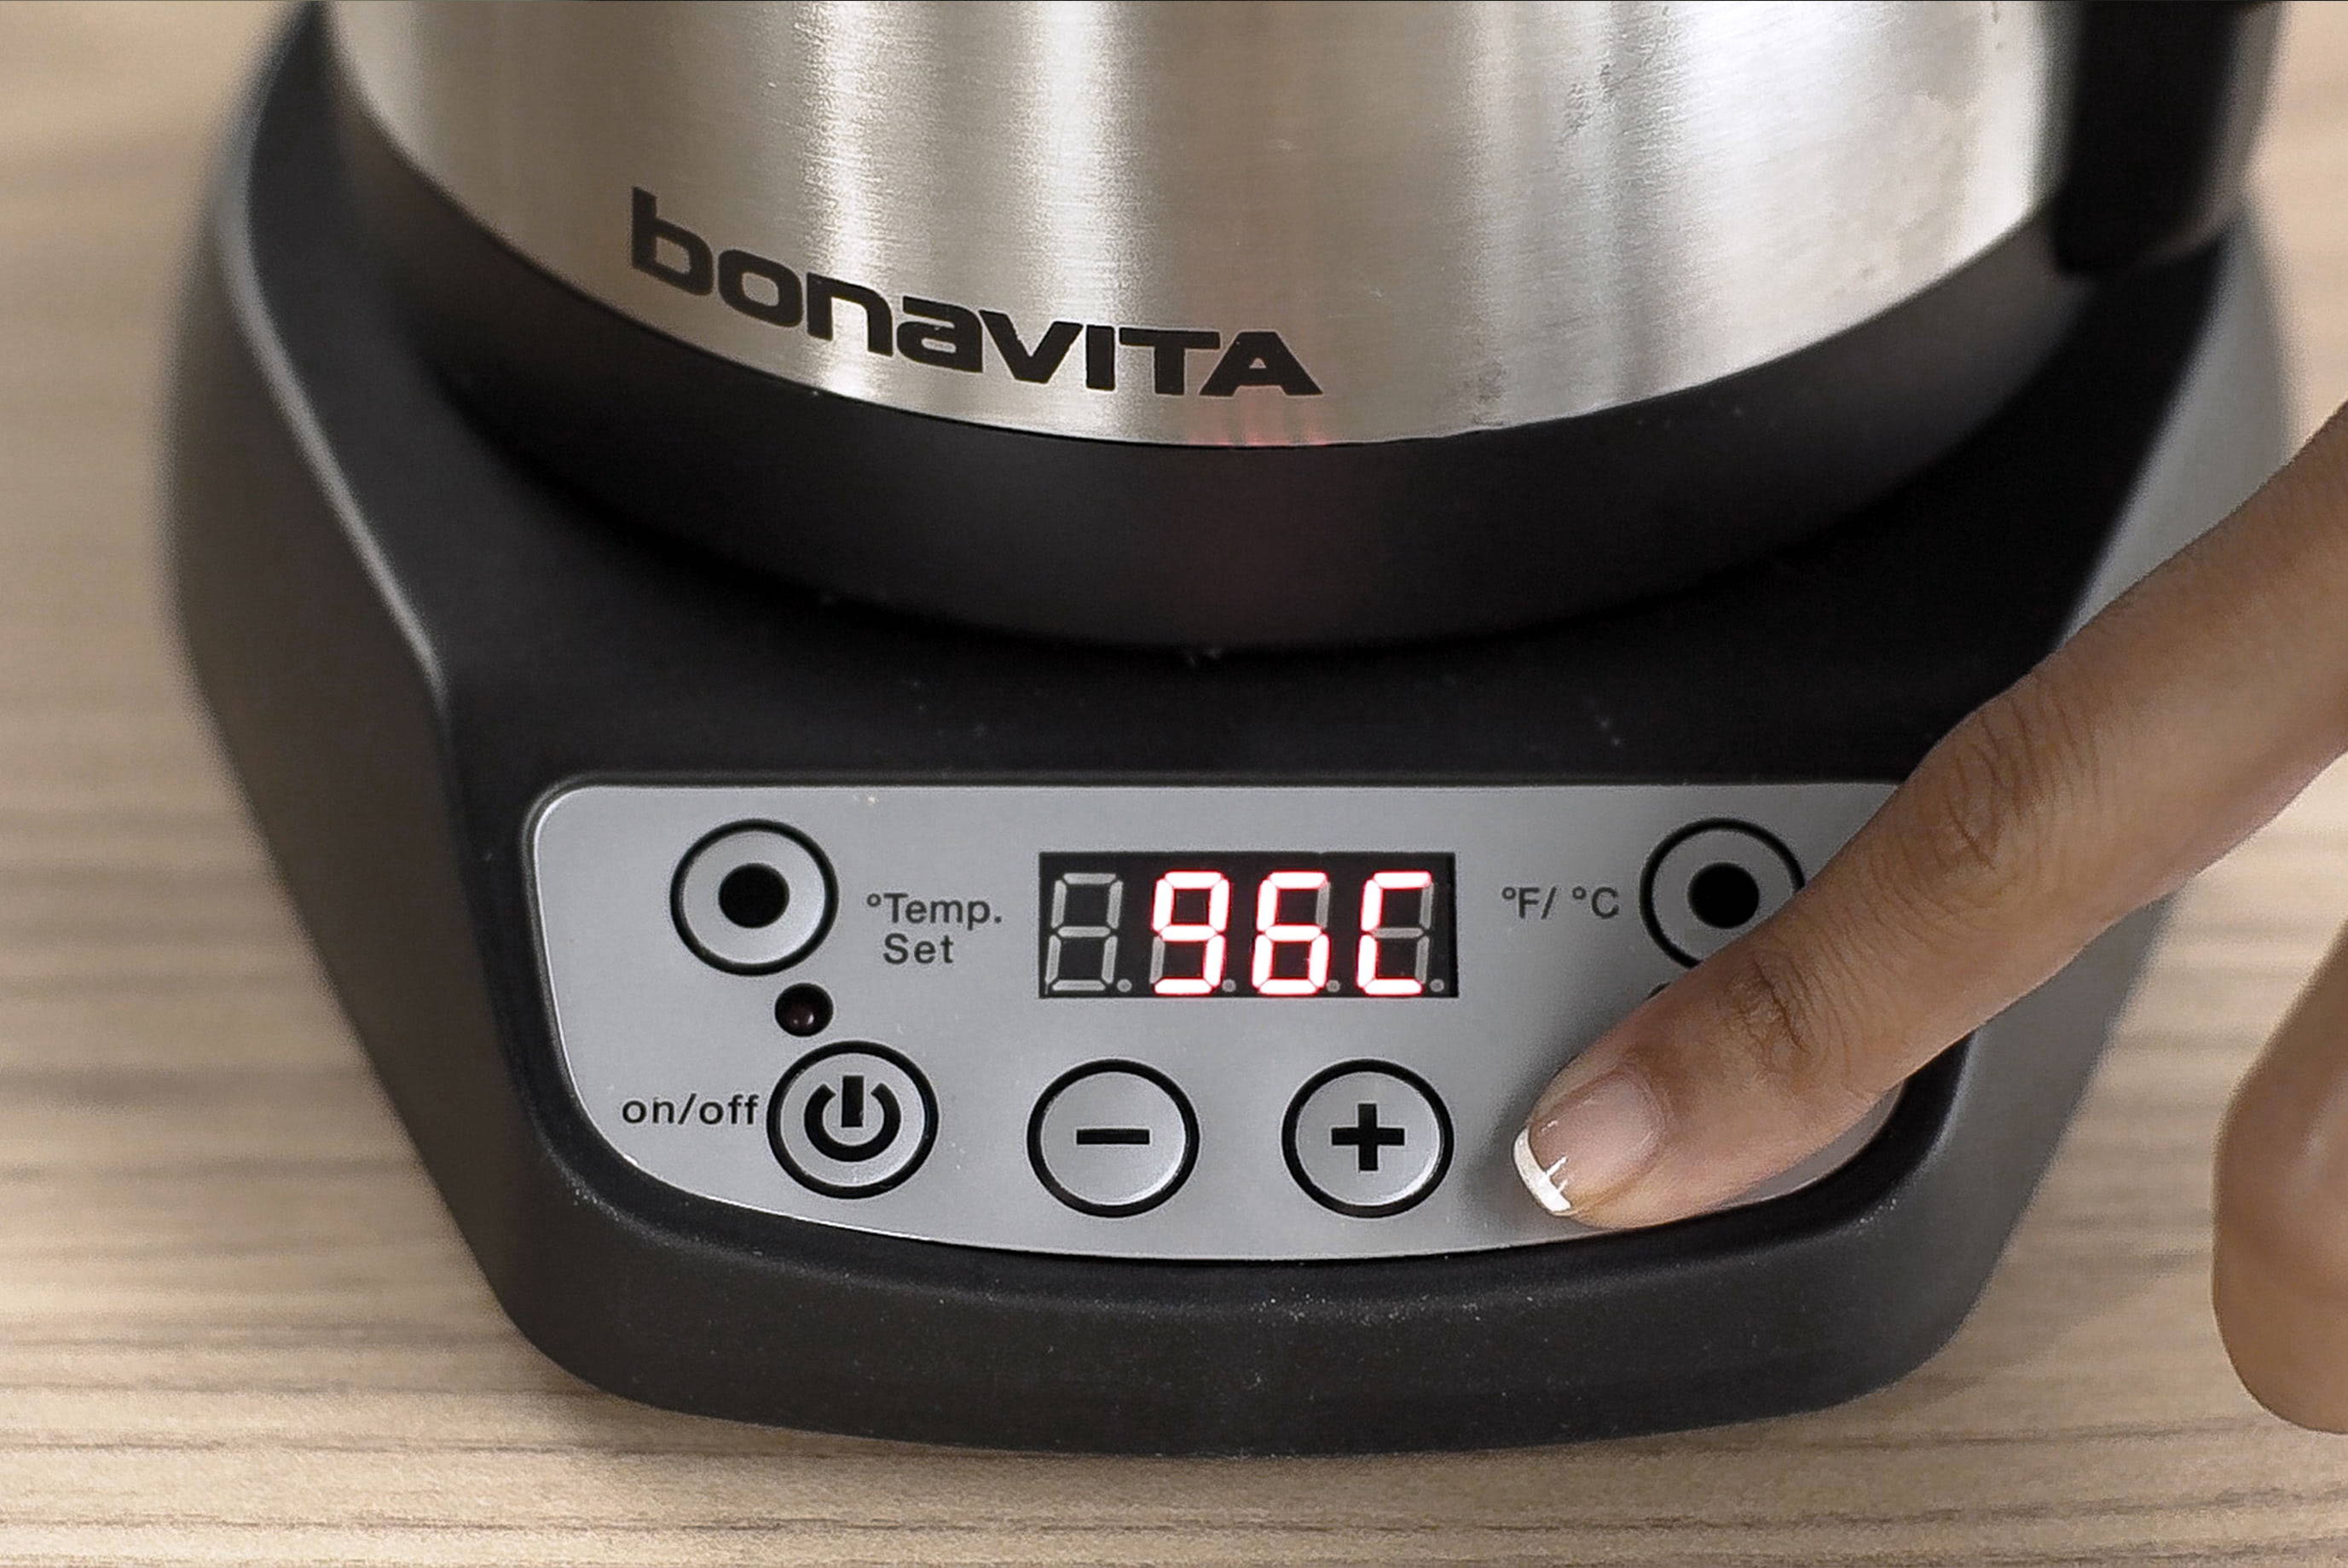
Prepare the water
- Boil to the desired temperature.
- Brew a large pot of water so that the temperature is more stable (ex. If you only need 200g of water, brew 400g of water).
- Pro Tip: Use a gooseneck kettle for greater control and consistency over your pouring.
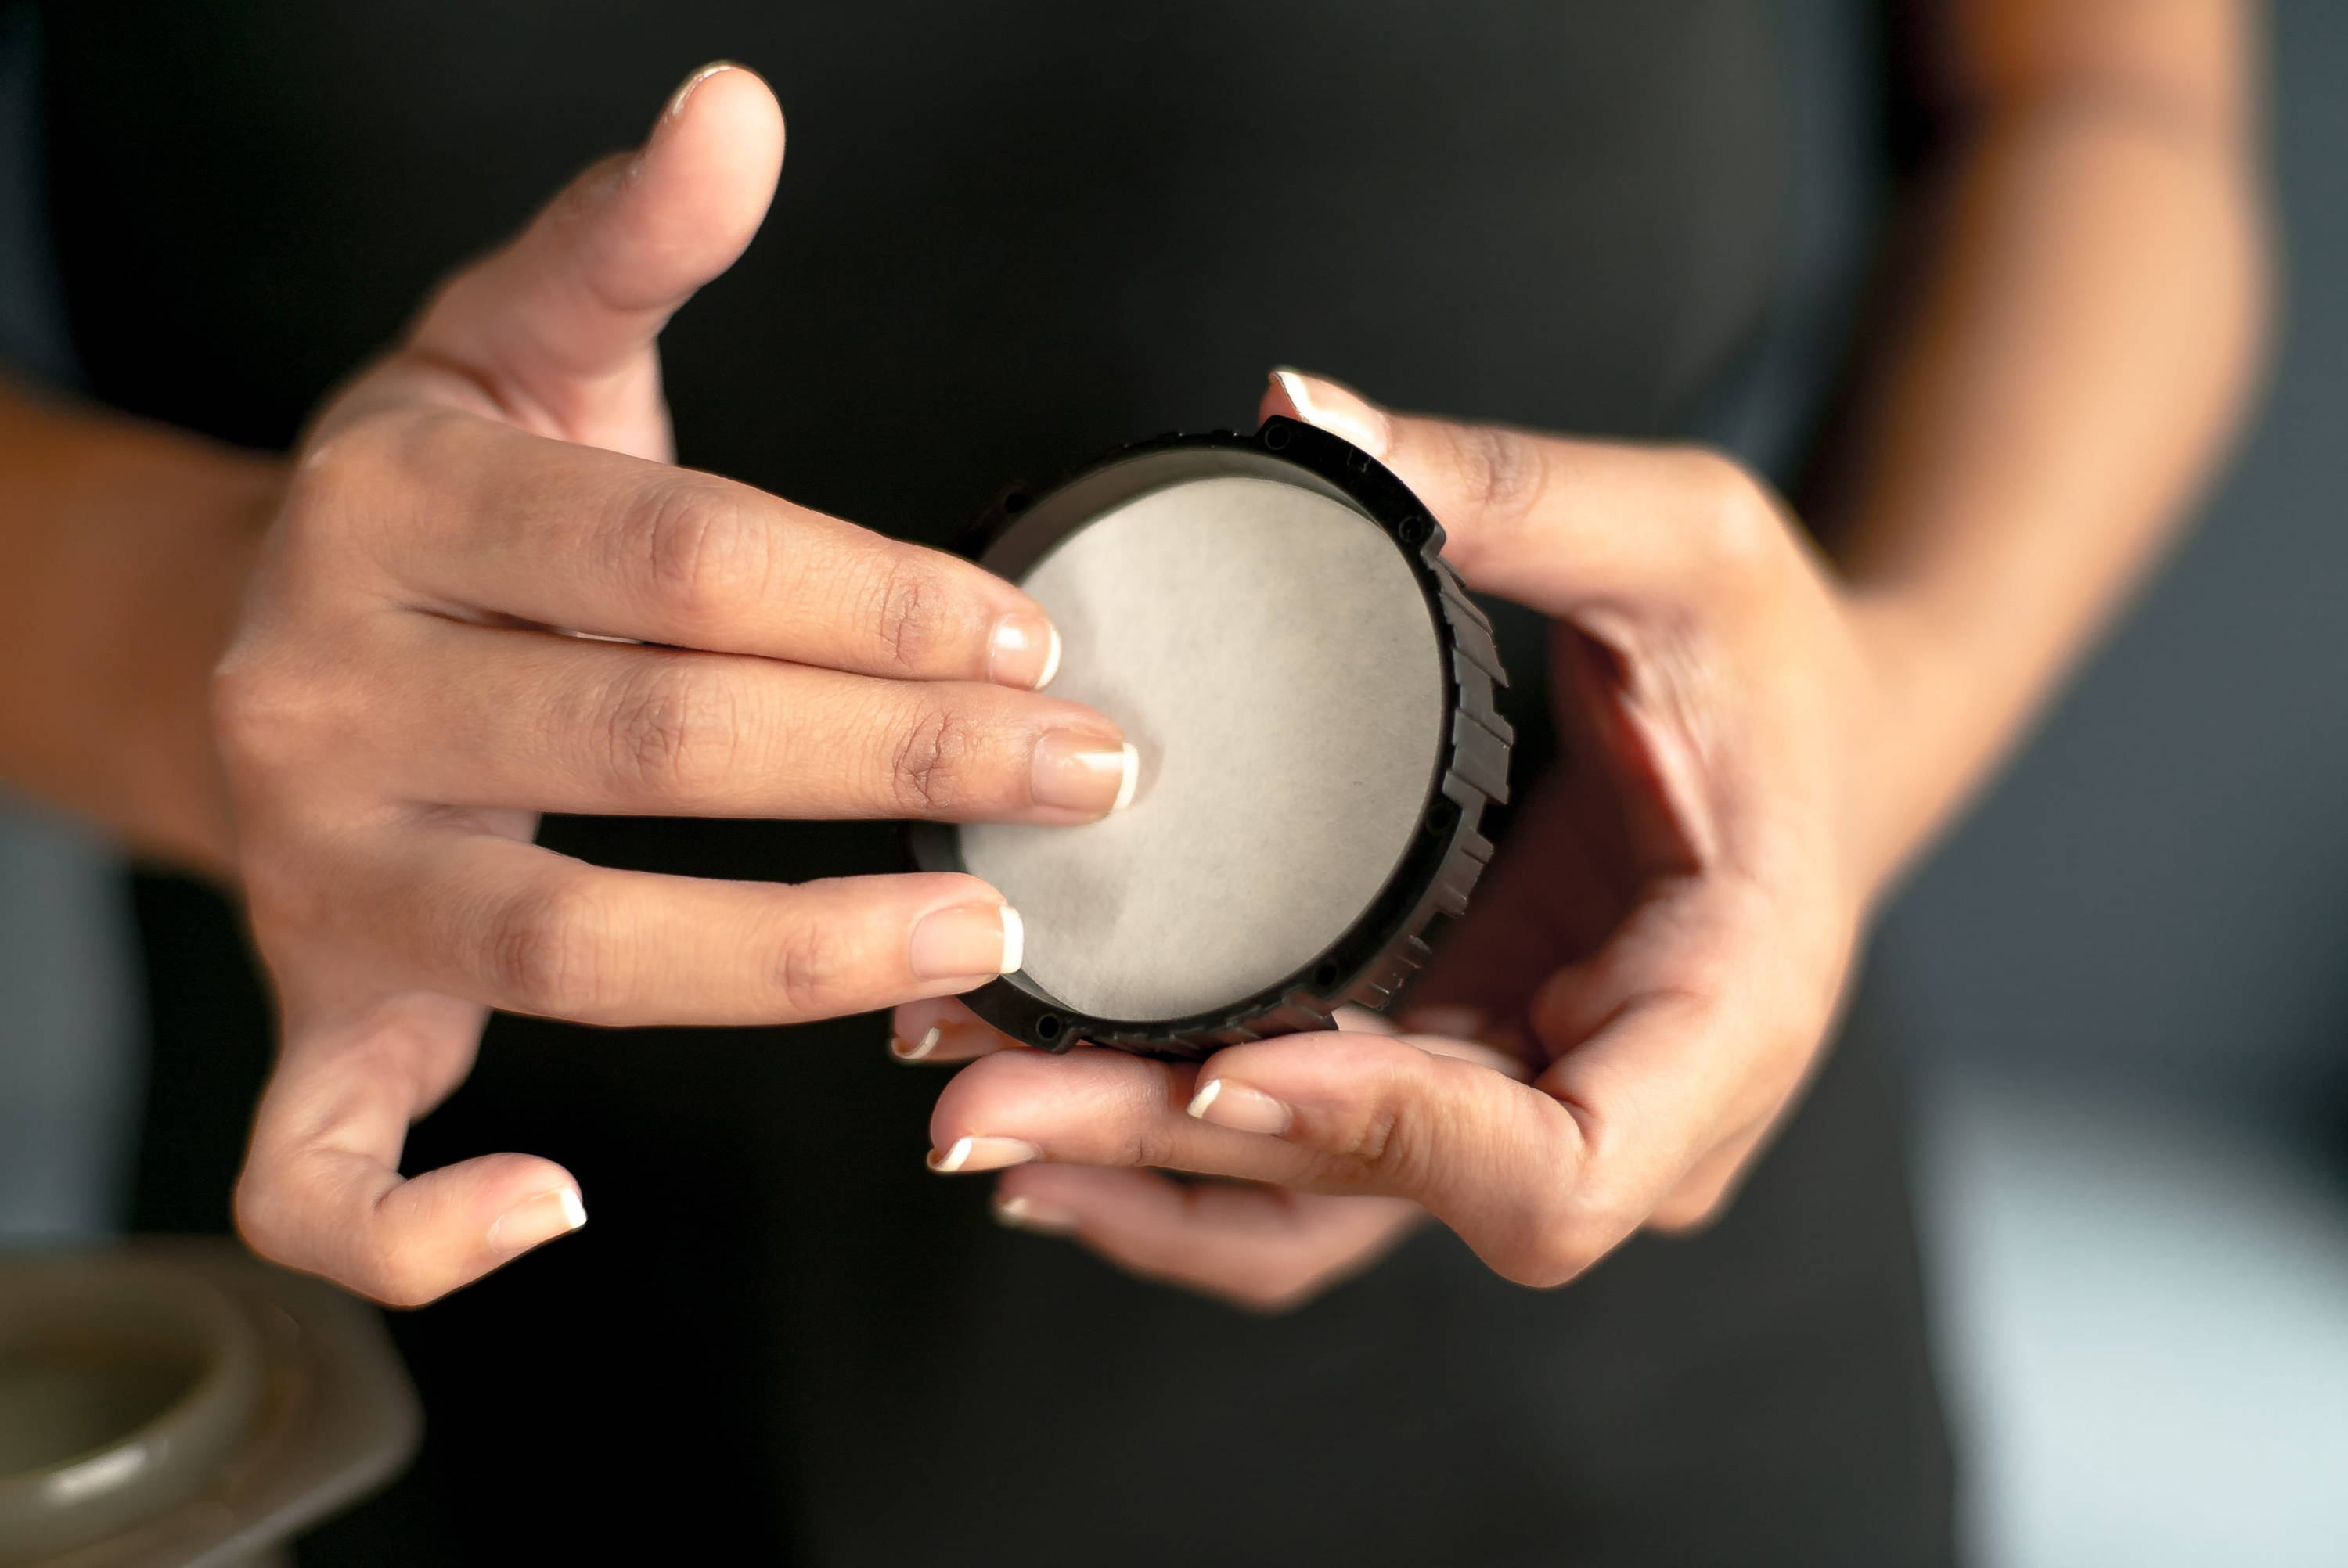
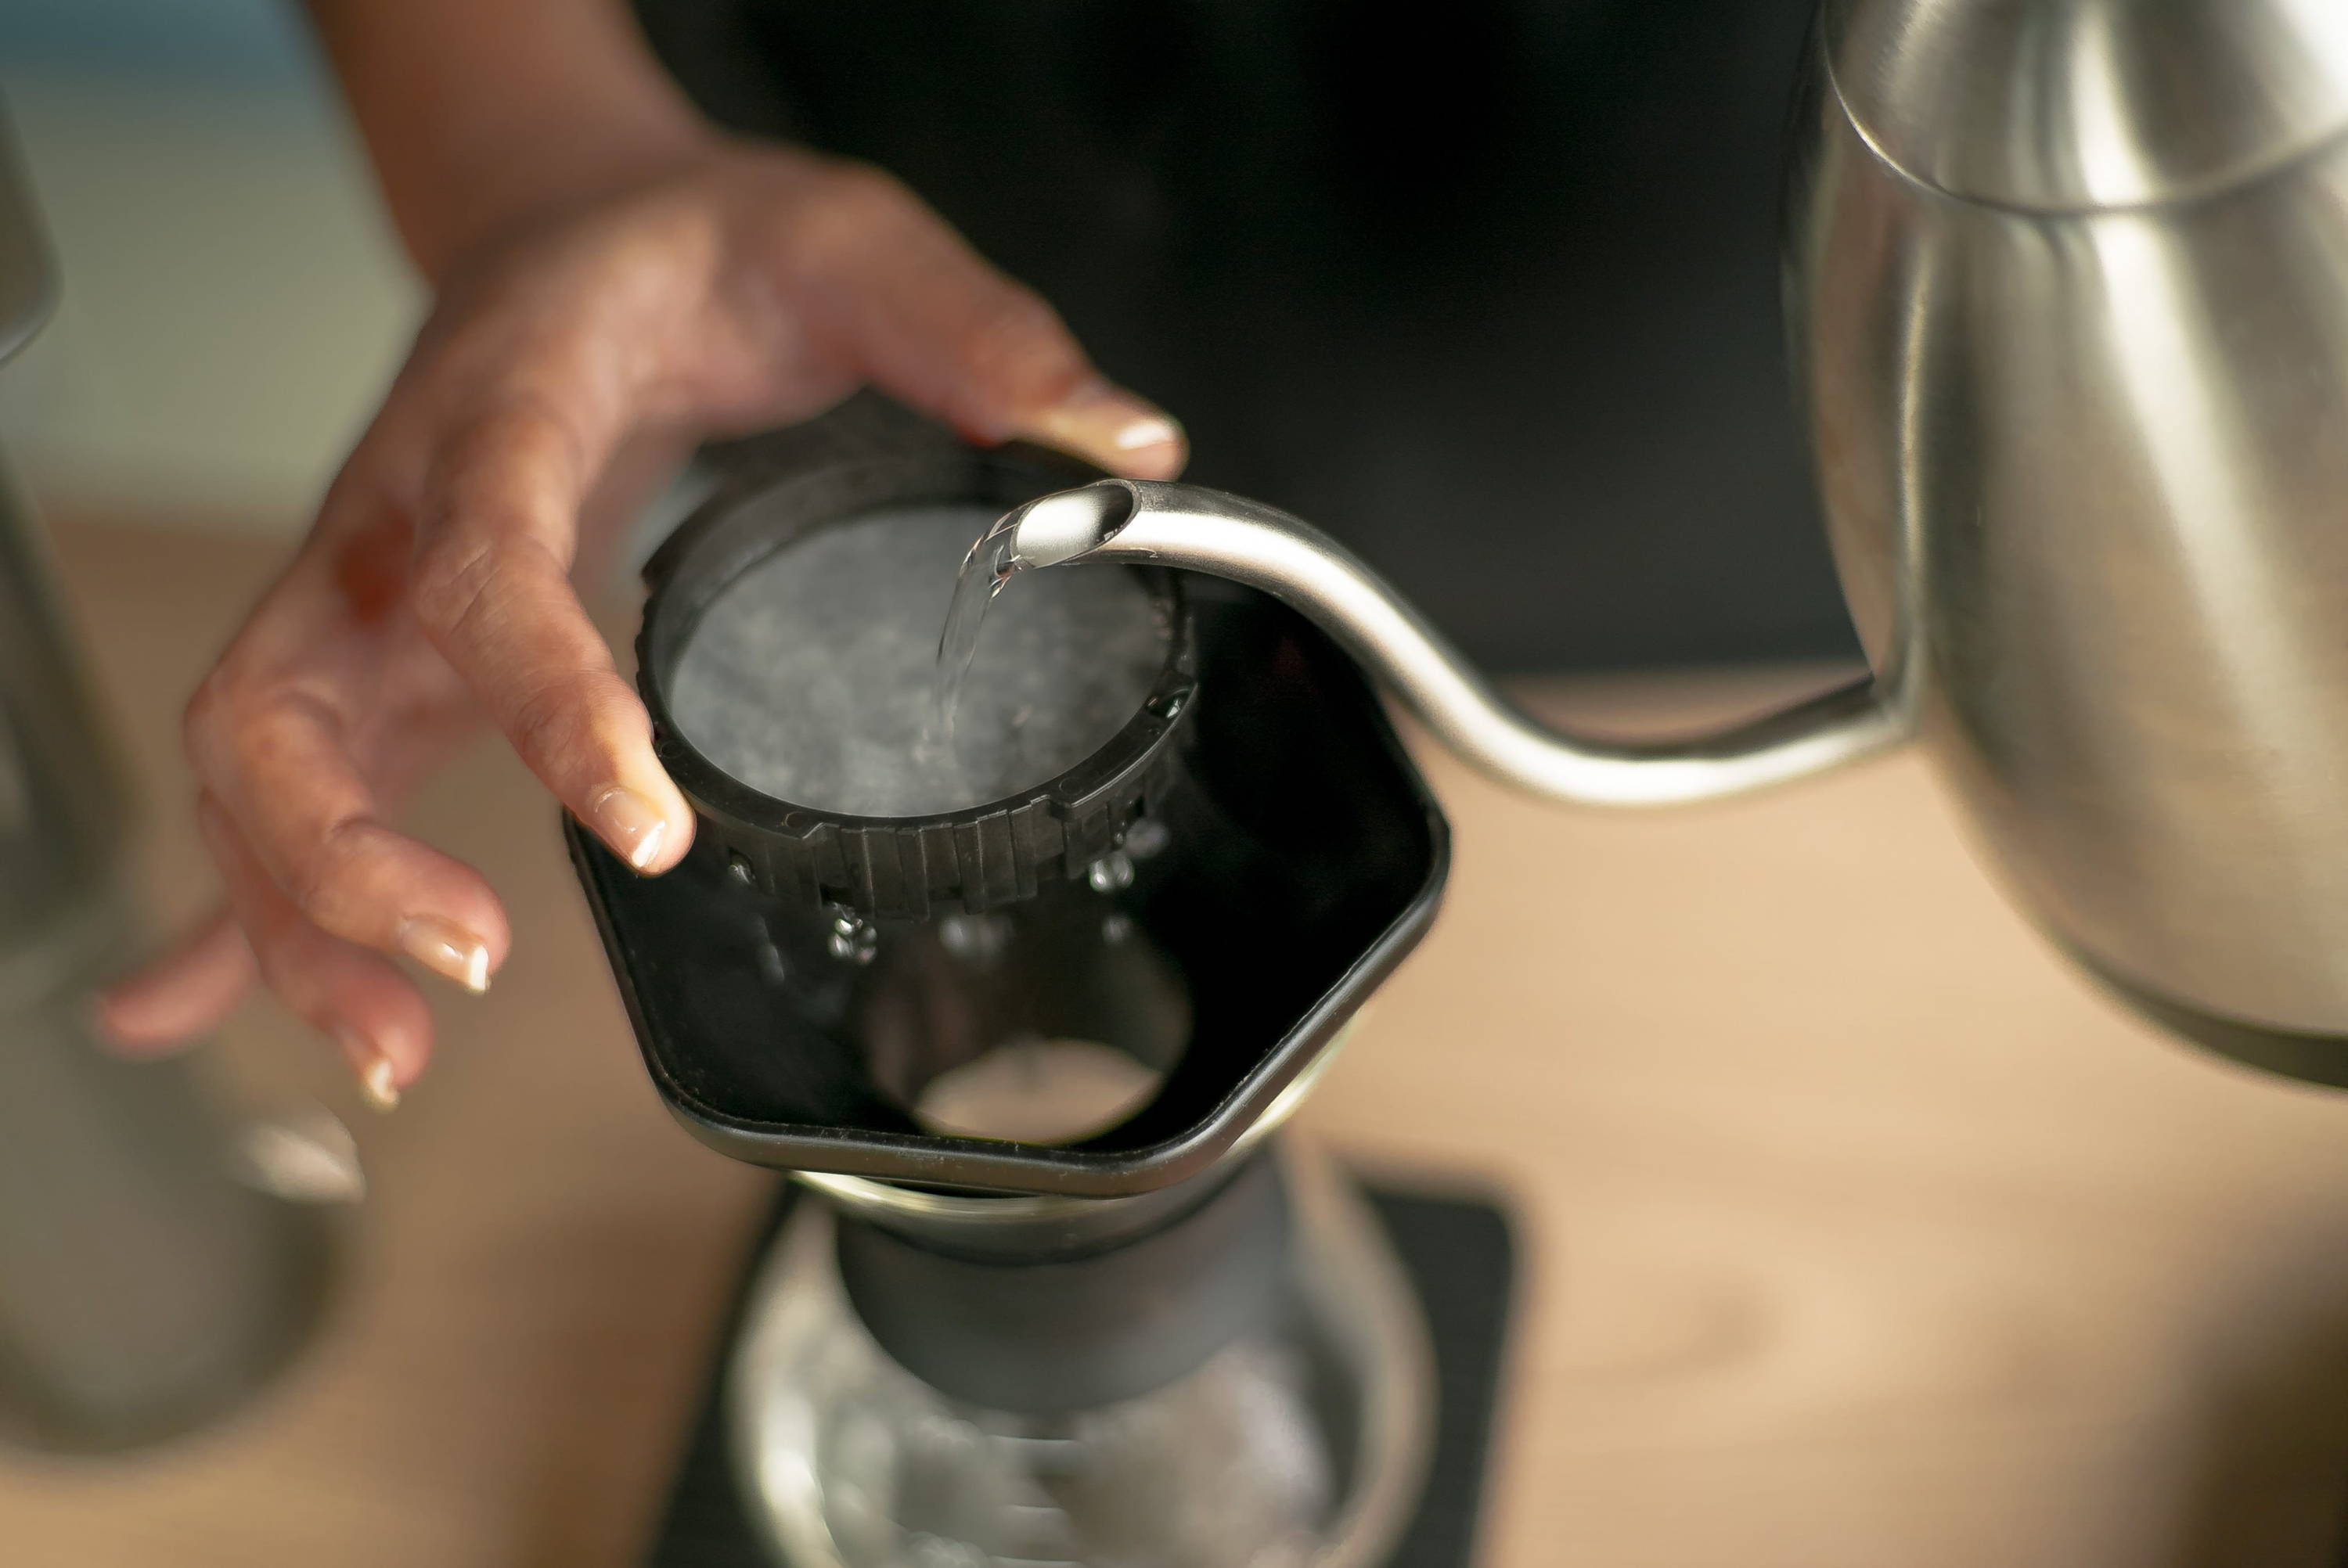
Step 4.
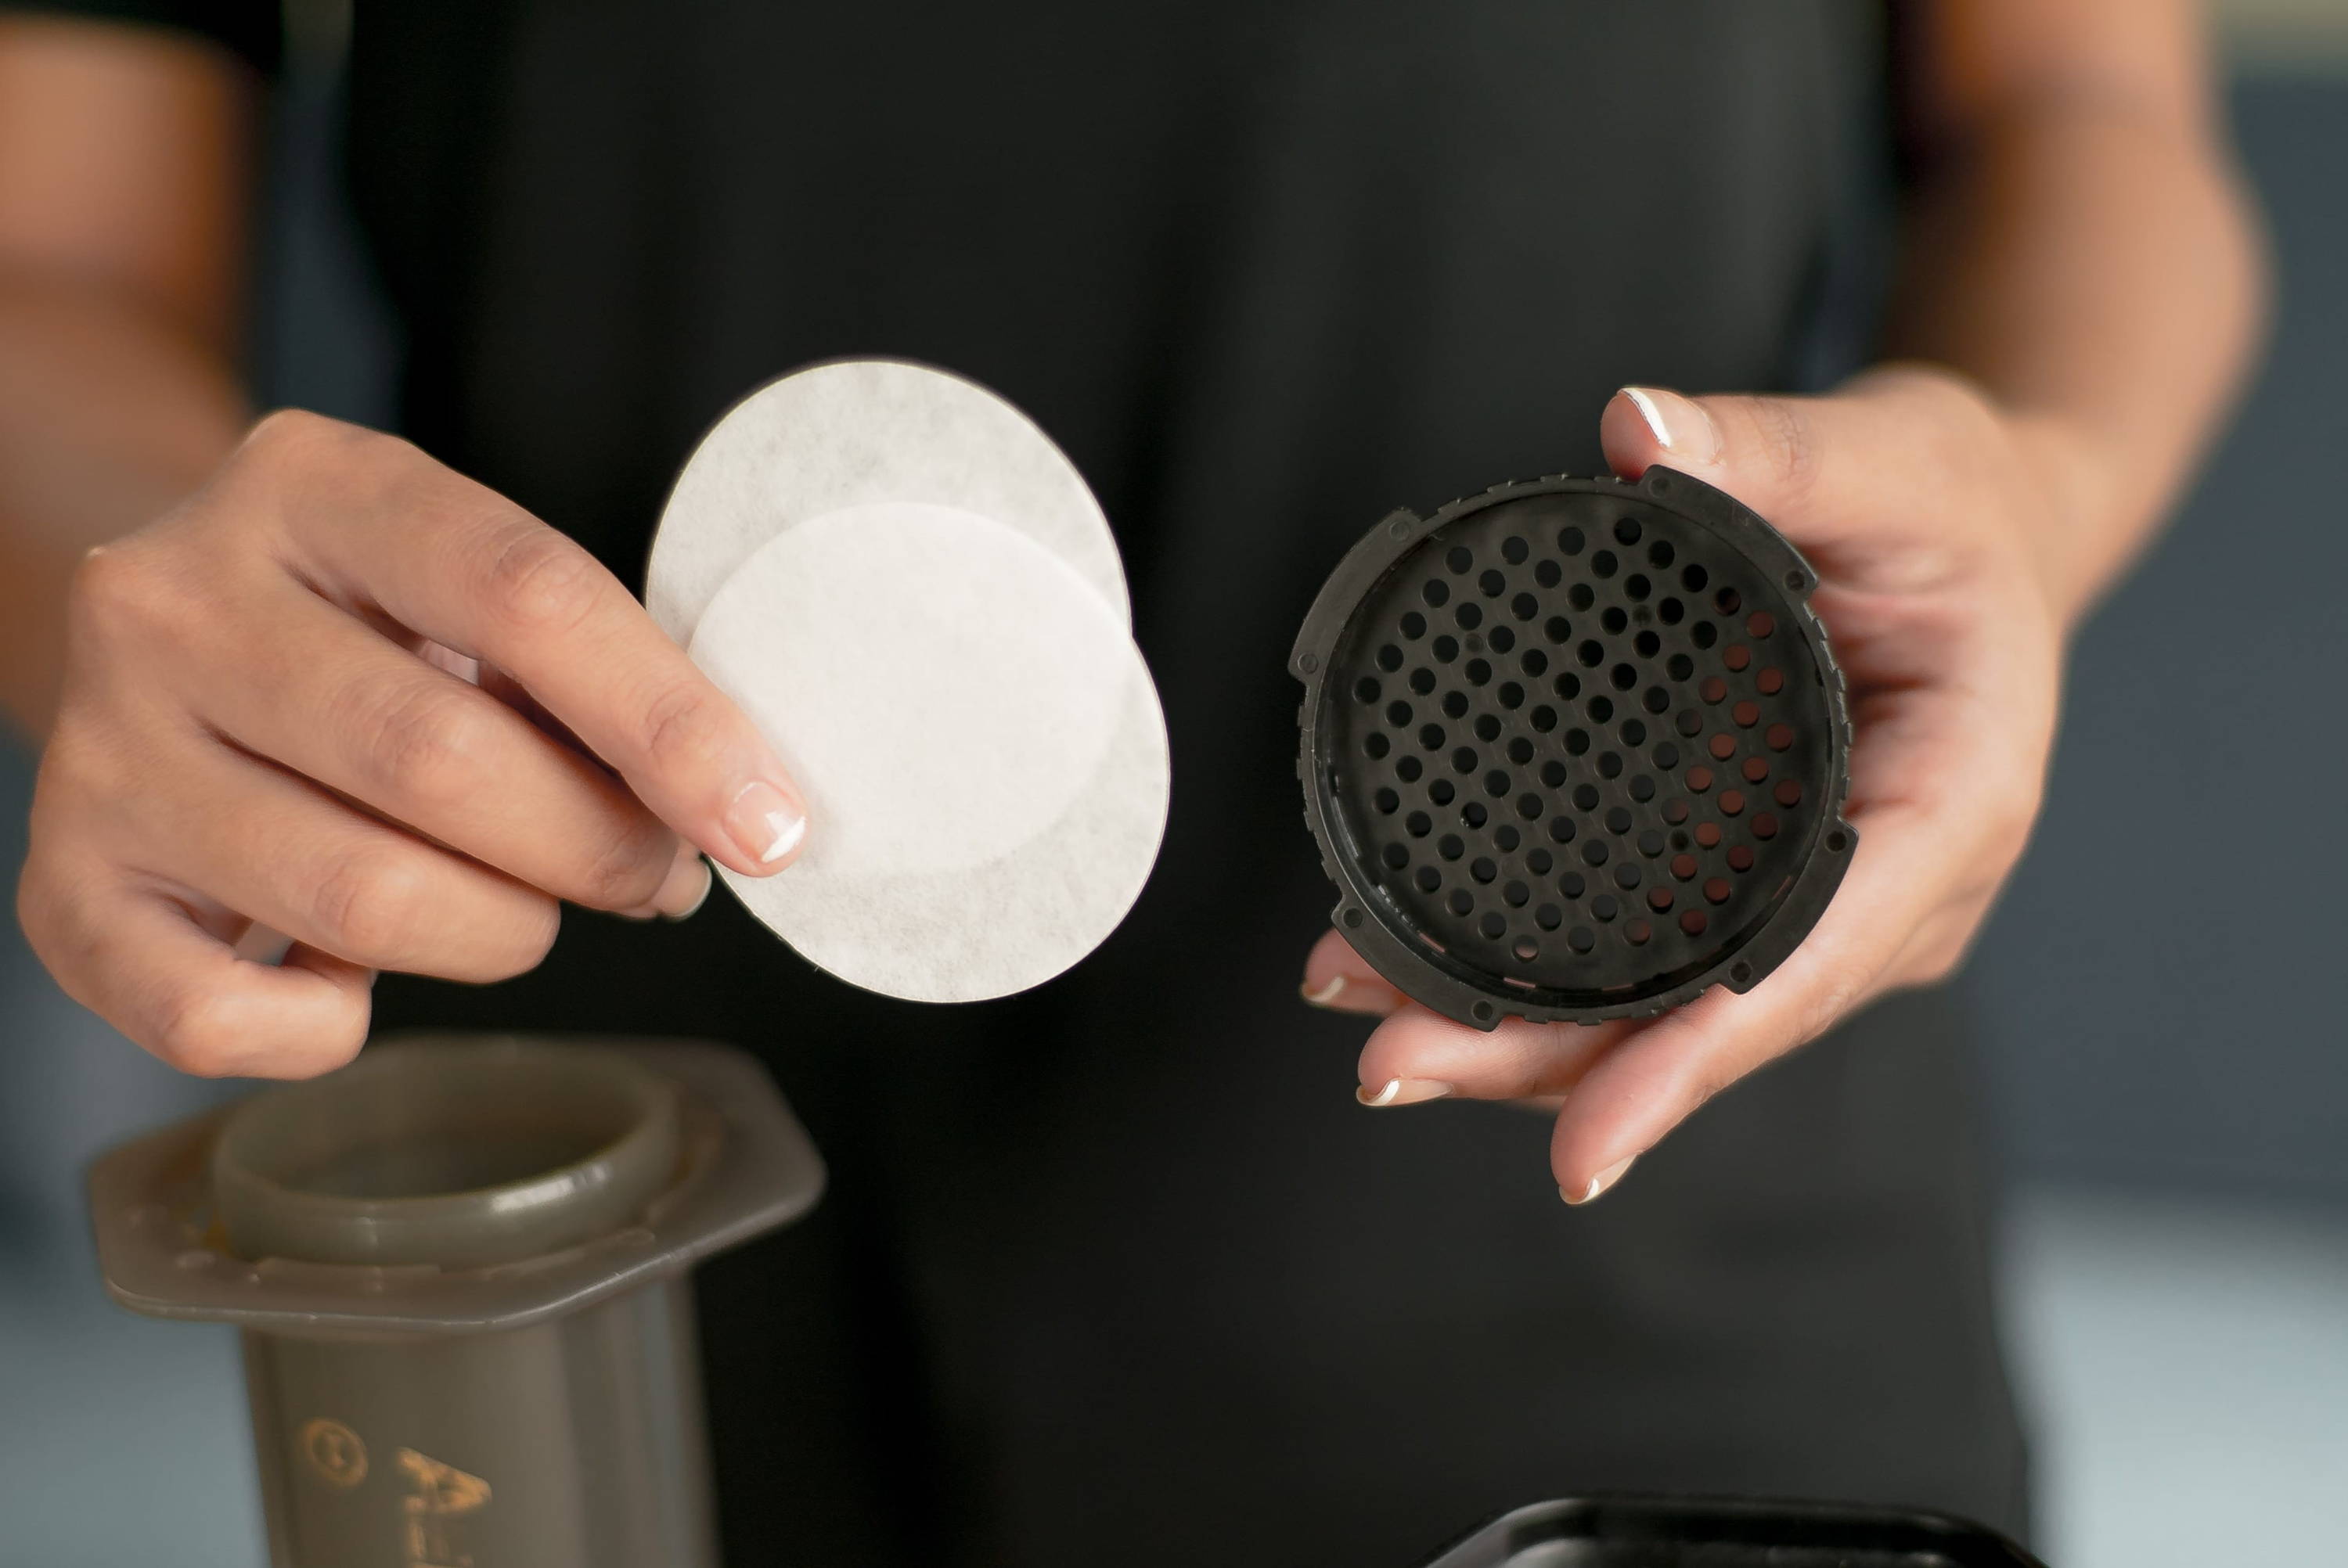
Prepare your filter in the Aeropress
- Pre-wet the filter using hot water. This rinses out the paper taste from the filter, pre-heats the Aeropress and the brewing vessel to ensure a consistent brew, and allows the filter to stick to the basket for easier brewing.
- Discard this water before brewing.
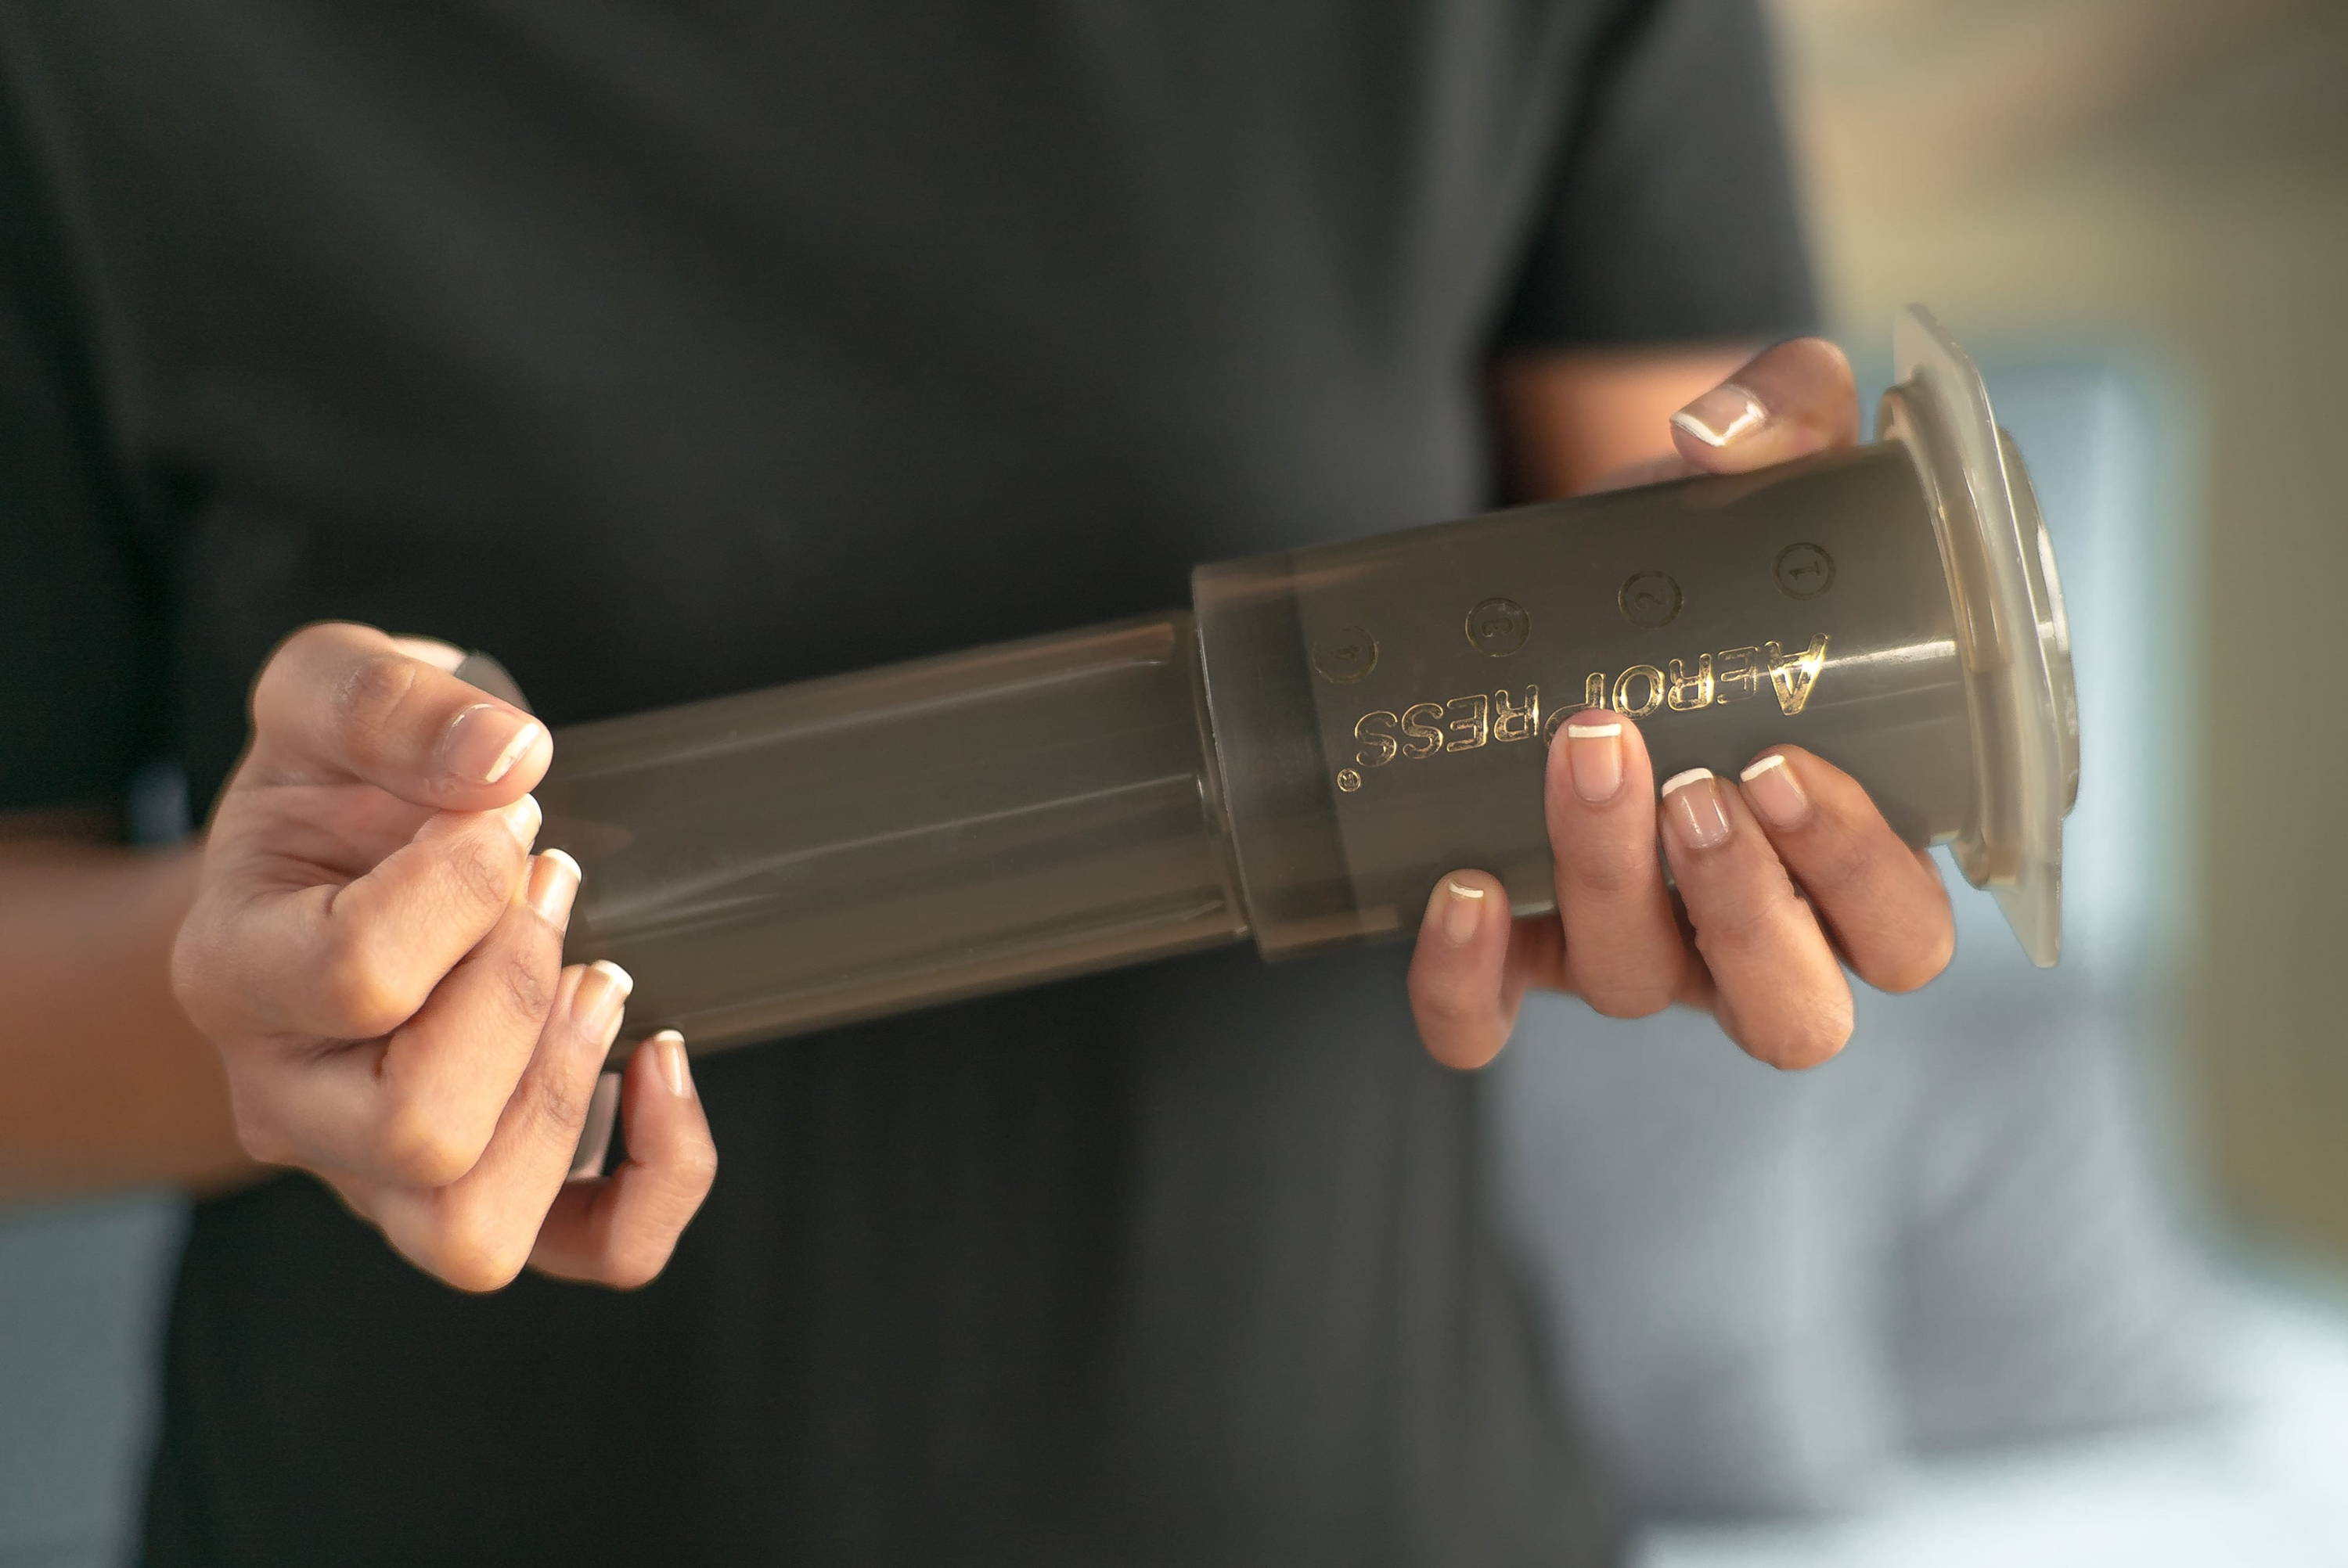
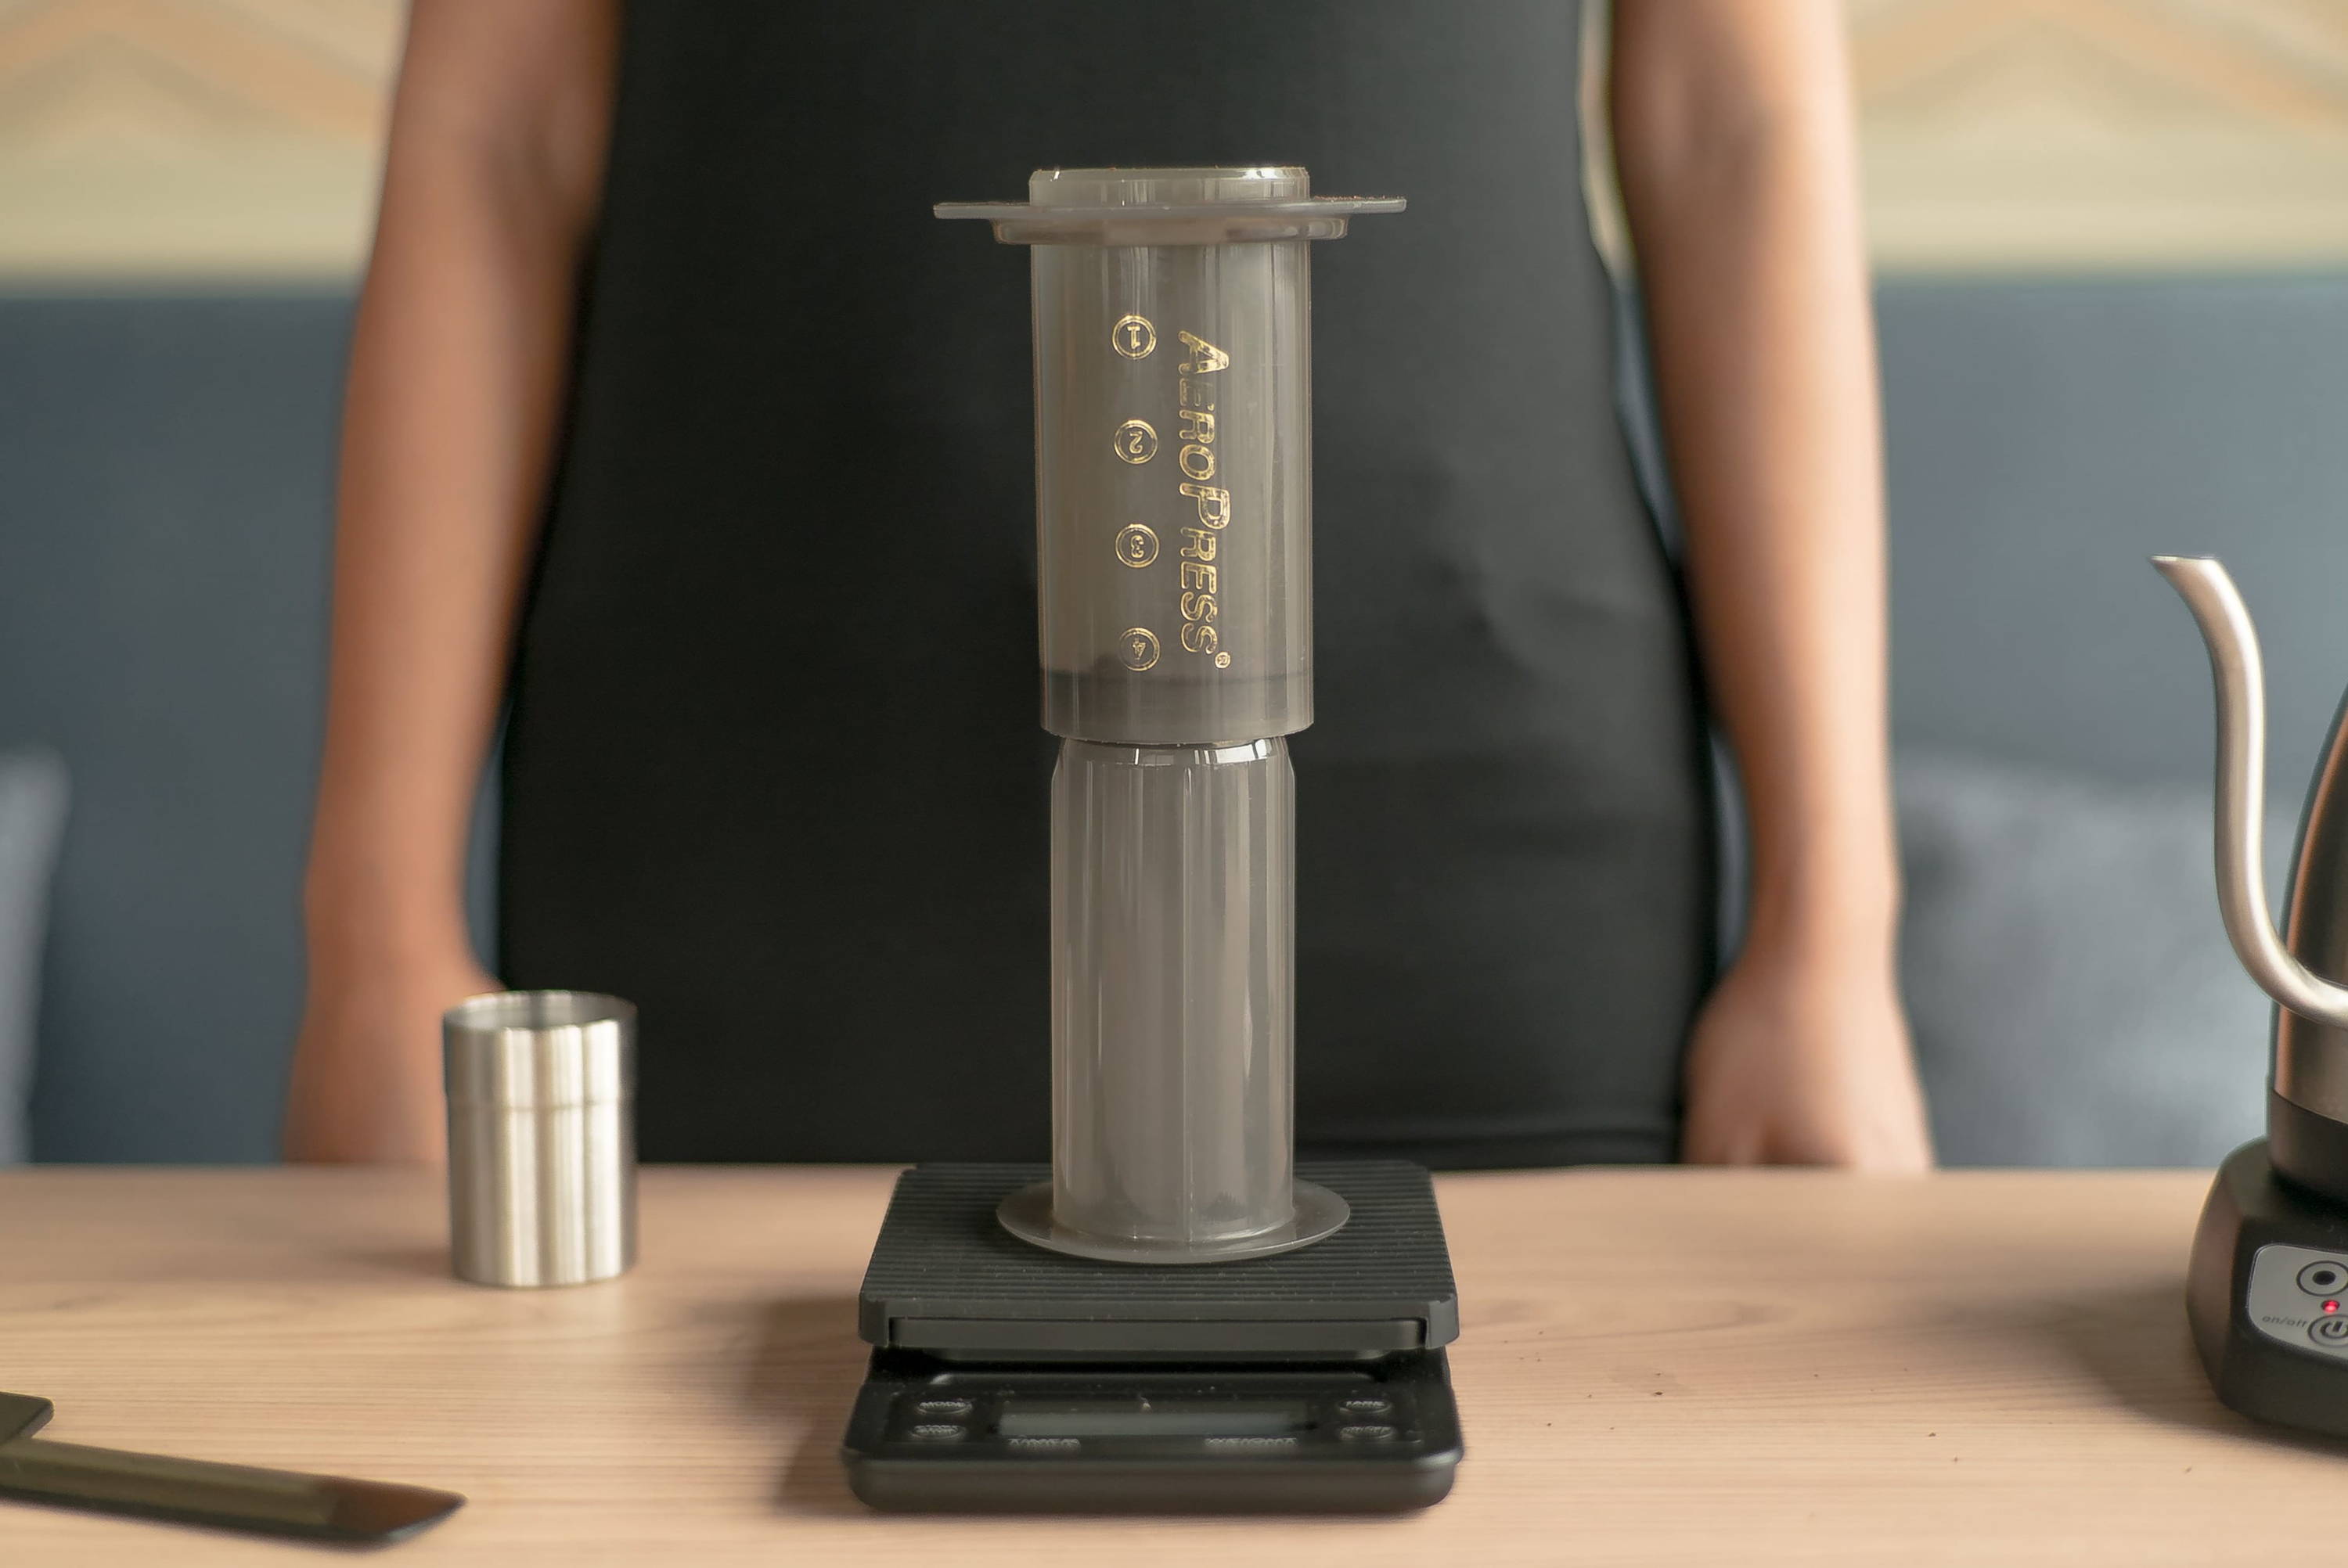
Step 5.
Assemble your Aeropress without the basket and filter
- For this Aeropress brewing guide, we’ll be using the ‘upside-down brewing method’. Place the Aeropress on your scale upside down, this makes brewing more consistent and accurate because normally when brewing with the Aeropress right-side-up, water tends to escape from filter before brewing is complete.
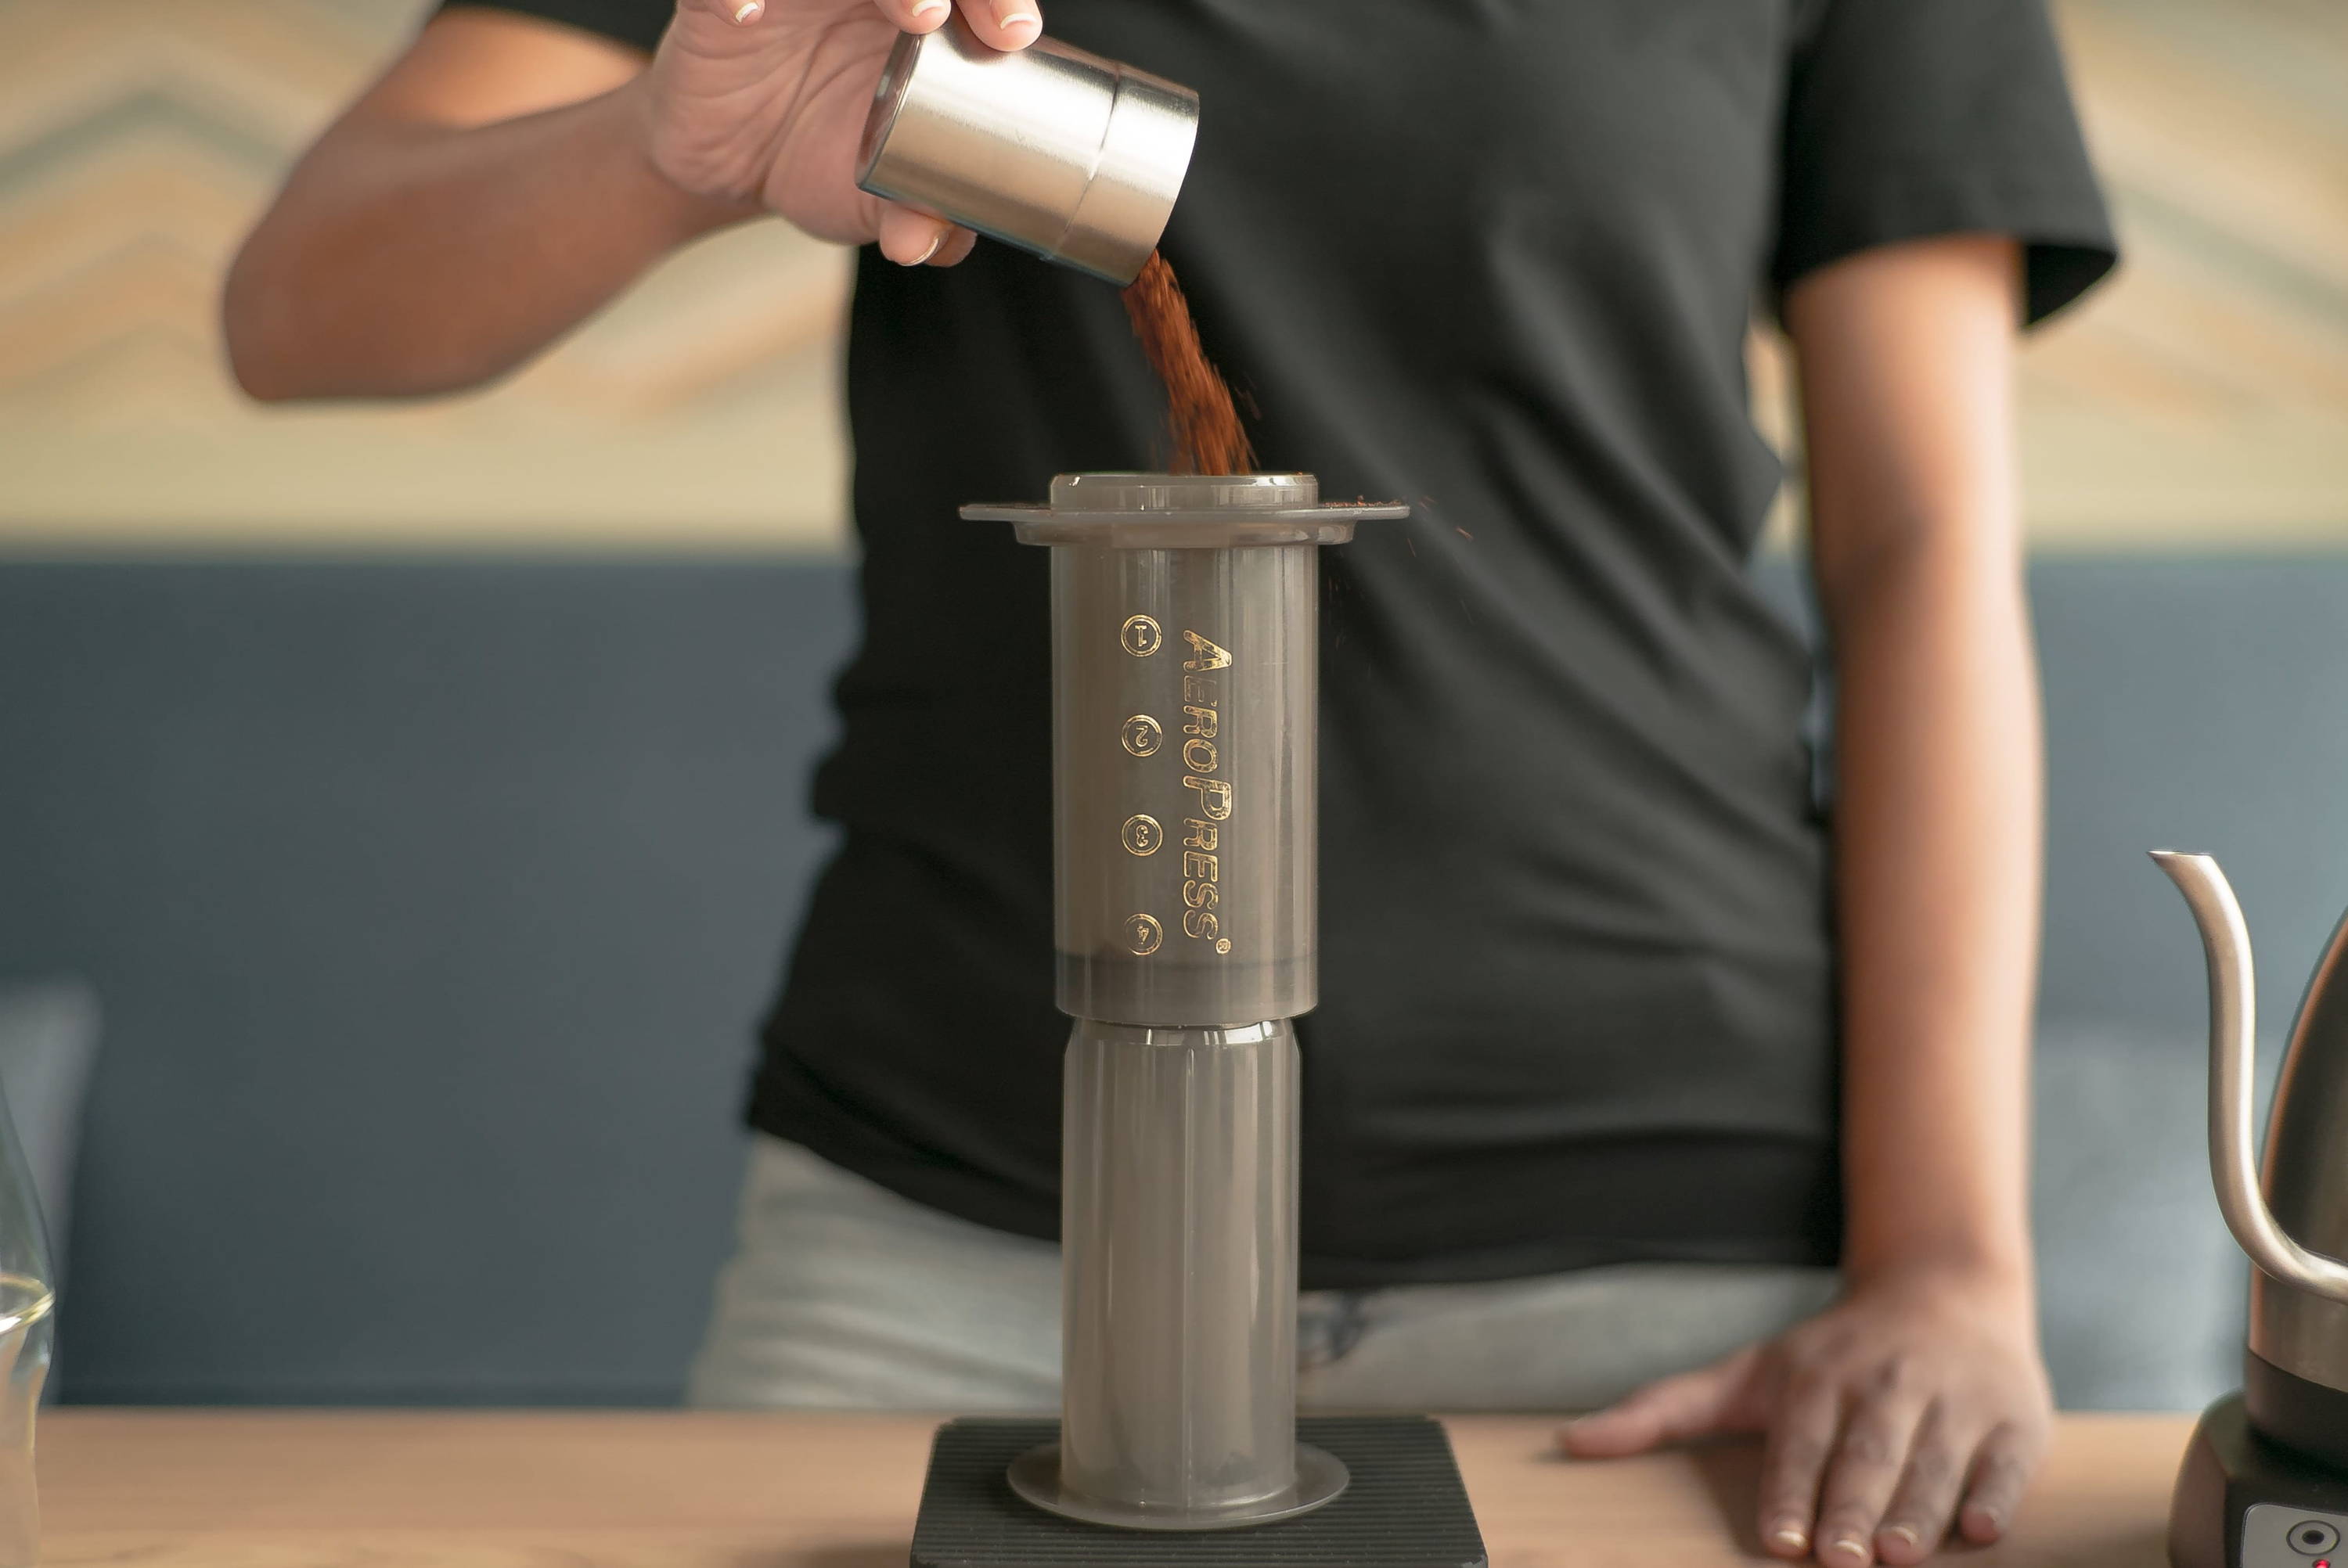
Step 6.
Add coffee grounds to the Aeropress brewing chamber.
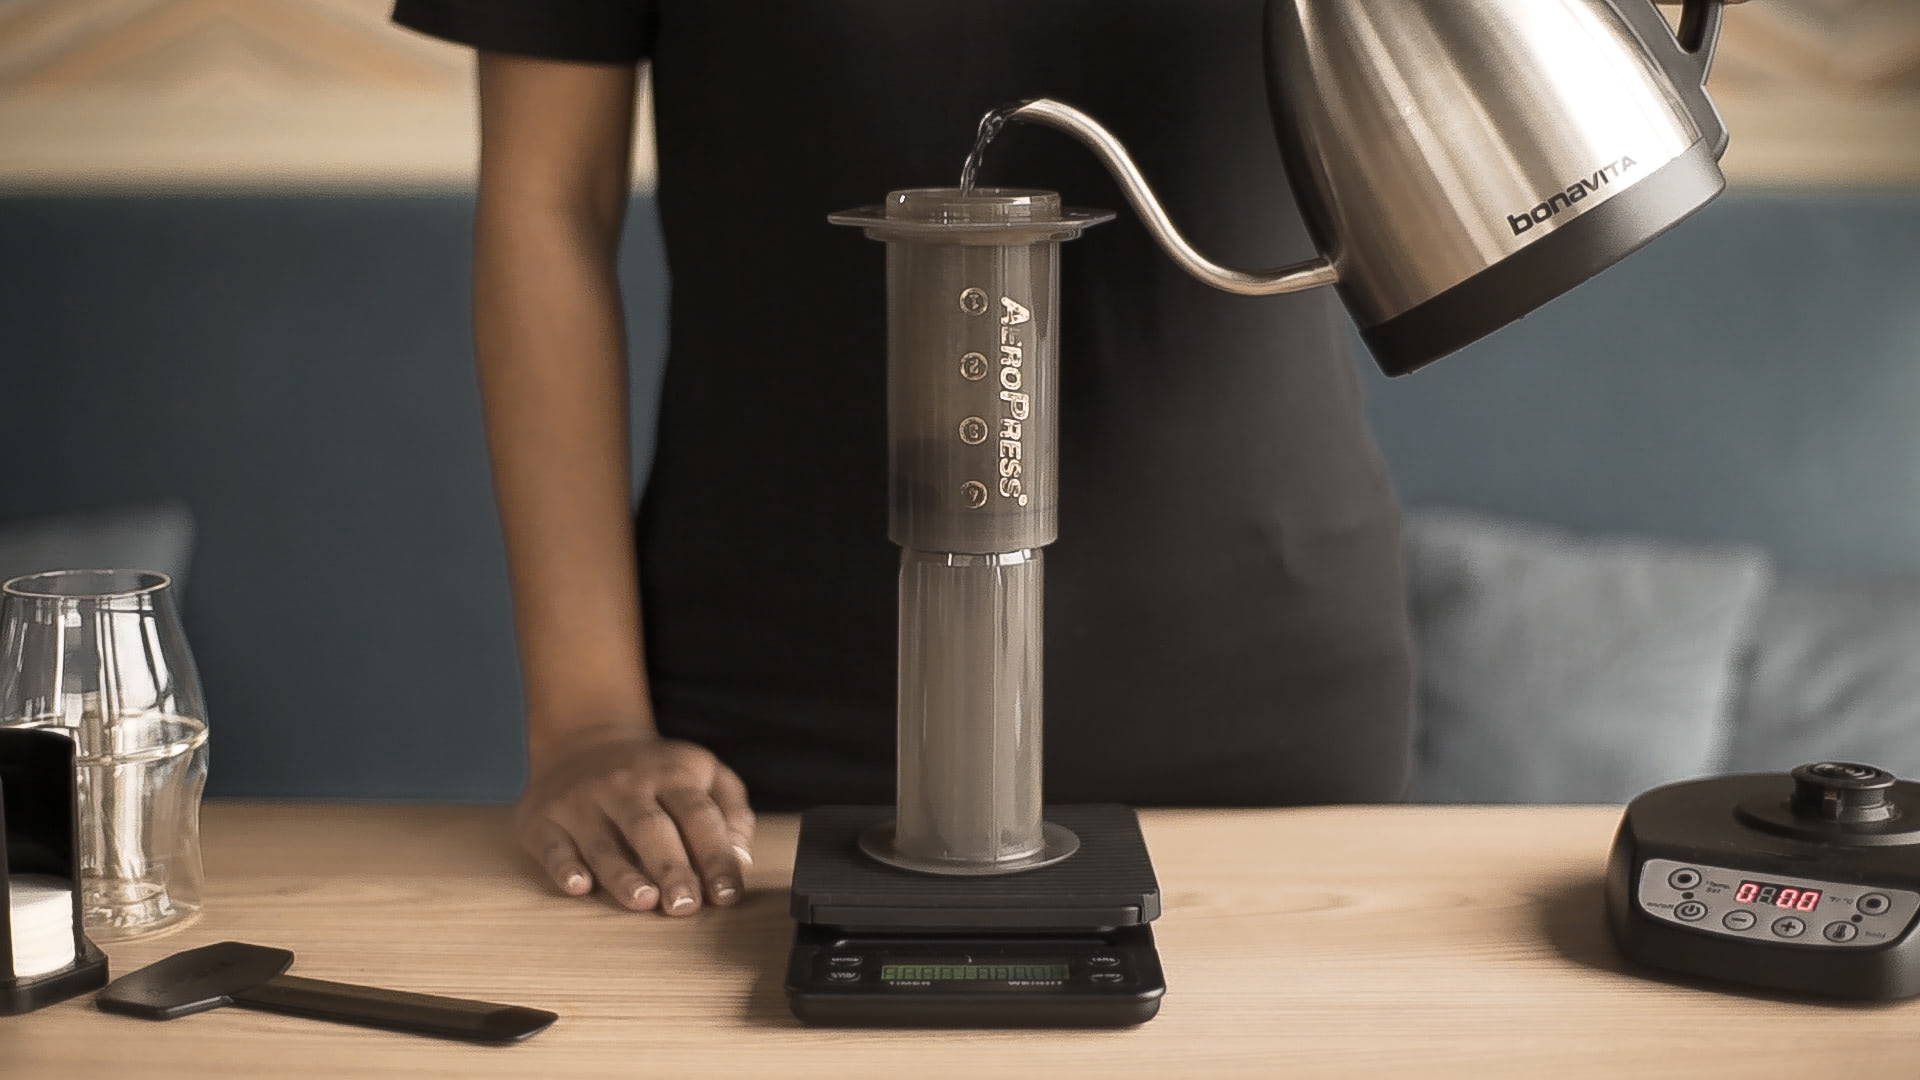
Step 7.
Begin your brewing
- Place the Aeropress on the scale. Tare your scale to reset the reading to zero and then start the timer when you’re ready to start pouring.
- This recipe calls for 2 separate pours:
1st Pour
- Pour roughly twice the amount of water for the first pour as your coffee dose. In this case for 18g of coffee, pour 36g of water over the grounds.
- After pouring, give time for the coffee to ‘bloom’. This ‘bloom’ releases CO2 gas escape from the coffee for better extraction and allows the coffee to saturate thoroughly. The pour itself should take 10-15 seconds, while the bloom takes up to 30 seconds.
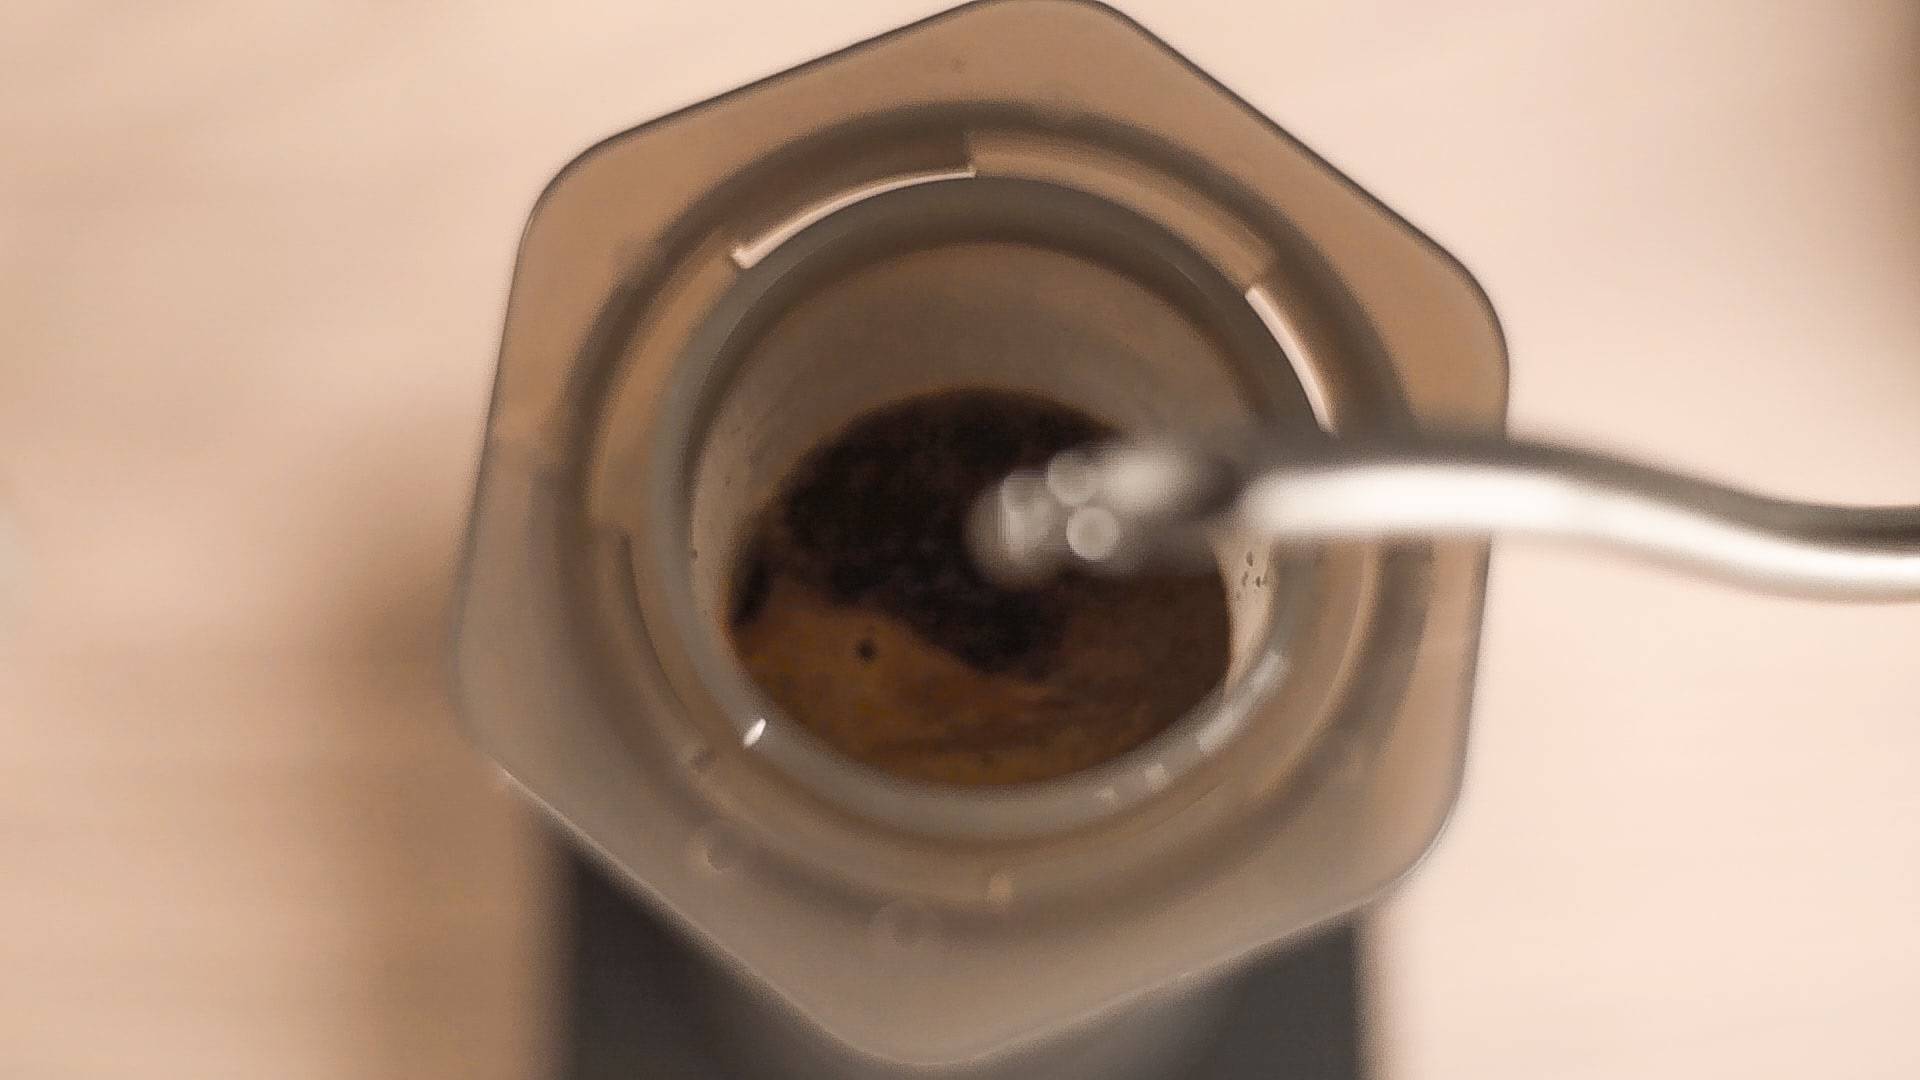
2nd Pour
- Pour the remaining water into Aeropress and allow the coffee to steep for 1 minutes.
- Pro tip: gently stir the ‘slurry’ (the coffee-water mixture) to ensure the grounds are thoroughly saturated and promote even extraction.

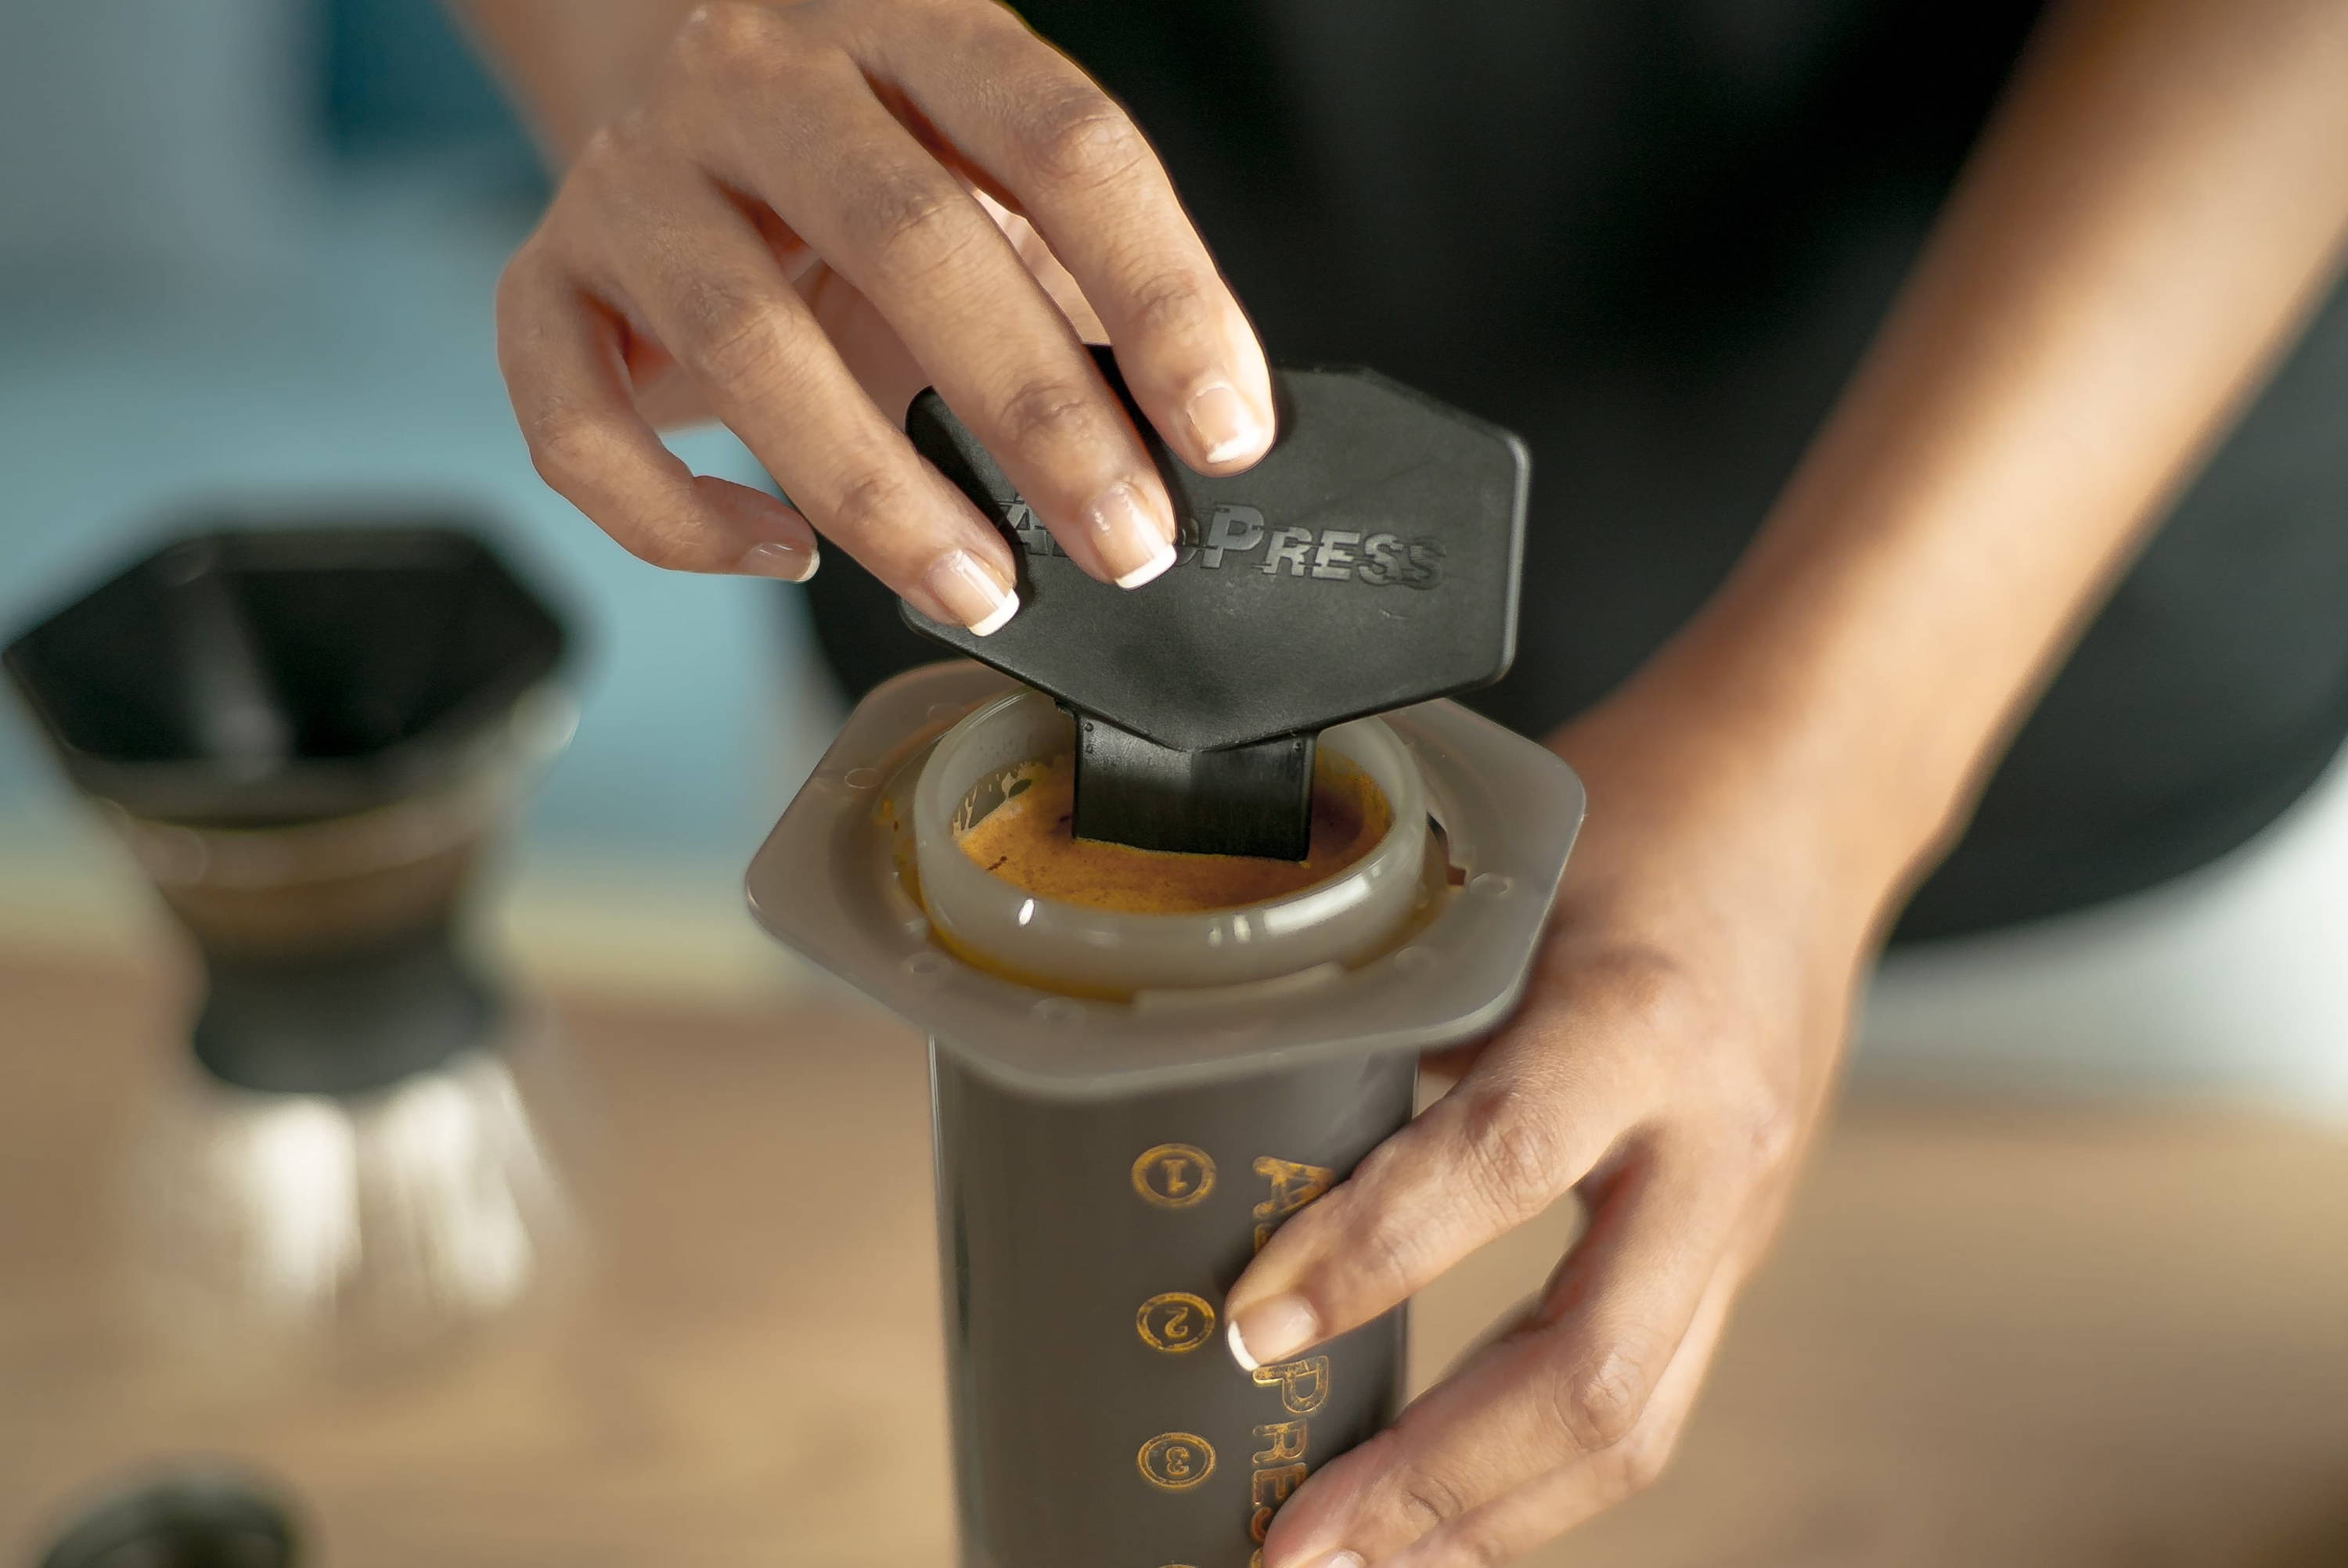
Step 8.
Carefully place and lock the cap and filter onto the Aeropress
- Flip the entire Aeropress so it’s now right-side-up, you’ll have to do this quickly and carefully so that there is no leakage from the Aeropress. Place it over your brewing vessel.
Step 9.
Plunge
- Do not plunge with the Aeropress on your scale, this will damage your scale.
- Press down firm and steady on the Aeropress. Despite popular stereotypes about using force to brew with the Aeropress, you don’t need to use a lot of power. Just allow the natural weight of your arms plus some gentle force to push the plunger down.
- If the plunge is very difficult, it means your grind is to fine (strong coffee); if it’s too easy to press, it means your grind is too coarse (weak coffee).
- The plunge can take anywhere from 30-60 seconds. Total brewing time will take 2:00-2:30 minutes.
- You’ll know the plunging is complete once you start to hear a hissing sound; this means there is no more water to push through the coffee.
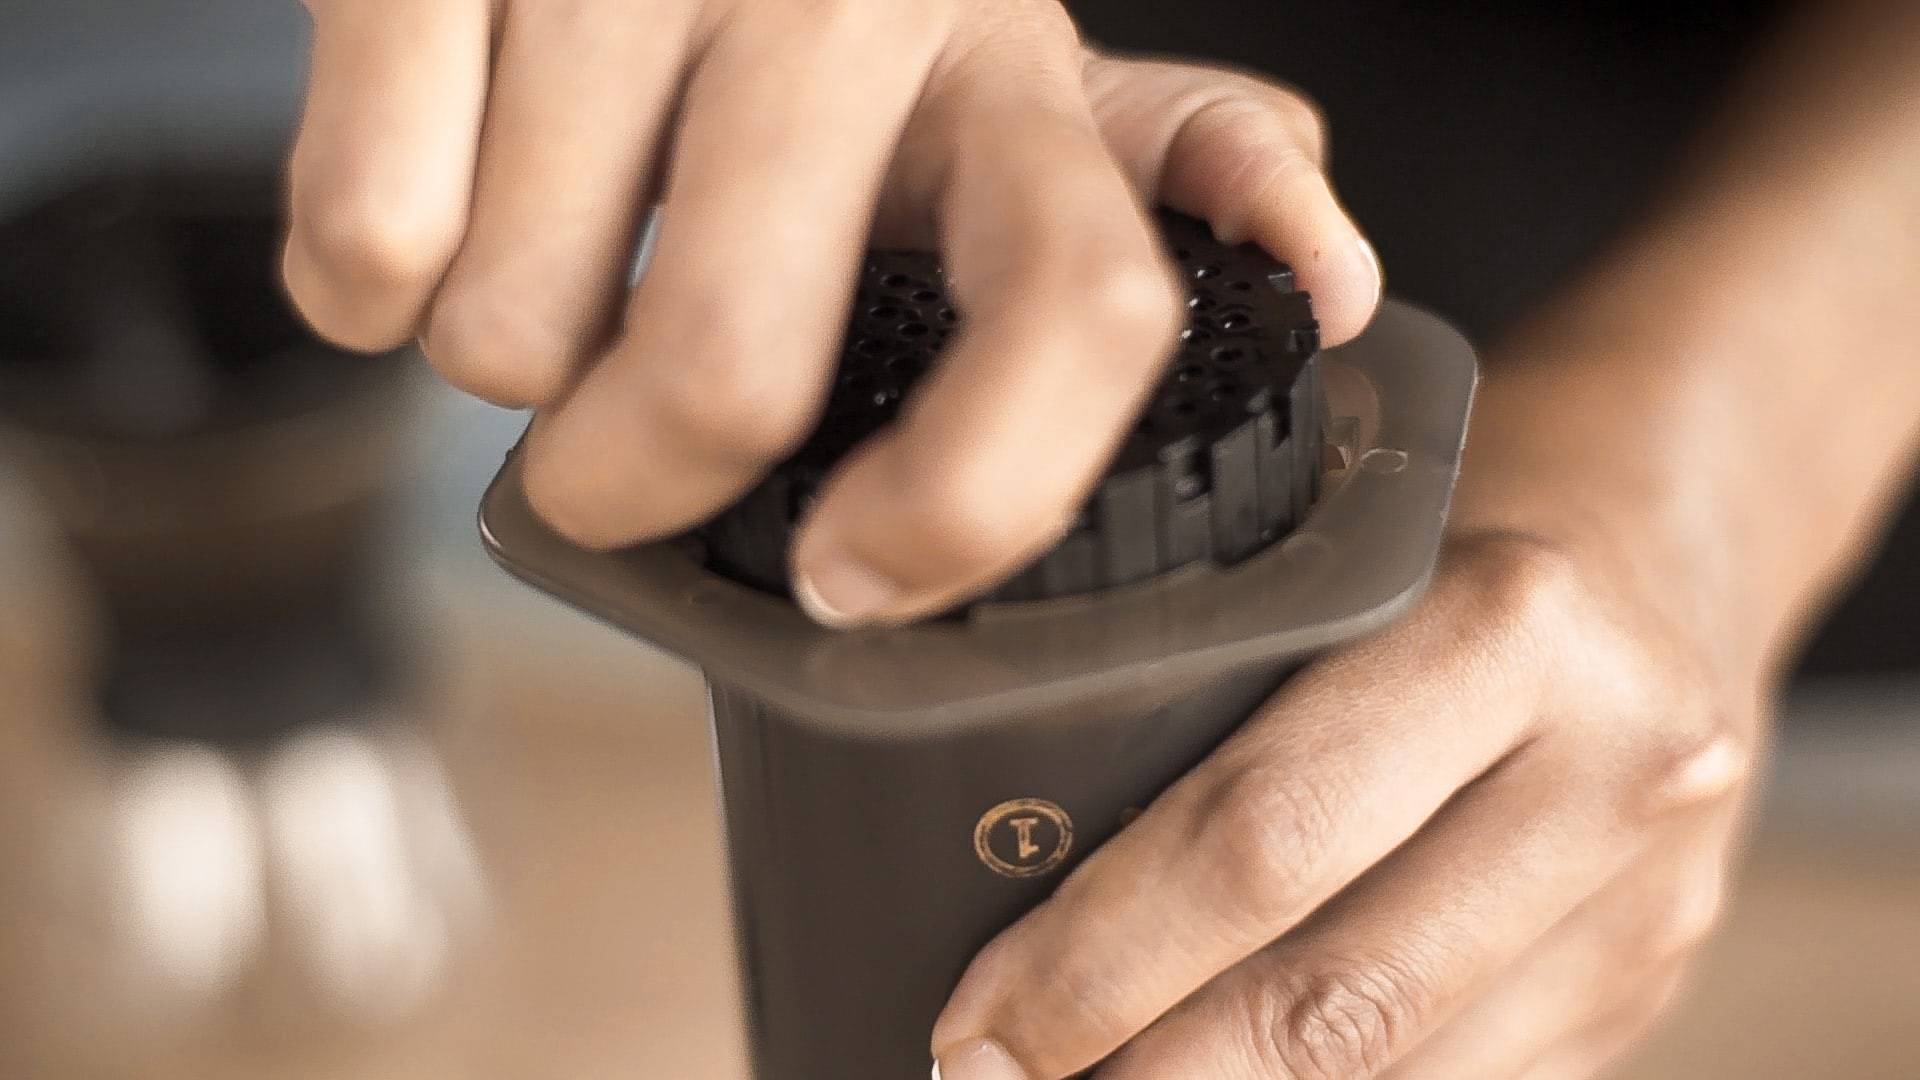
Step 10.
Cleaning
- Unscrew the cap and pop out the grounds and the filter by pressing the plunger all the way through the Aeropress.
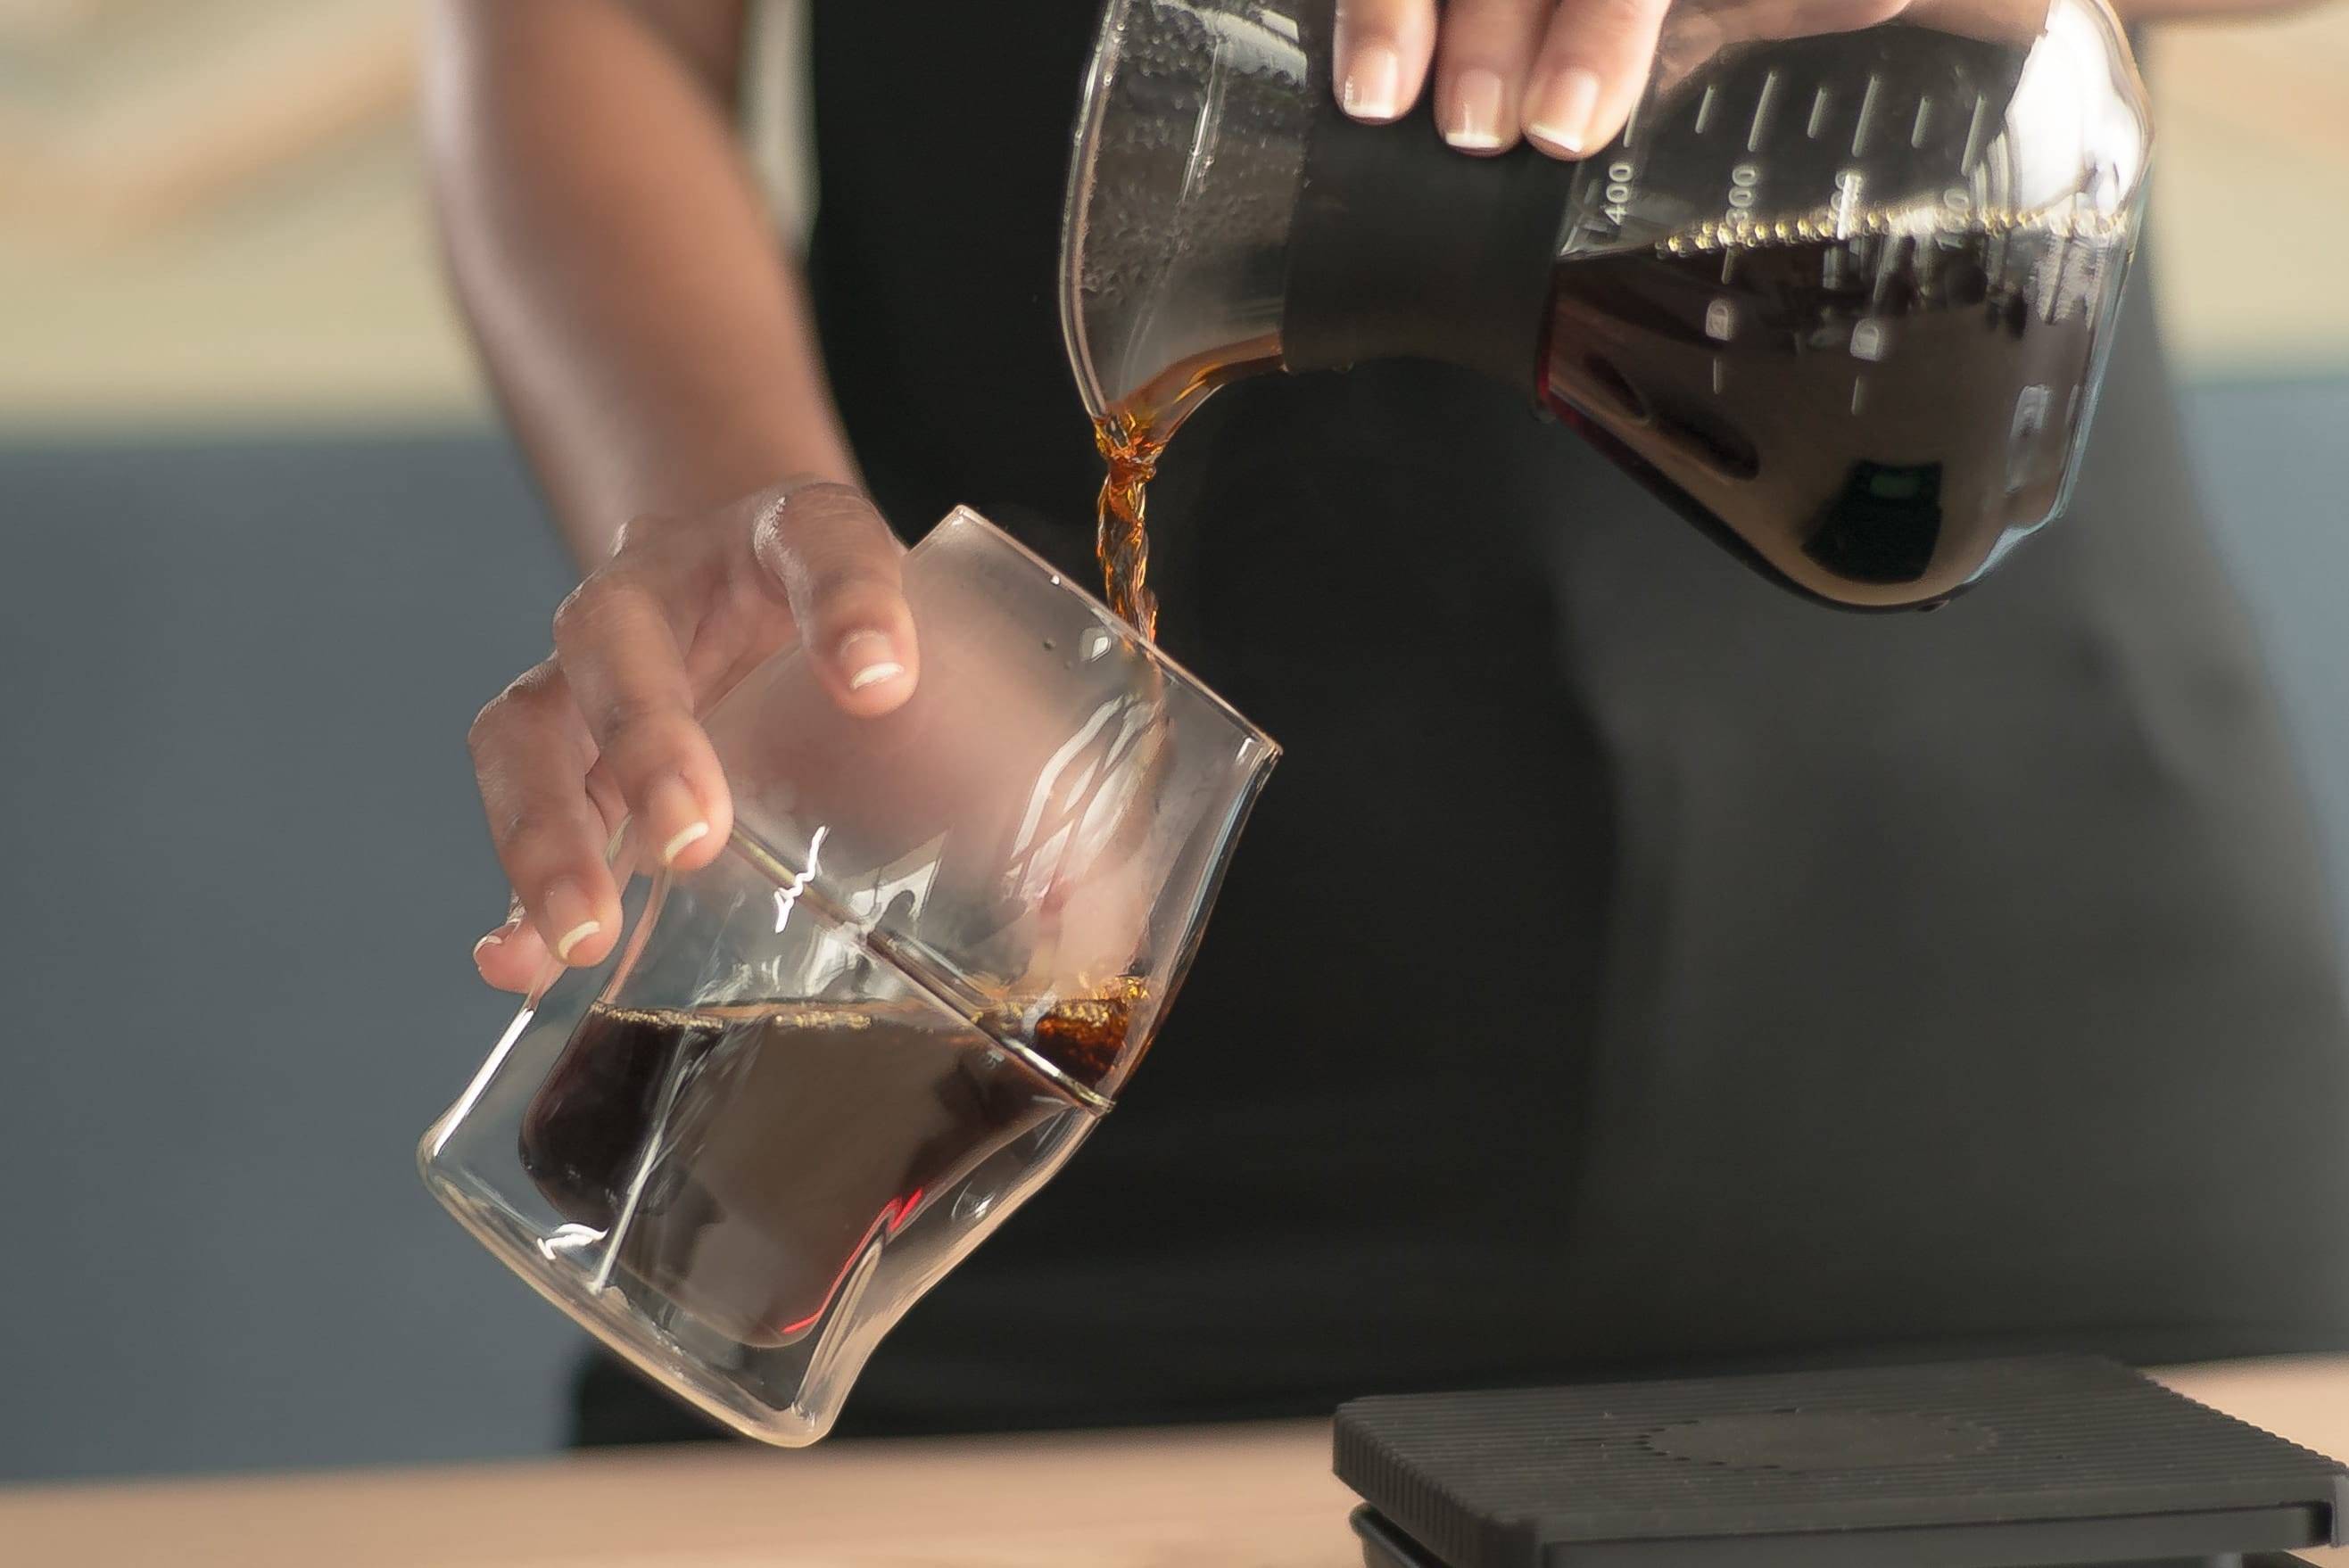
Step 11.
Pour & Enjoy
Adjusting your brew to your taste
- If the plunger moves too easily, consider using a finer grind. If the brew was too slow, consider using a coarser grind. Adjust the grind size instead of altering the amount of coffee.
- If your brew tastes bitter and astringent (over extraction), then you need to grind coarser
- If your brew tastes watery and sour (under extraction), then you need to grind finer
You might also be interested in...

At ICOSA Brewhouse, we celebrate the stories behind every cup of coffee. Today, we’re honored to feature Shubham, a passionate...

At ICOSA Brewhouse, we believe every cup of coffee tells a story. Today, we’re excited to celebrate two incredible Coffee...

At ICOSA Brewhouse, we believe every cup of coffee opens the door to a new adventure. This International Coffee Day,...