Pour over is one of the most popular manual brew methods. It's almost like an art form with flexibility for different brew recipes, pouring styles, and preparation methods–the sky is the limit for how you can brew up a delicious cup of coffee in different ways to bring out different flavor notes!
There's even a worldwide competition called the Brewers Cup, organized by the Specialty Coffee Association, which brings together the best coffee experts to showcase their pour over recipes to create the ultimate coffee sensory experience.
If you're just starting out, this pour over brew guide is the perfect place to get started!

What you'll need
- 25g of freshly roasted whole bean coffee
- Gooseneck kettle (electric/stove) to boil water
- Filtered water or mineral water
- Hand grinder or automatic grinder (with conical or round burrs for best results)
- Digital Scale
- Timer
- Pour over brewer
- Paper filter
- Carafe to brew into
- Stirring stick or spoon (optional)
- Your favorite coffee cup
Step 1.
Prepare the water
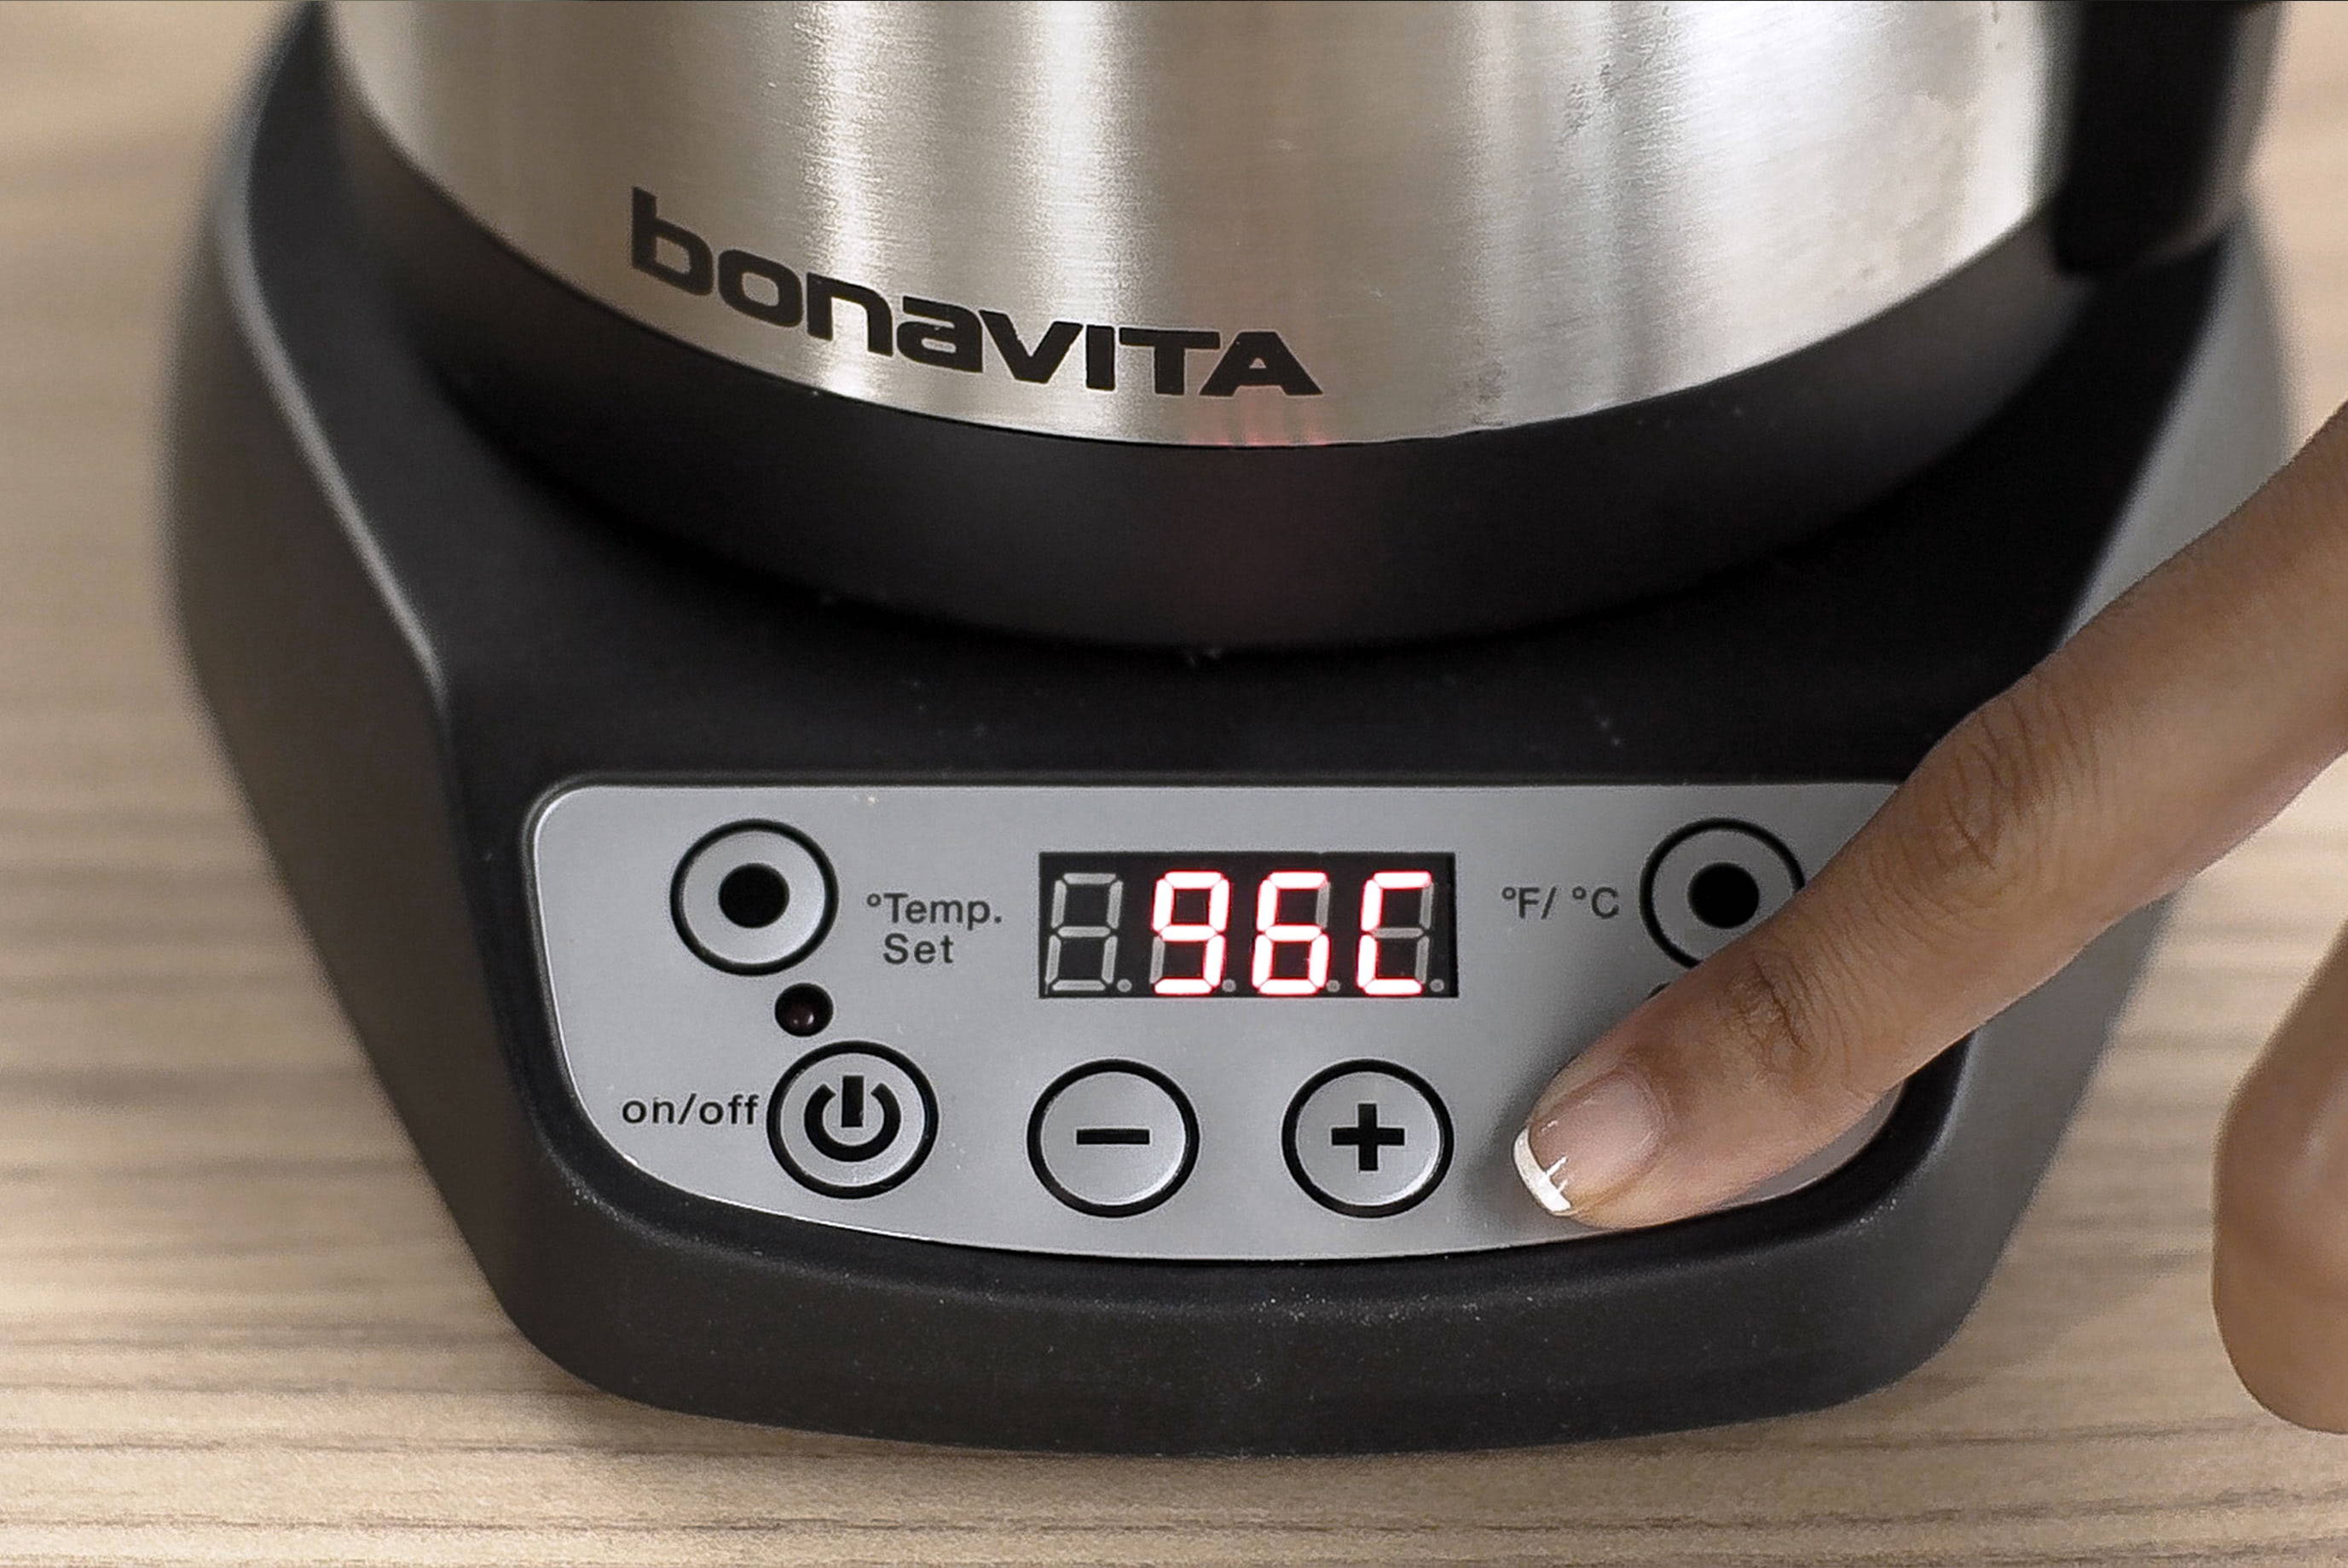
- Boil to the desired temperature.
- Brew a large pot of water so that the temperature is more stable (ex. If you only need 300g of water, brew 600g of water).
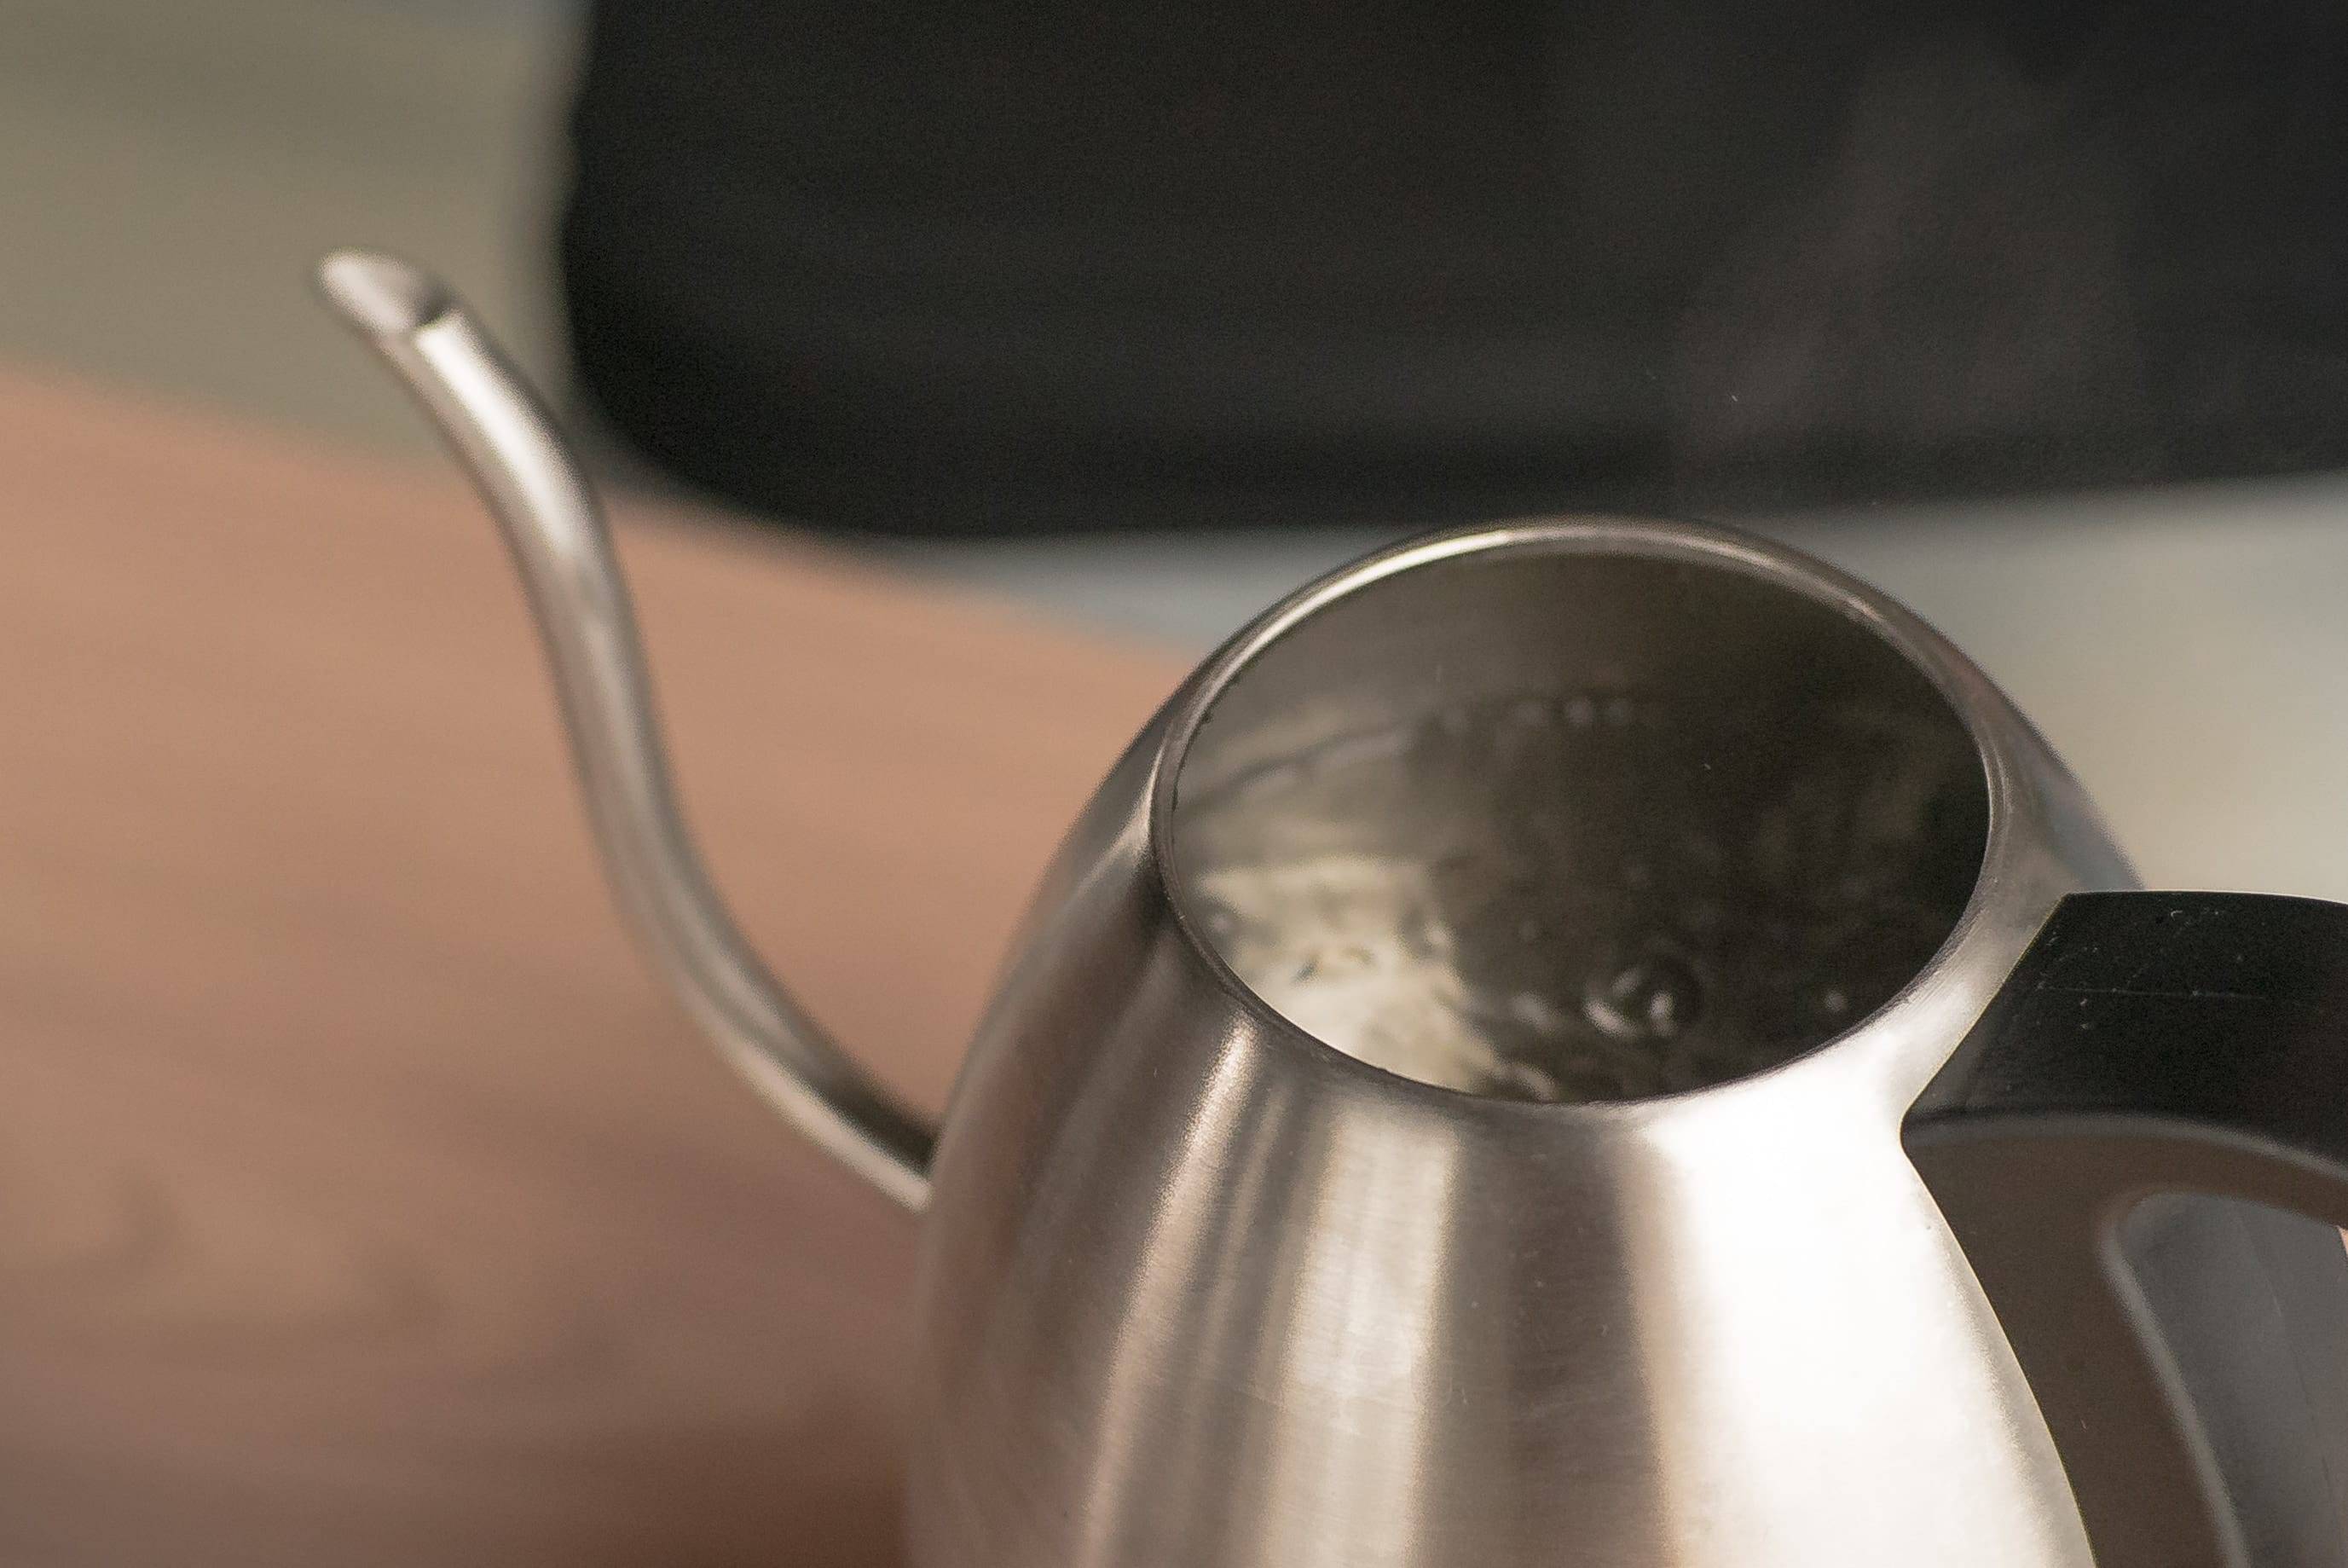
- Pro Tip: Use a gooseneck kettle for greater control and consistency over your pouring.
Step 2.
Prepare your filter in the pour over
- Fold the filter so that it sits properly in the pour over cone.


- Pre-wet the filter using hot water. This rinses out the paper taste from the filter, pre-heats the pour over cone and the brewing vessel to ensure a consistent brew, and allows the filter to stick to the pour over cone.
- Discard this water before brewing.

Step 3.
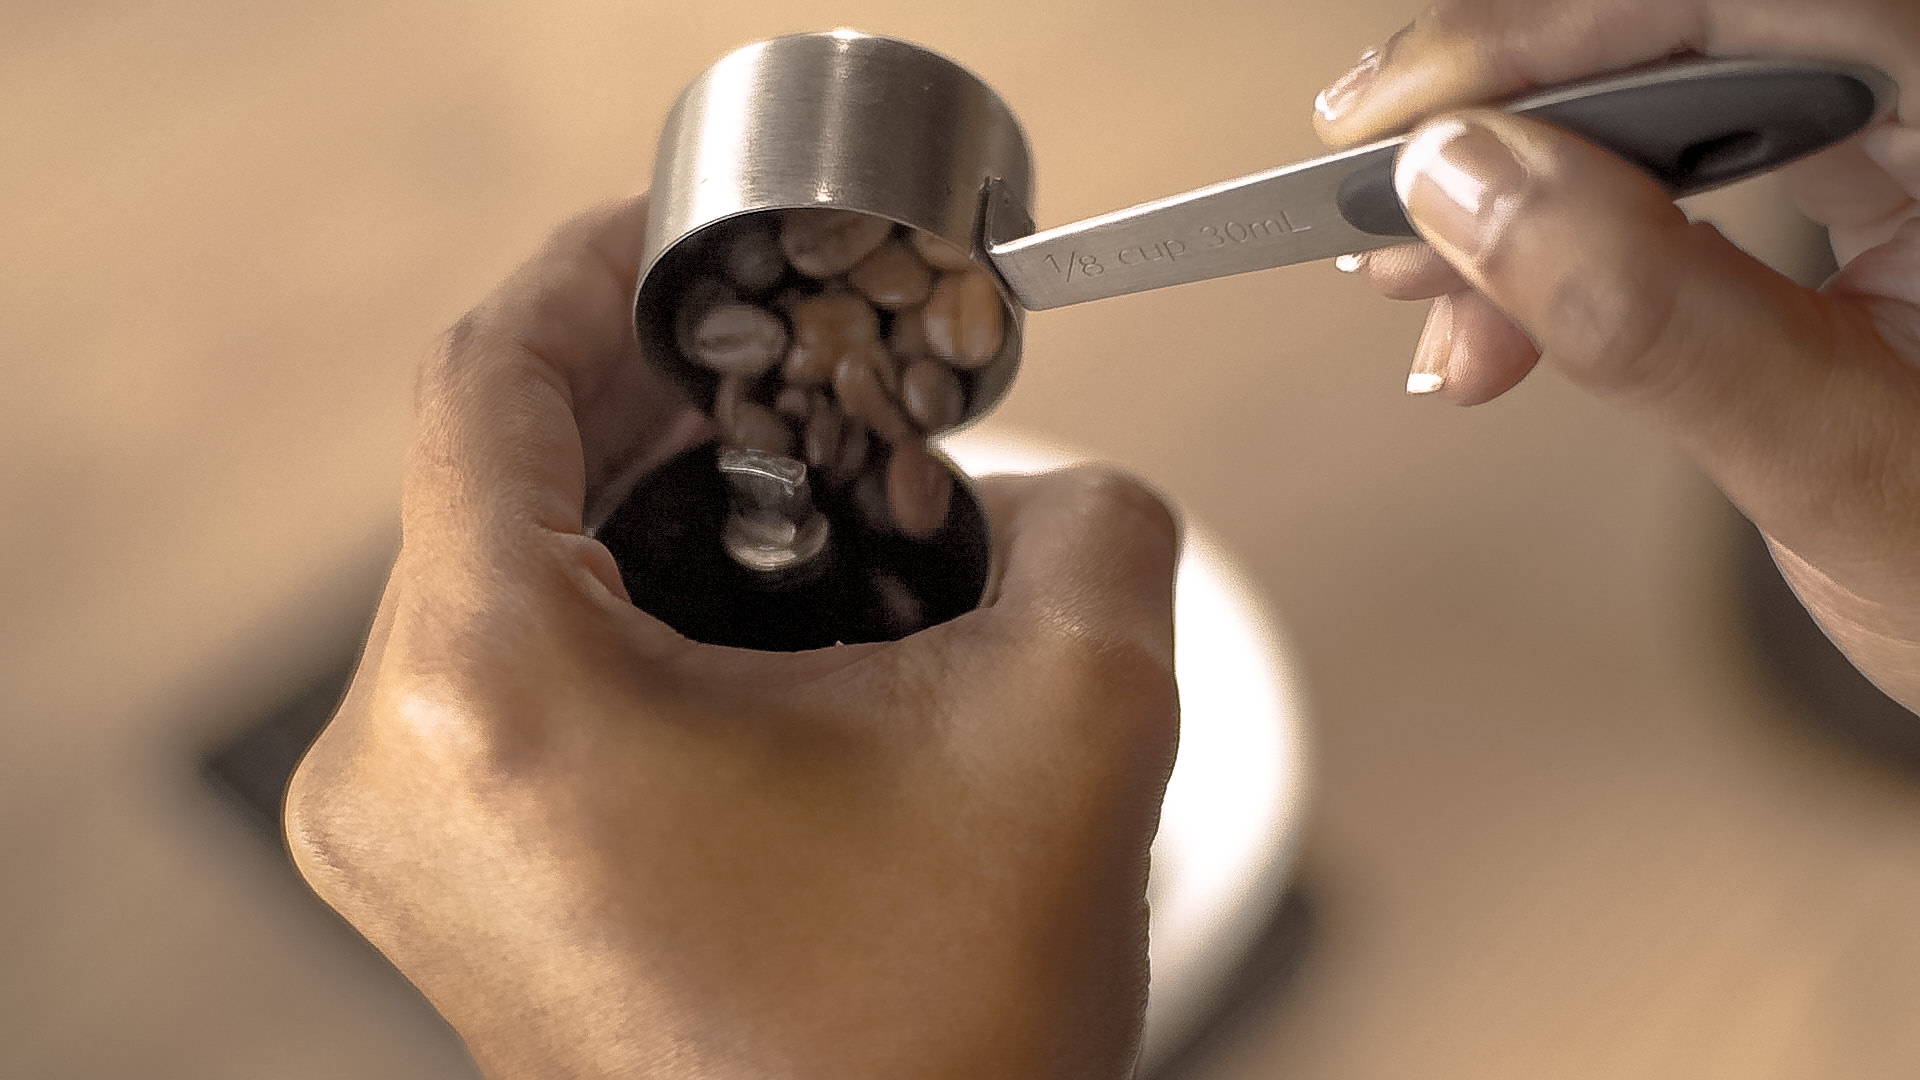
Weigh out the desired amount of coffee
- Use a digital scale to measure the whole bean weight before grinding.
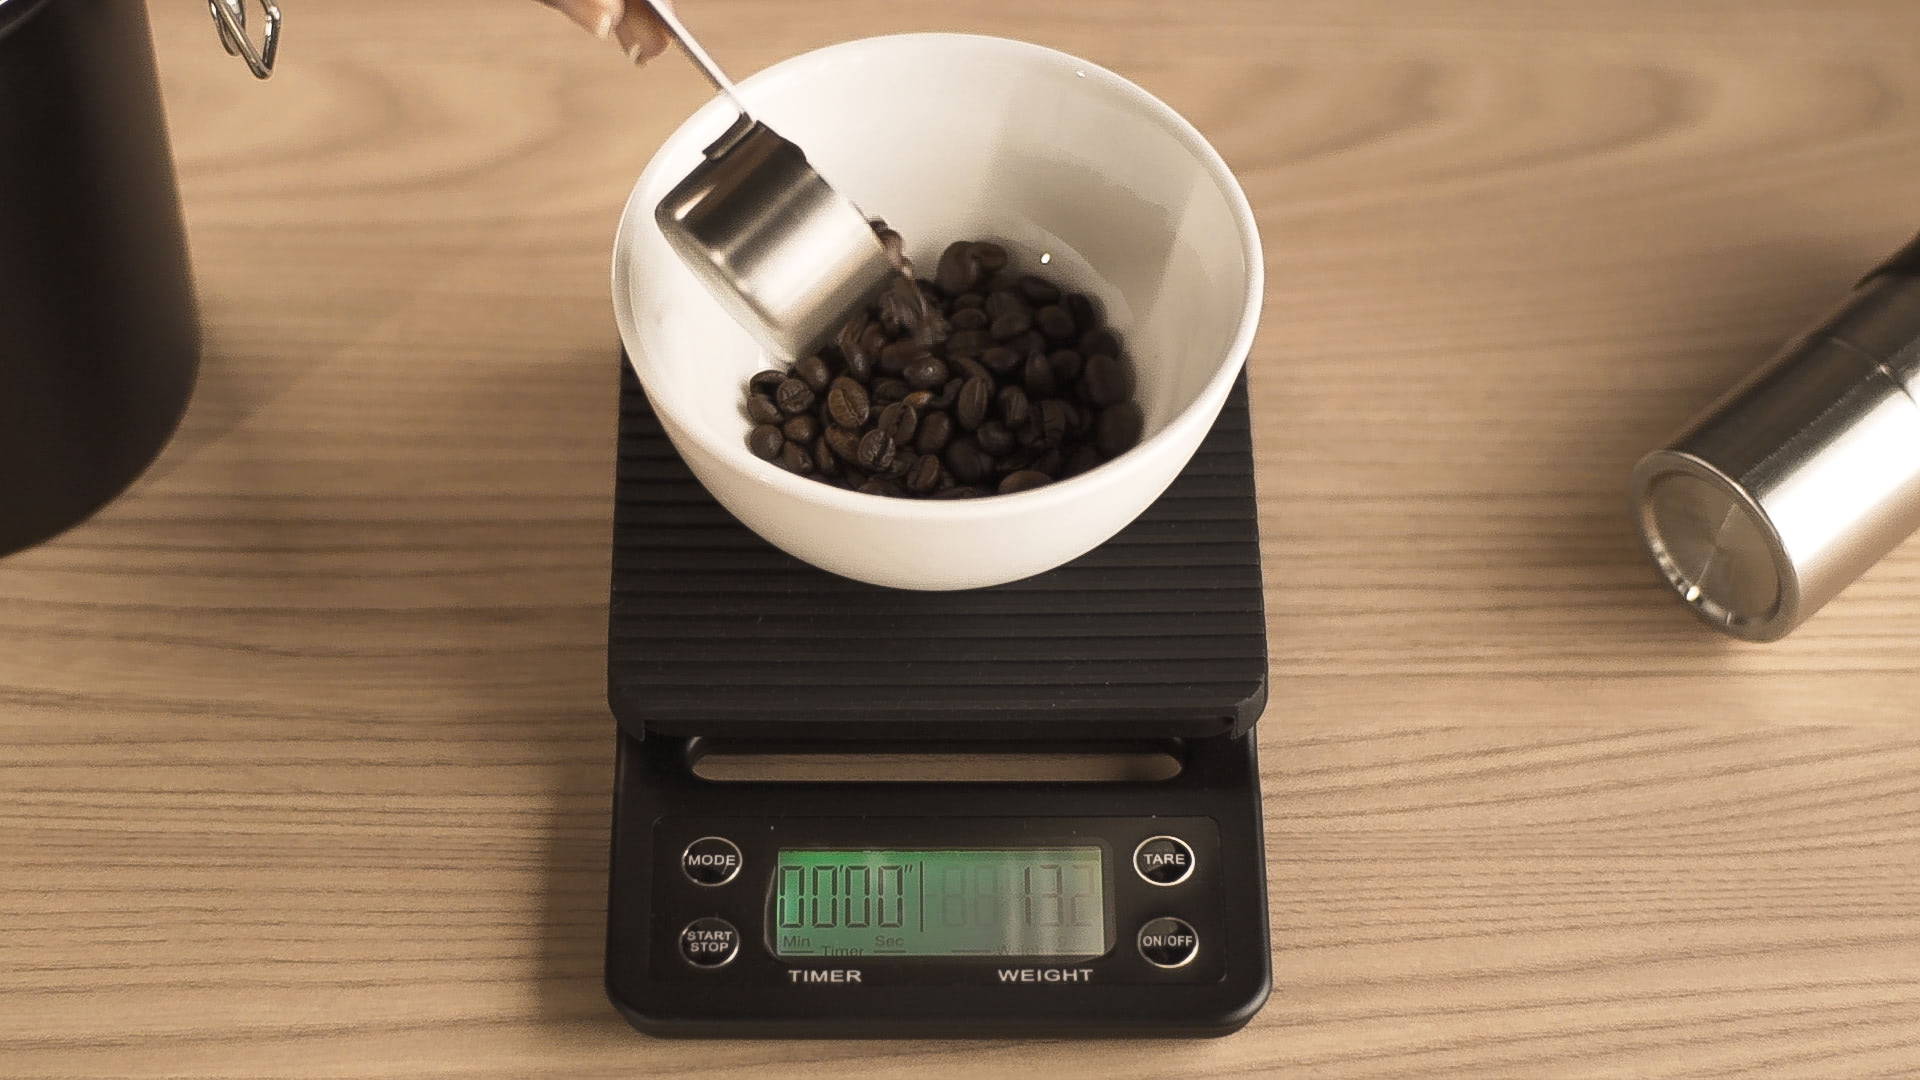
- The ratio of coffee to water varies depending on the type of coffee you are brewing and your preferred strength. For this recipe we recommend starting with 25g of coffee with 300g of water (1:12 coffee to water ratio), then adjusting the ratio according to your taste.
- For stronger coffee, brew with 1:10 coffee to water ratio
- For weaker coffee, brew with 1:15 coffee to water ratio
Step 4.
Grind your coffee beans
- Aim for medium fine grind size with coarseness resembling sea salt.
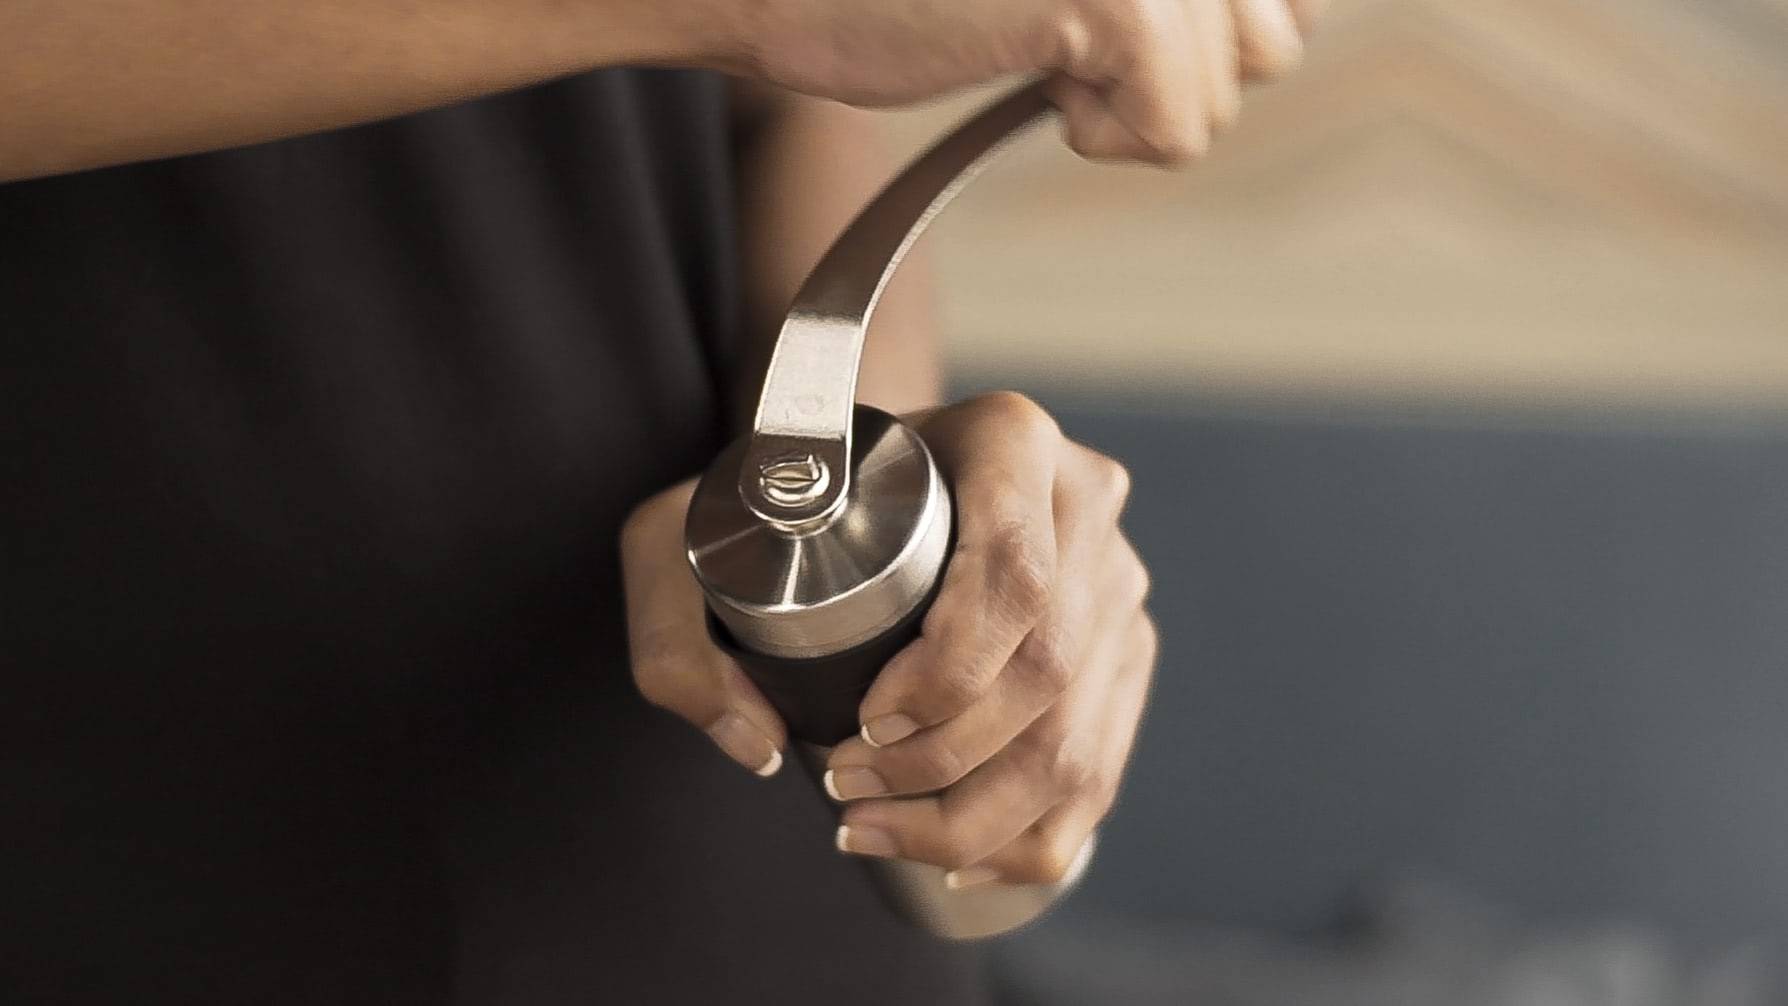
- Always experiment with your grind just like with the other aspects of your brewing process. You may try today’s brew with a fine grind and depending on how you like the taste, you may change the grind size to be larger or smaller. There is no one-size-suits-all grind; experiment to find out which grind size suits your coffee best for your taste.

- Add the coffee grounds to the pour over. Gently shake the pour over cone so the coffee bed is level for even extraction.

Step 5.
Begin your brewing
- Place the brewer and vessel on the scale. Tare your scale to reset the reading to zero and then start the timer when you’re ready to start pouring.
- This recipe calls for 4 separate pours:
1st Pour
- Pour roughly twice the amount of water for the first pour as your coffee dose. In this case for 25g of coffee, pour 55g of water over the grounds; this will yield ~25g brewed coffee.
- After pouring, give time for the coffee to ‘bloom’. This ‘bloom’ releases CO2 gas escape from the coffee for better extraction and allows the coffee to saturate thoroughly. The pour itself should take 10-15 seconds, while the bloom takes up to 30 seconds.


- Pro tip: in between pours, gently stir the grounds to ensure the grounds are thoroughly saturated and promote even extraction.

2nd Pour
- Pour until the scale reads 125g. Pour in spiral pattern outwards from the center and then back to center.
- Pro tip: Pour up to the edge of the coffee bed, but avoid pouring directly onto the paper filter because this will cause the water to bypass the coffee and your coffee will be watery. The timer should now be at 1:15-1:35 elapsed.

3rd Pour
- Pour until the scale reads 225g. Maintain the same water level in the pour over cone and use the same spiral pour pattern. The timer should now be at 1:45-1:55 elapsed.
4th Pour
- Pour until the scale reads 300g. Maintain the same water level in the pour over cone and use the same spiral pour pattern. The timer should now be at 2:05-2:15 elapsed.
- Allow water to drip through grounds entirely until the dripping slows down. The timer will be between 3:00-400 elapsed for the total brewing time.

Step 6.
Pour & Enjoy!
- Stir the coffee brewing vessel to ensure the coffee is well mixed. The coffee at the top will be weaker than the coffee at the bottom, so it’s important to mix your coffee well before serving.
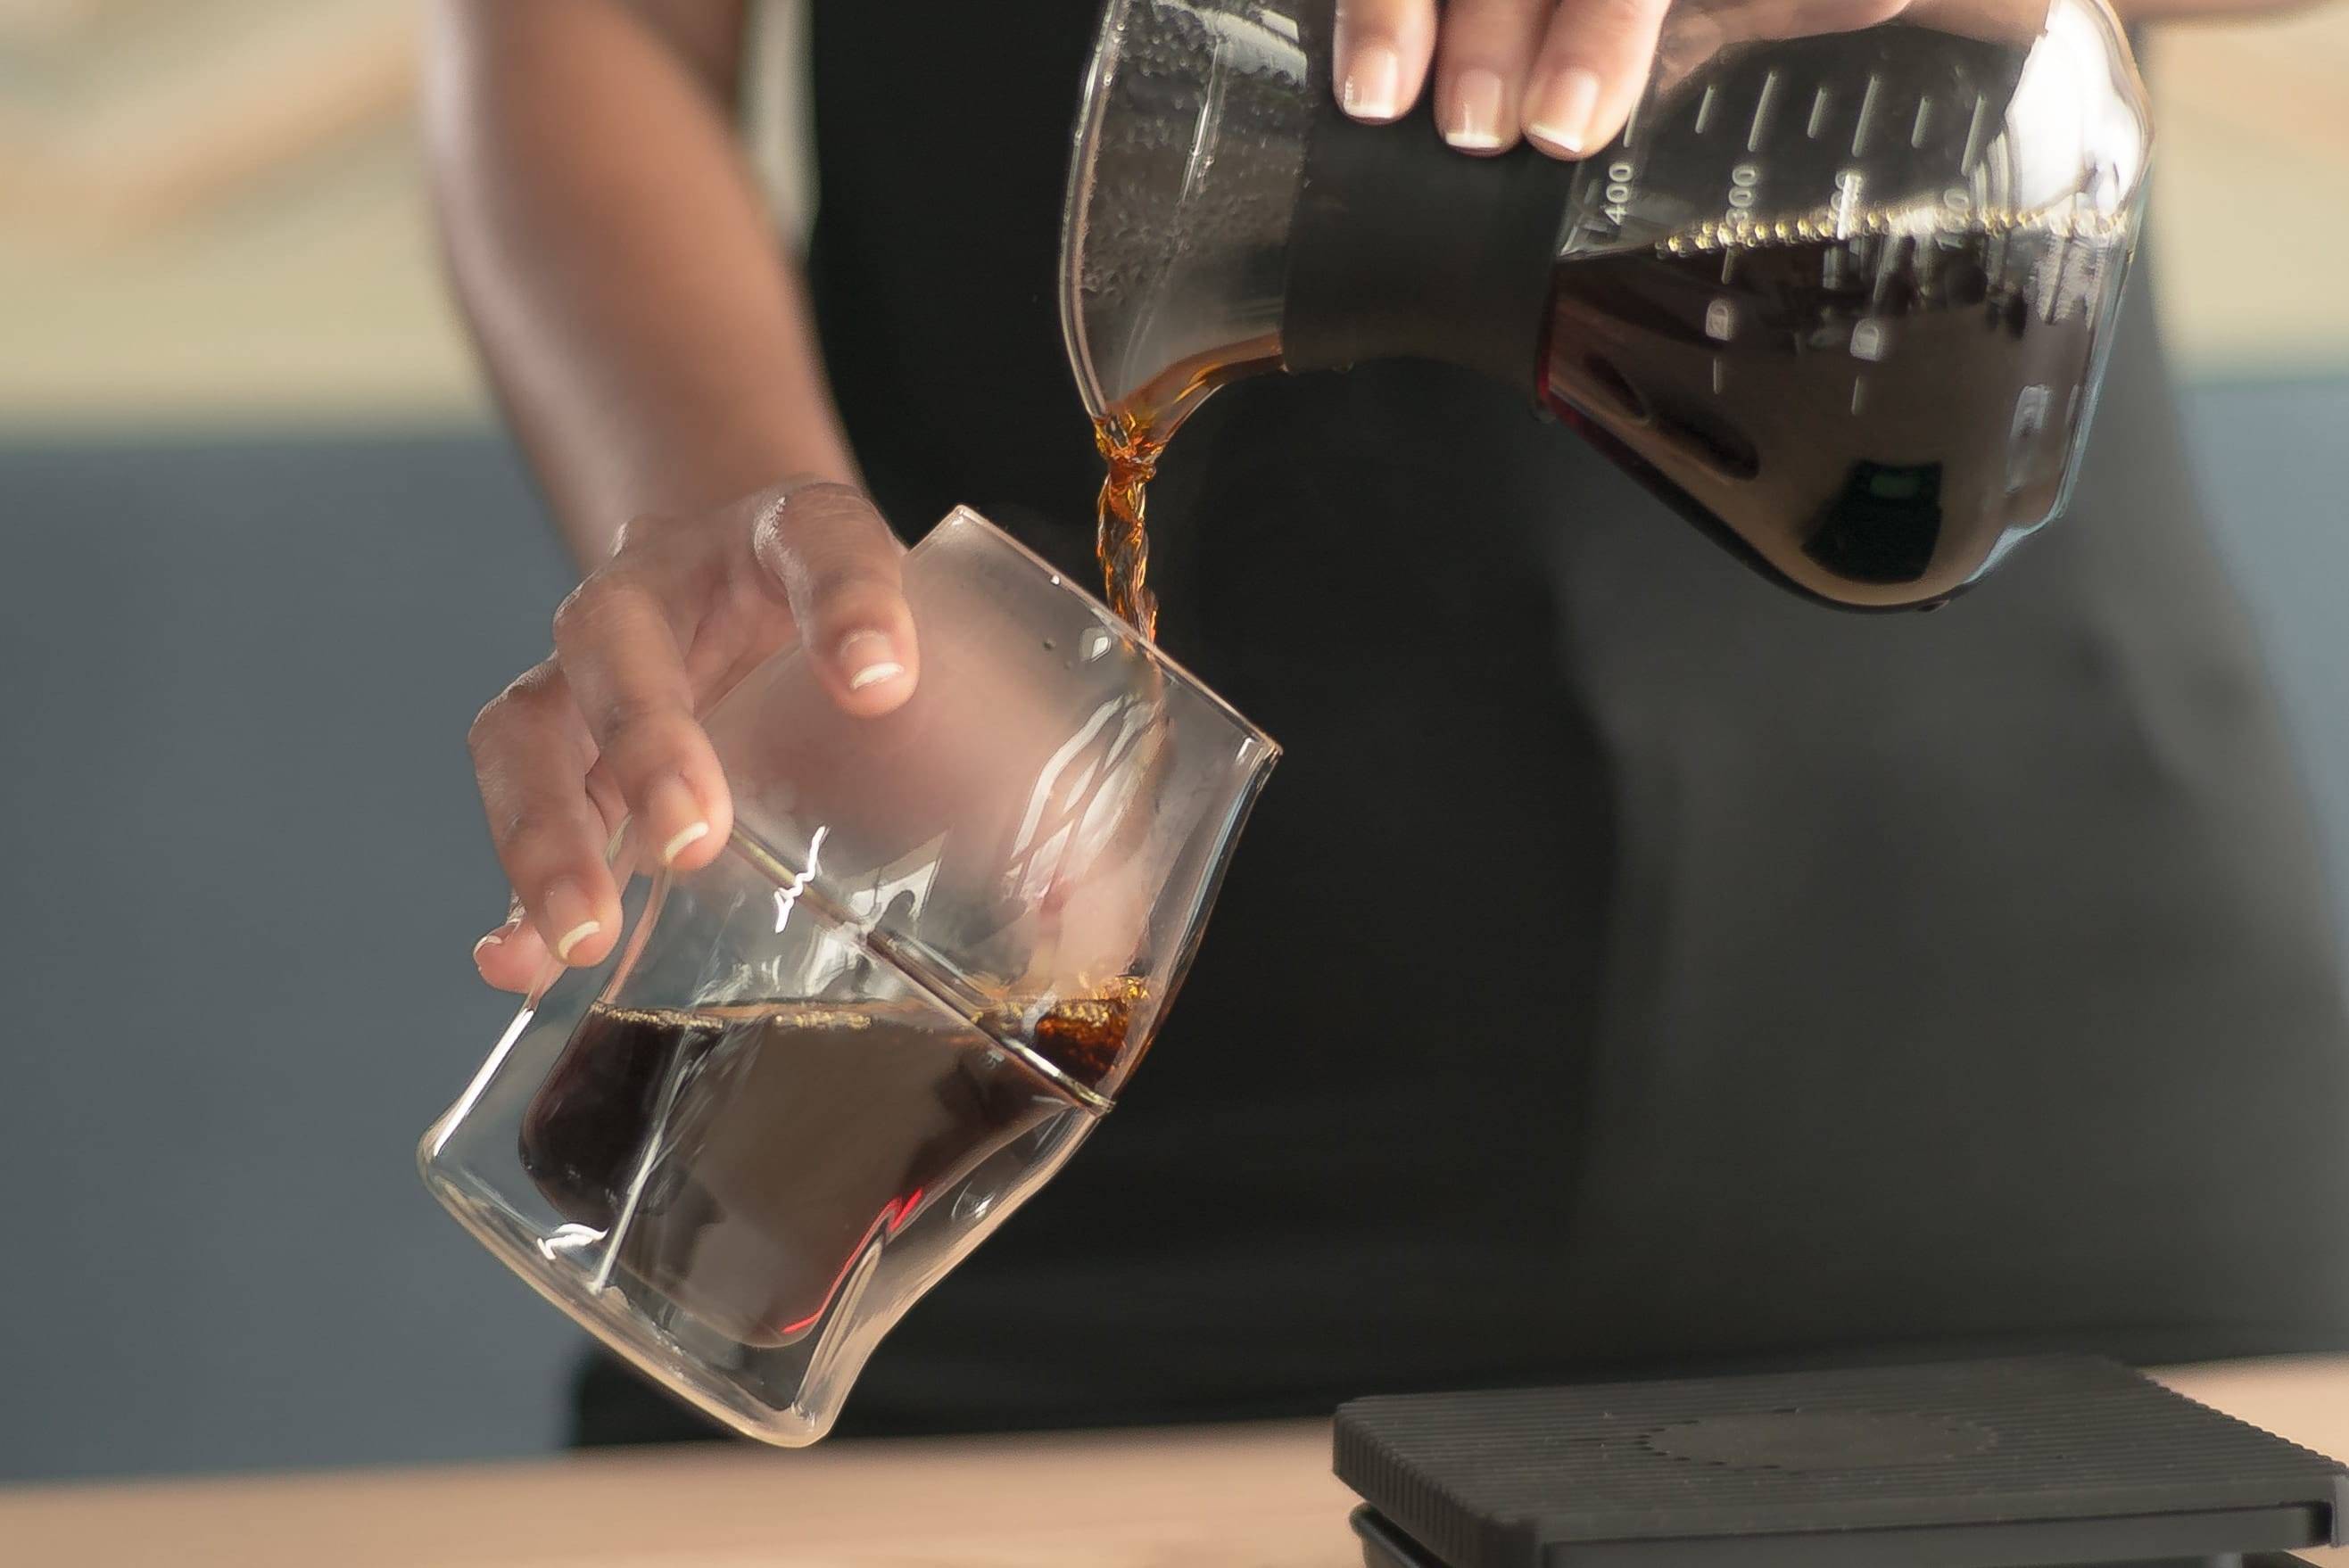
- Pro tip: Allow your coffee to cool before tasting. Good coffee tastes better when it reaches the ideal tasting temperature between 45-55 degrees Celsius.
Adjusting your brew to your taste
- If the brew was too fast, consider using a finer grind or a slower pour rate next time. If the brew was too slow, consider using a coarser grind or a faster pour rate. Adjust the grind size instead of altering the amount of coffee.
- If your brew tastes bitter and astringent (over extraction), then you need to grind coarser
- If your brew tastes watery and sour (under extraction), then you need to grind finer
You might also be interested in...

At ICOSA Brewhouse, we celebrate the stories behind every cup of coffee. Today, we’re honored to feature Shubham, a passionate...

At ICOSA Brewhouse, we believe every cup of coffee tells a story. Today, we’re excited to celebrate two incredible Coffee...

At ICOSA Brewhouse, we believe every cup of coffee opens the door to a new adventure. This International Coffee Day,...